- February 2002: 1958 Mercedes-Benz Type W121 190 sedan
- February 2002: 1957 Mercedes-Benz Type W180 220S sedan
- September 2002: A new 220S sedan project
- November 2012: 1957 Type 220S "découvrable" (sedan-to-cabrio conversion)
- February 2011 – December 2016: 1968 Type W113 280SL project
Revival of the 1958 Type 190 Sedan
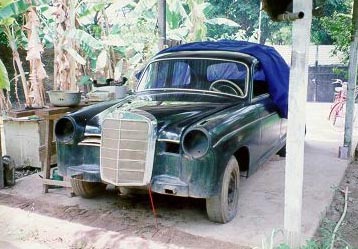

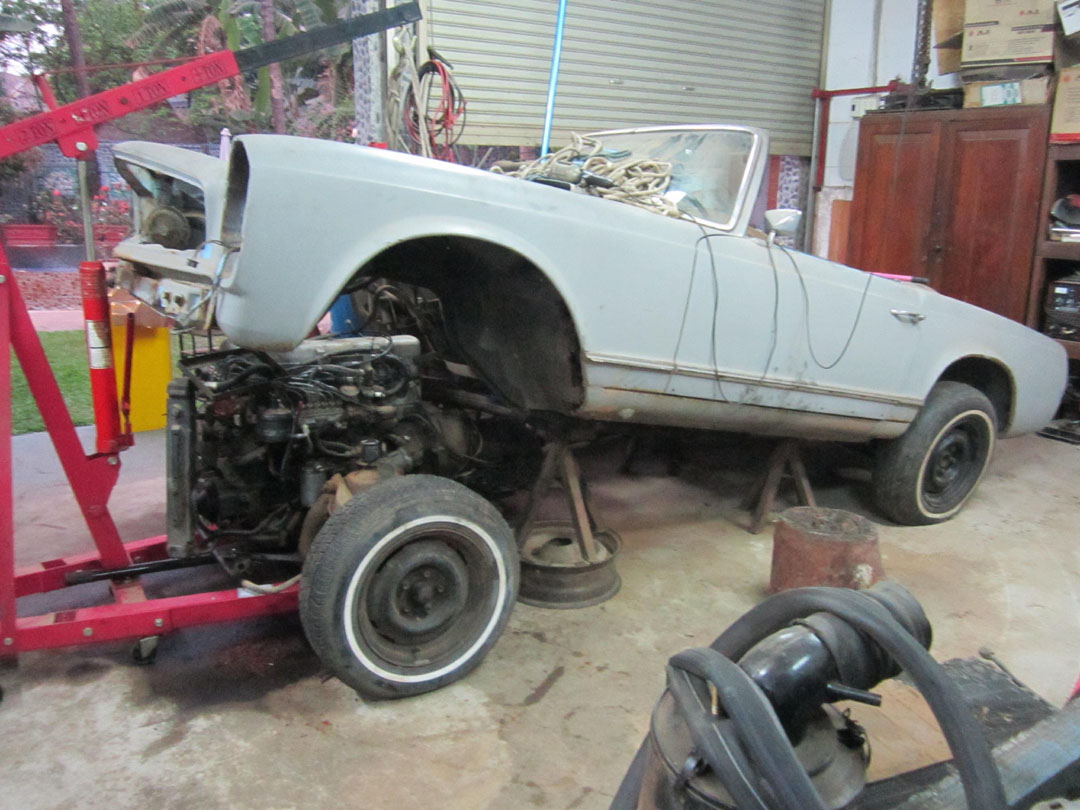
Thierry writes, "I bought the car dismantled in 1998. These are the first two photos taken when I finished cleaning the worst of the grunge off. The body was used as a hen-house, and the two seats were in the owner's kitchen! I had to make the wheels turn again as the brakes were stuck in the drums. Then I put new tubes in the tires and inflated them for the revival trip. I pulled the car home with a big truck full of parts retrieved from everywhere around the owner's house. Everybody was laughing at me arriving at home. My wife hated me when she saw the car among our flowers. I had a few long, fun weekends of cleaning and refurbishing."
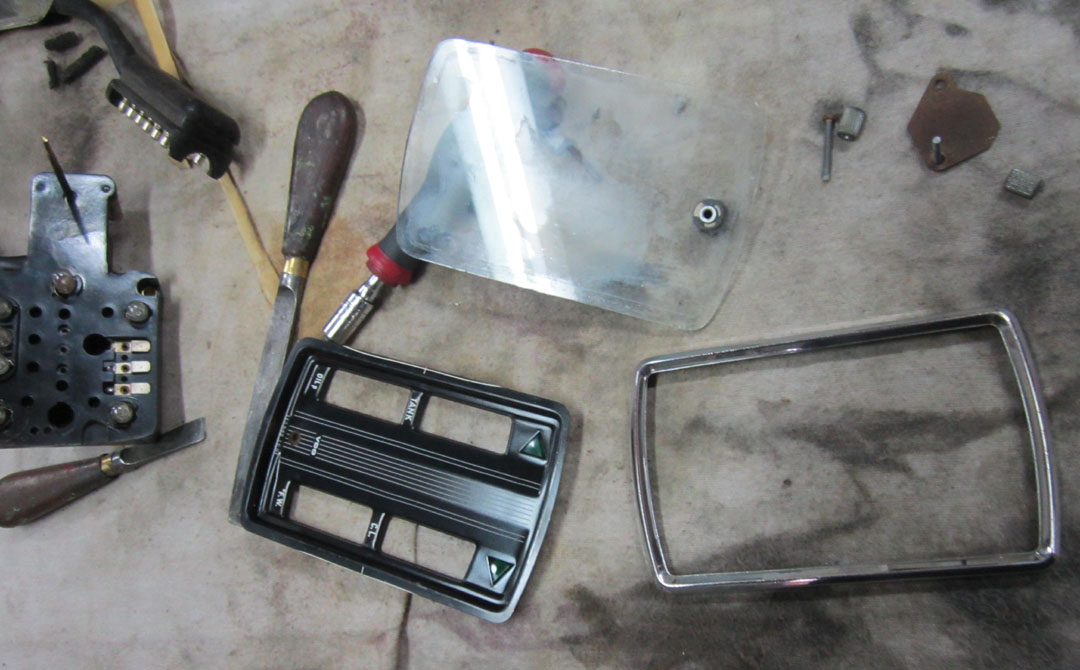
"This is the 190 with the 220S trunk badge I found at the beginning – in the bits around the hen-house! The old tail light lenses were faded from the sun. Finally, I got the car restored and running at the end of 2000."
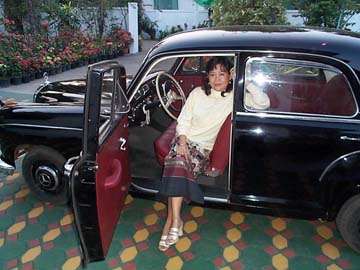
Then, my wife was proud and liked the car very much – I had to fight to sell it!
I used the car until September 2001 to go to work every
day.
Finally, I sold it to my friend Pierre, who will take care of
its future.
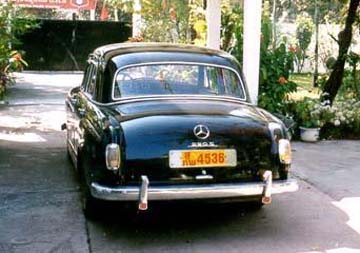
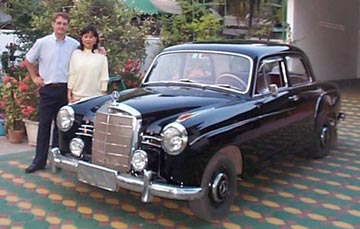
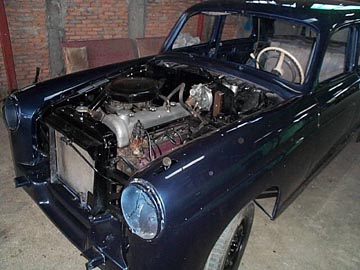
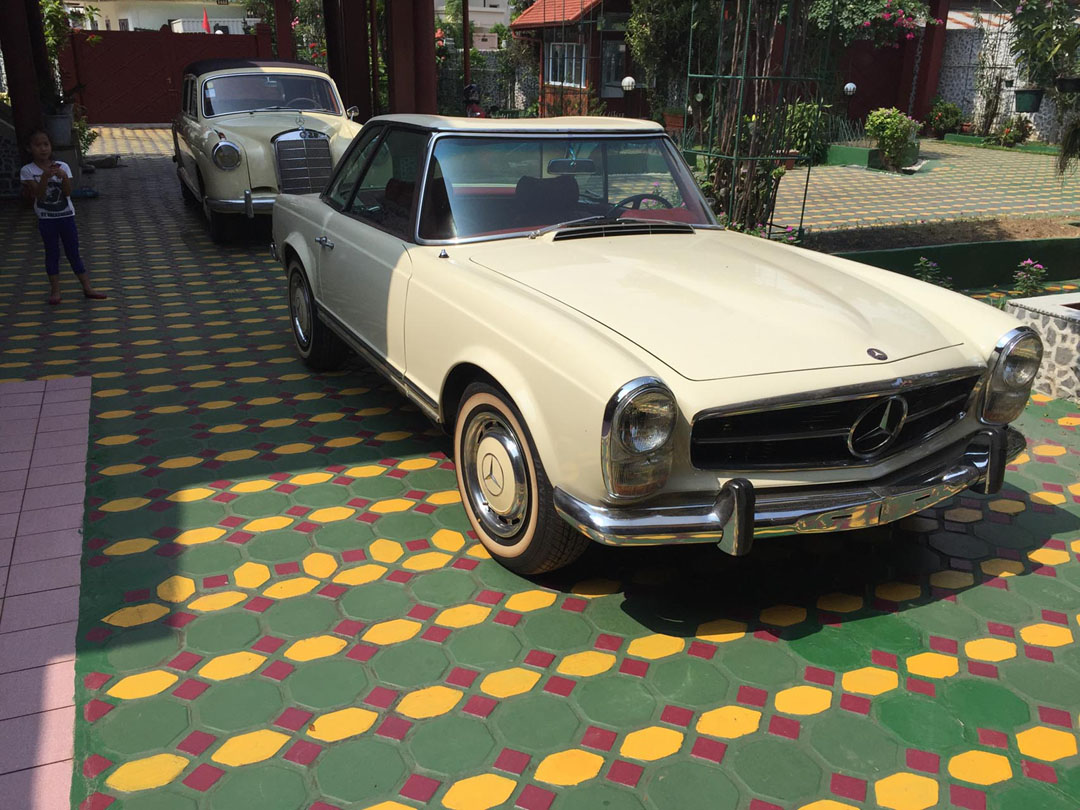
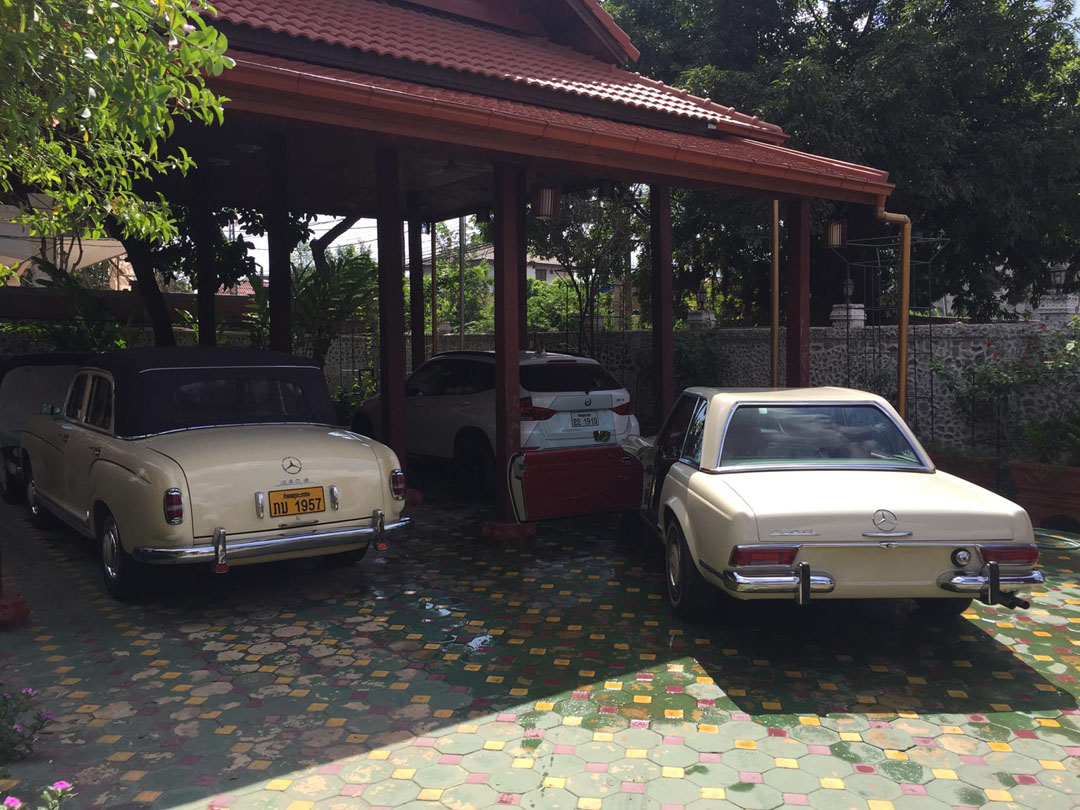
1957 Type 220S Sedan Restoration Project
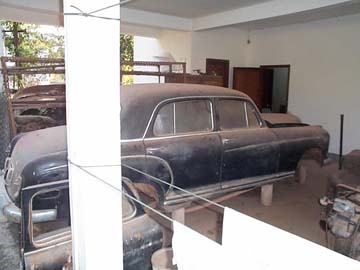
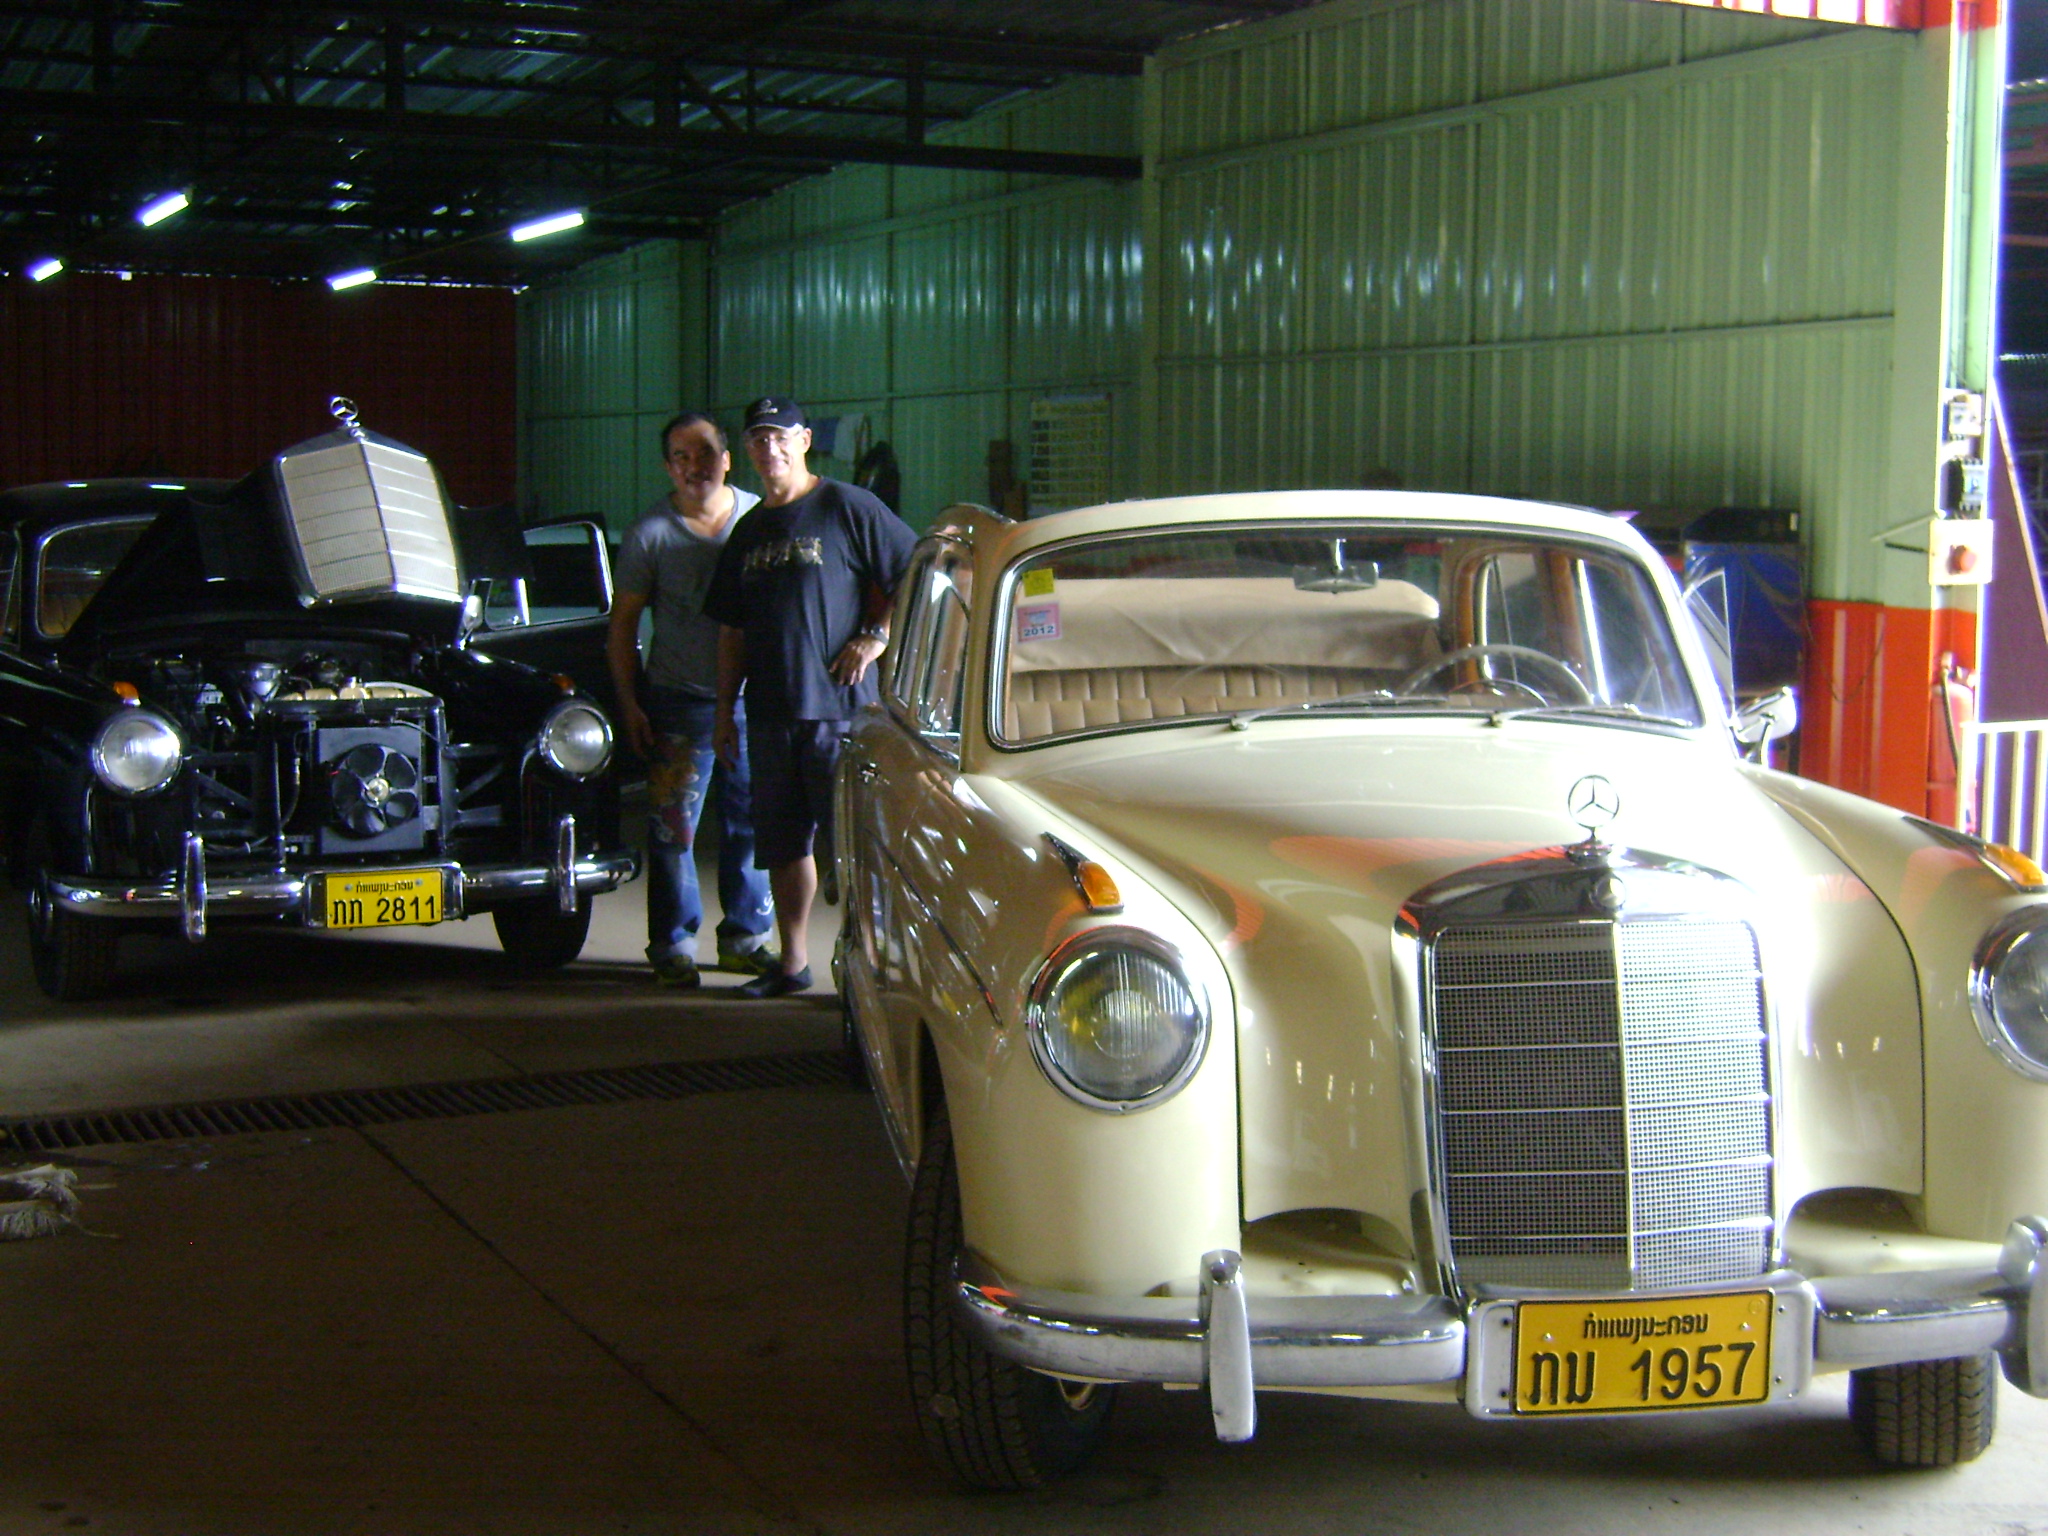
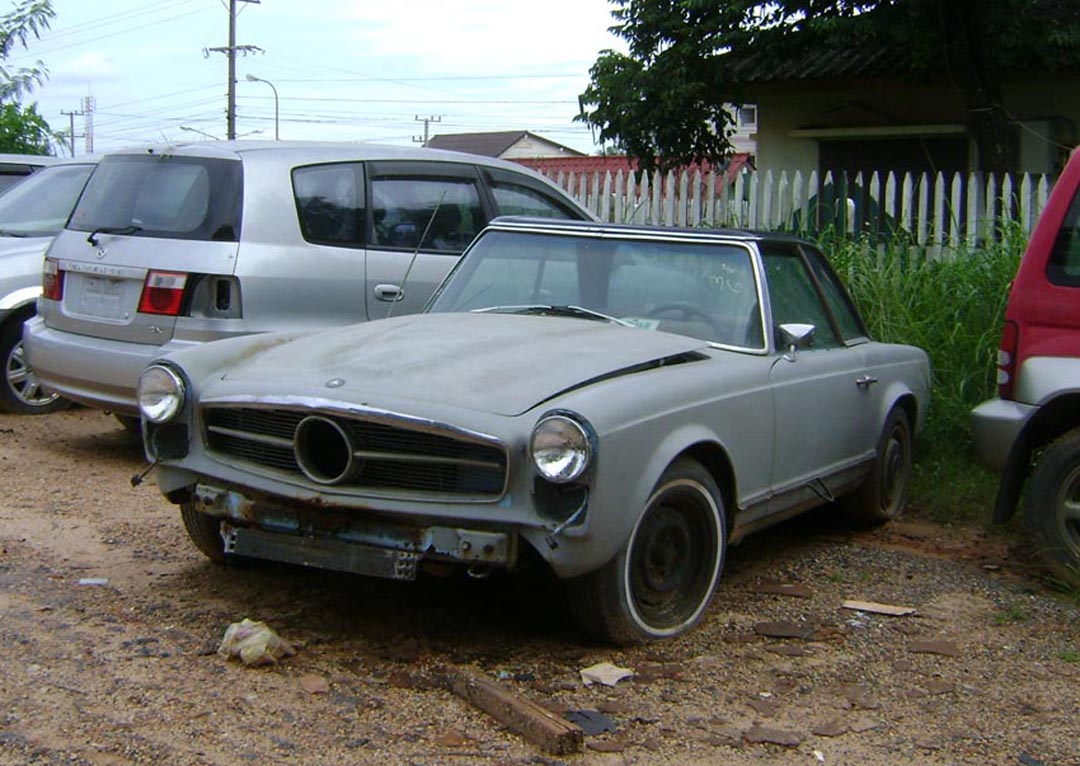
Foreground: 1958 Mercedes-Benz Type 190 sedan formerly owned and restored by Thierry (see above). Behind the 190 is a Type 220S sedan owned by Thierry. In the background is a 1957 Mercedes-Benz Type 220S project car (on trailer).
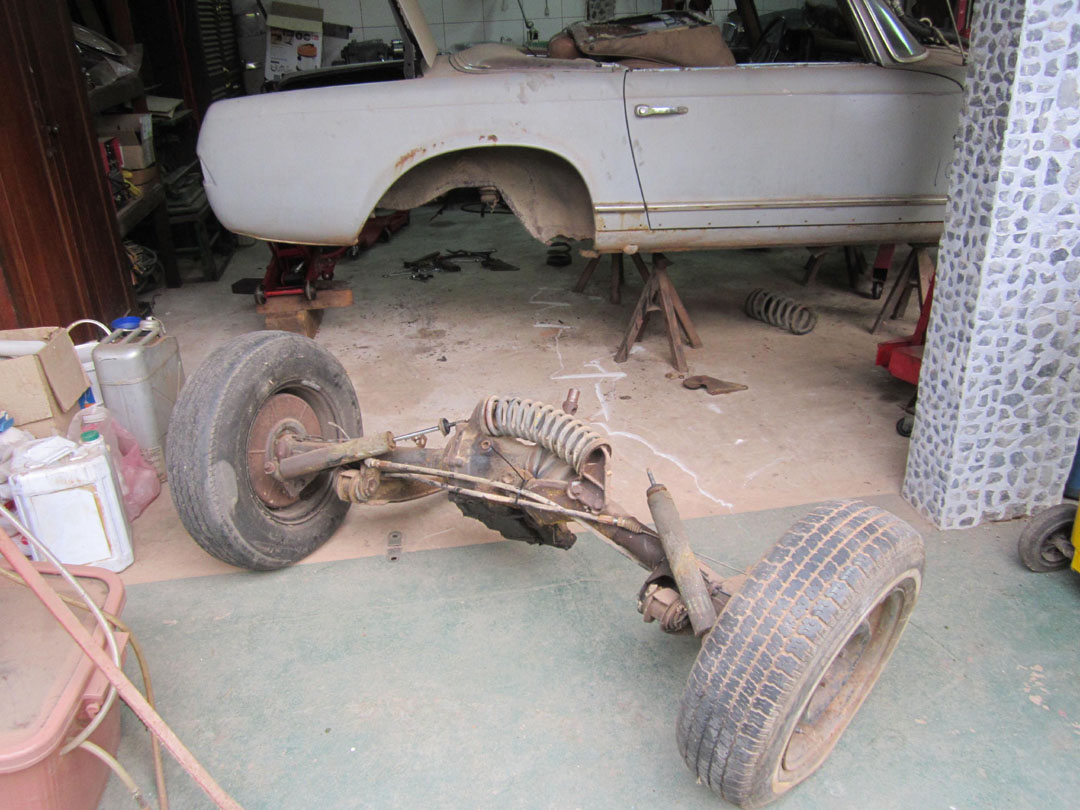
Thierry writes, "In January of 2002, I finally made a deal to buy 10 year's worth of Mercedes-Benz parts in storage from another fellow 220S Ponton fan. Now I have got the lot of parts, and three frames at home to refurbish, and one body just for painting."
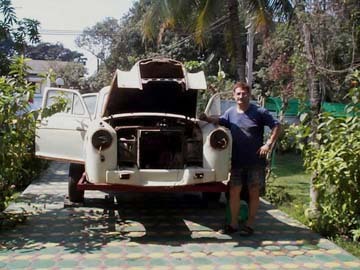
"This 1957 220S will be made new again with the parts of the 1957 220S in the photo below. Then all the parts, and the remaining body should make the third 220S with a lot of time and effort."
This 1957 220S will yield parts for the 1957 220S (on the trailer, above).
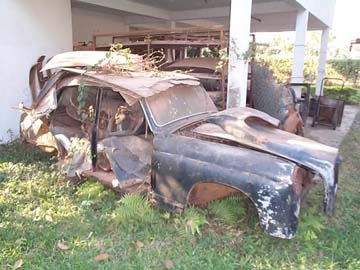
I just took a few remaining bits from the 1956 220S (above) and threw the rest away.
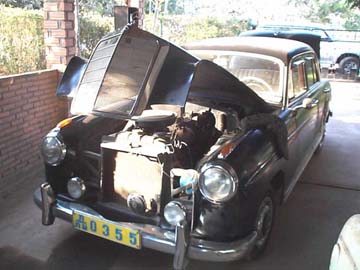
So, I still have a lot of work to enjoy for a while, but I can still drive this 220S in the meantime!
You didn't get lost?!
Best Regards,
Thierry
February 18, 2002
Update / March 20, 2002
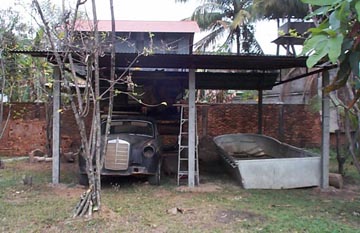
A shelter Thierry built for his 220S project.
Update / June 19, 2002
Making some progress with the paint.
Very nice job on the woodwork too.
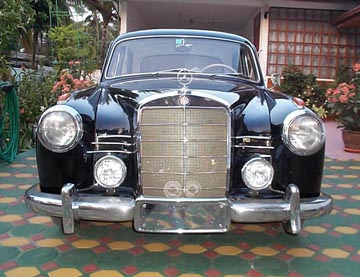
June 24, 2002: The 220S is starting to look roadworthy again. Maybe it still needs some glass and seats and interior trim. Thierry says it should be finished in another month or so. He has two more 220S sedans to work on after that.
Update / July 21, 2002
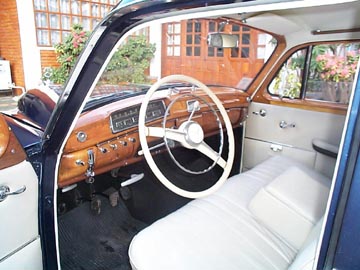
Making good progress on the interior of the 220S.
Update / August 3, 2002
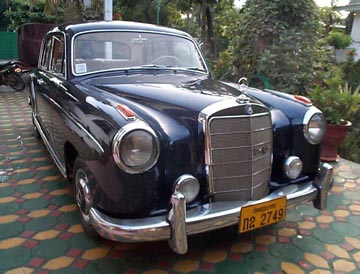
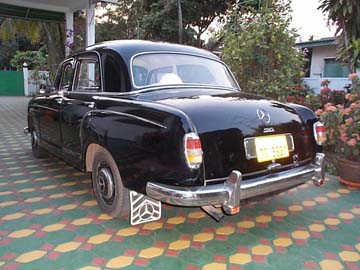
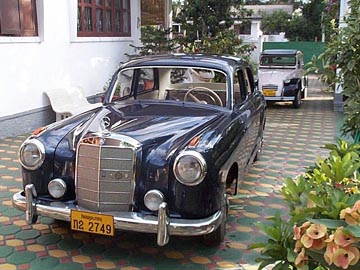
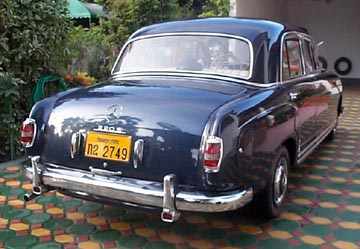
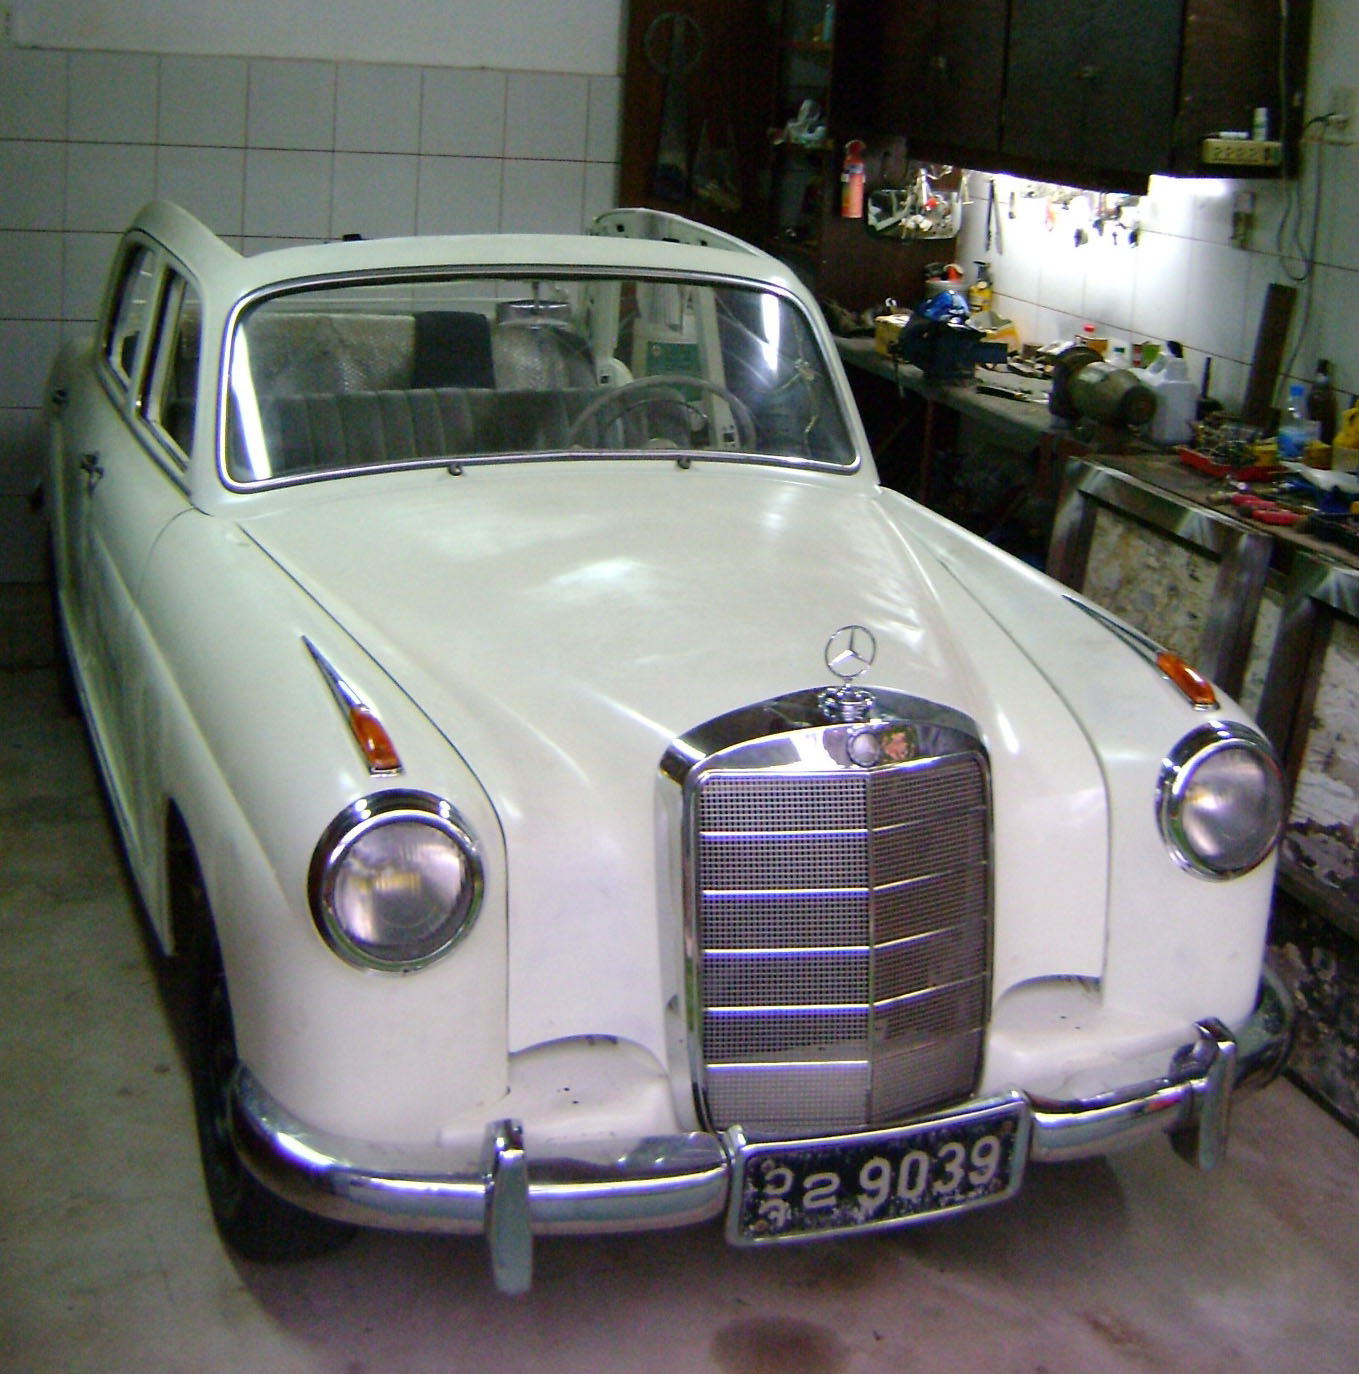
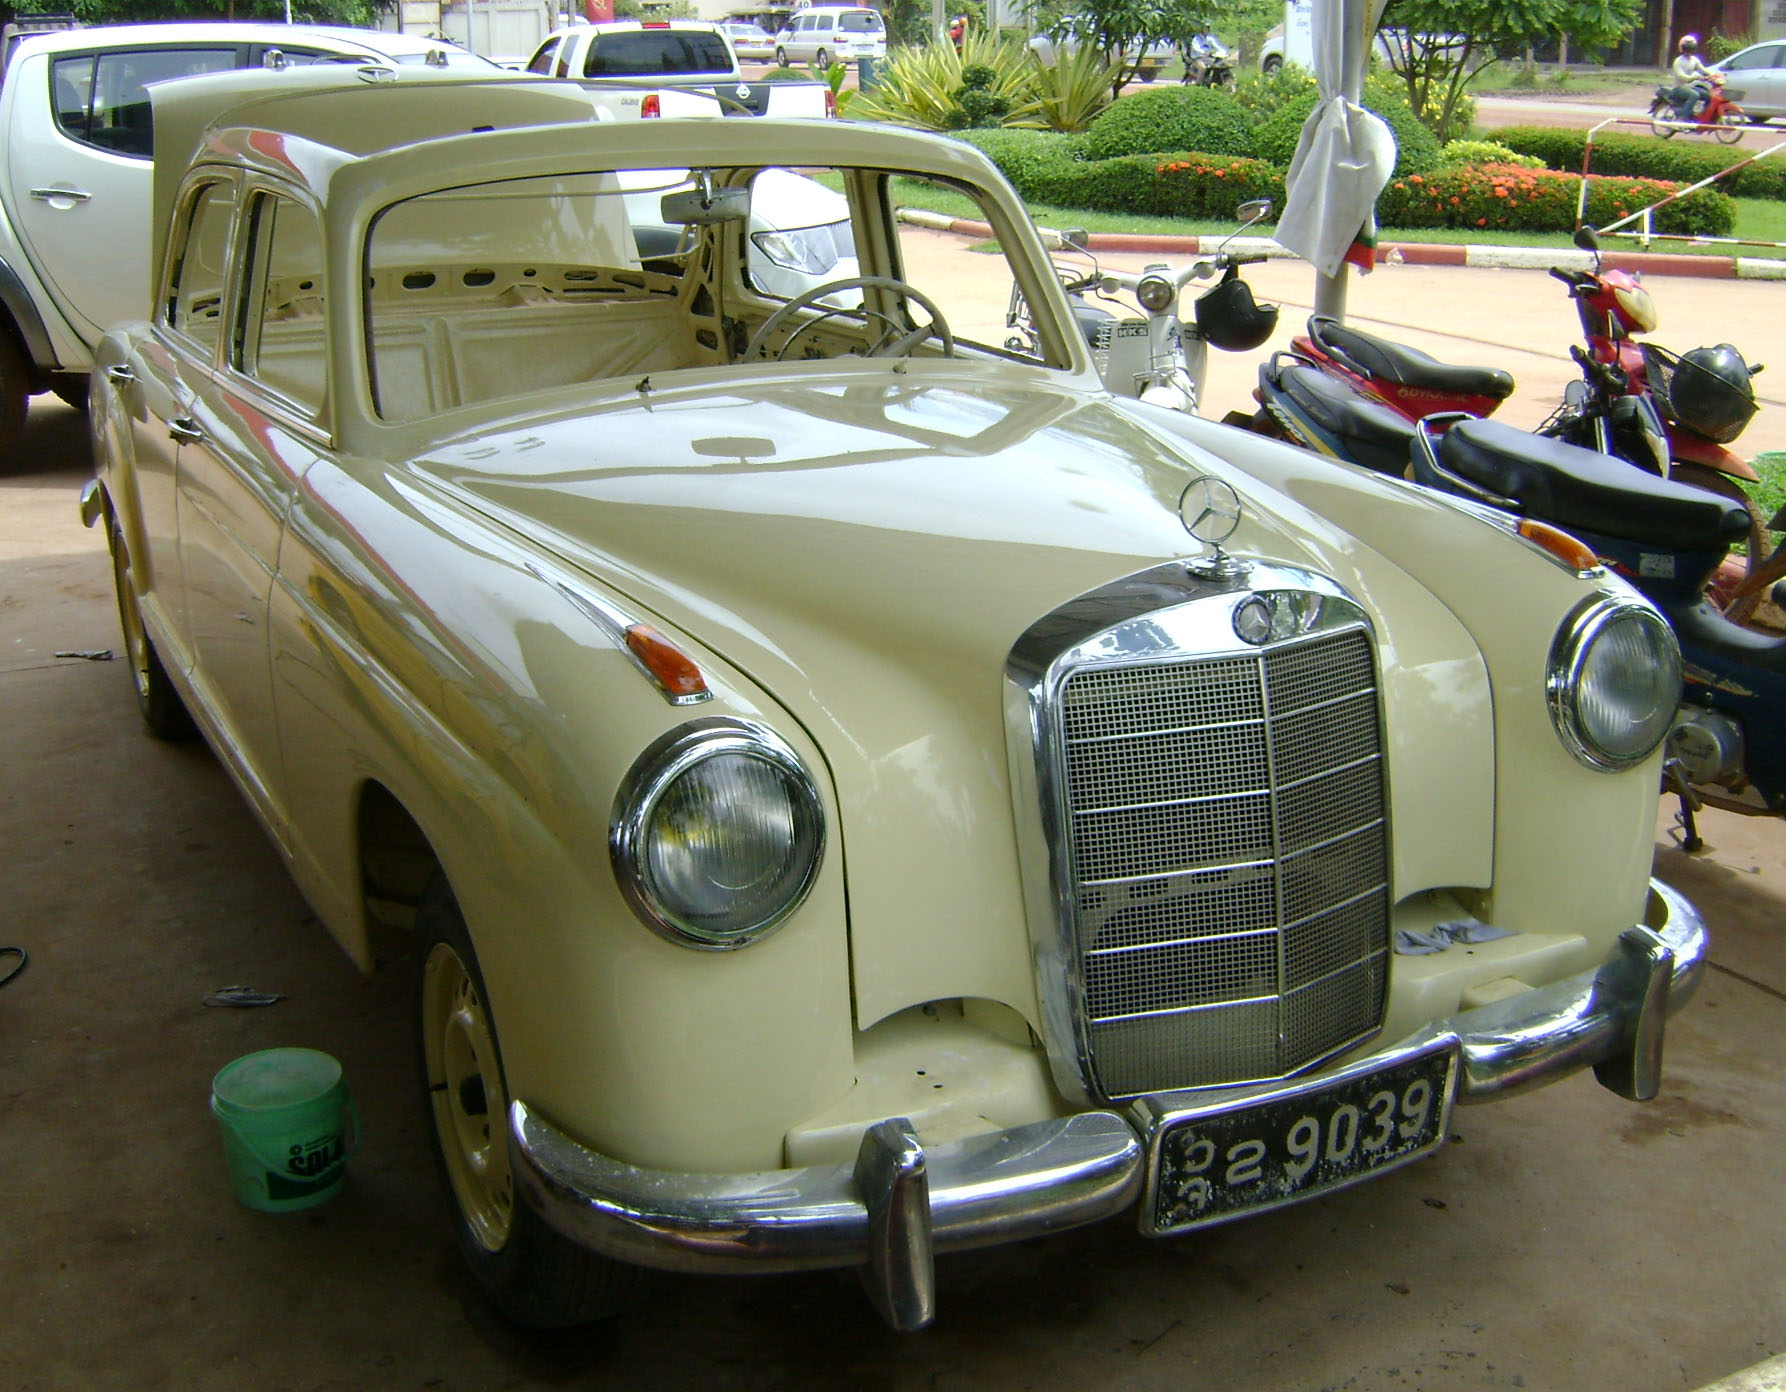
Here is the 1957 220S at 99%, because there is always something to fix! It is missing the mirrors. Now, this Mercedes-Benz is ready for driving to work every day.
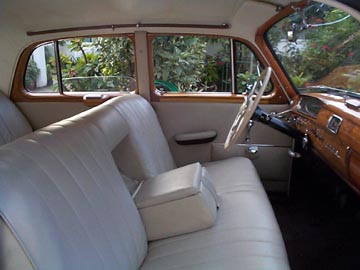
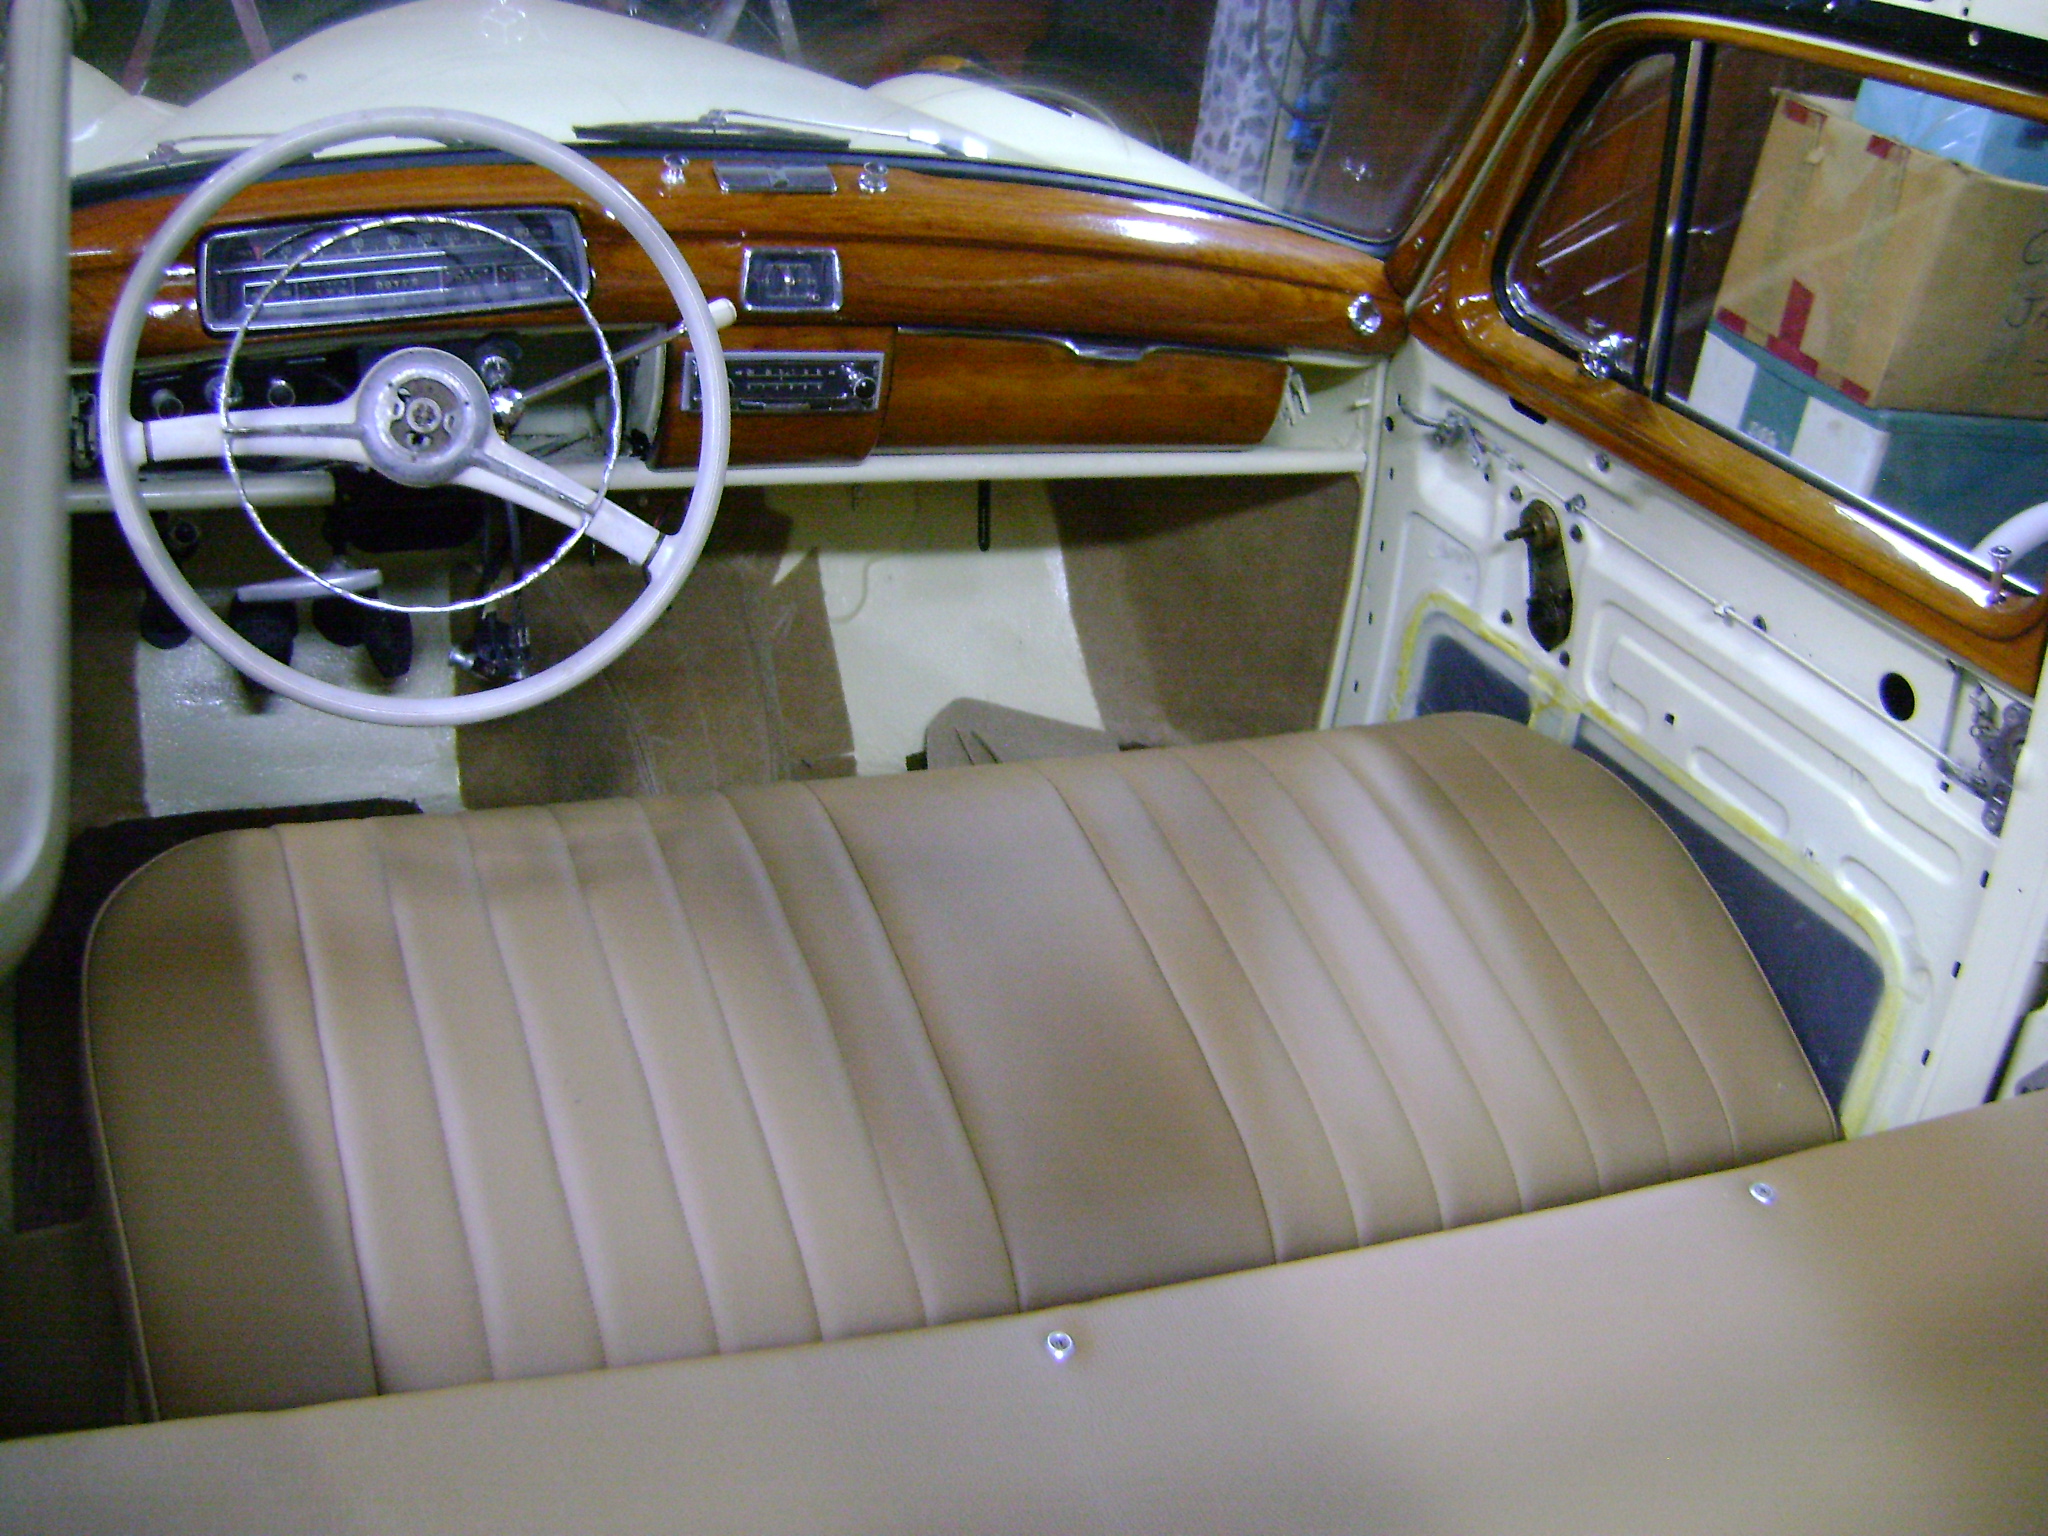
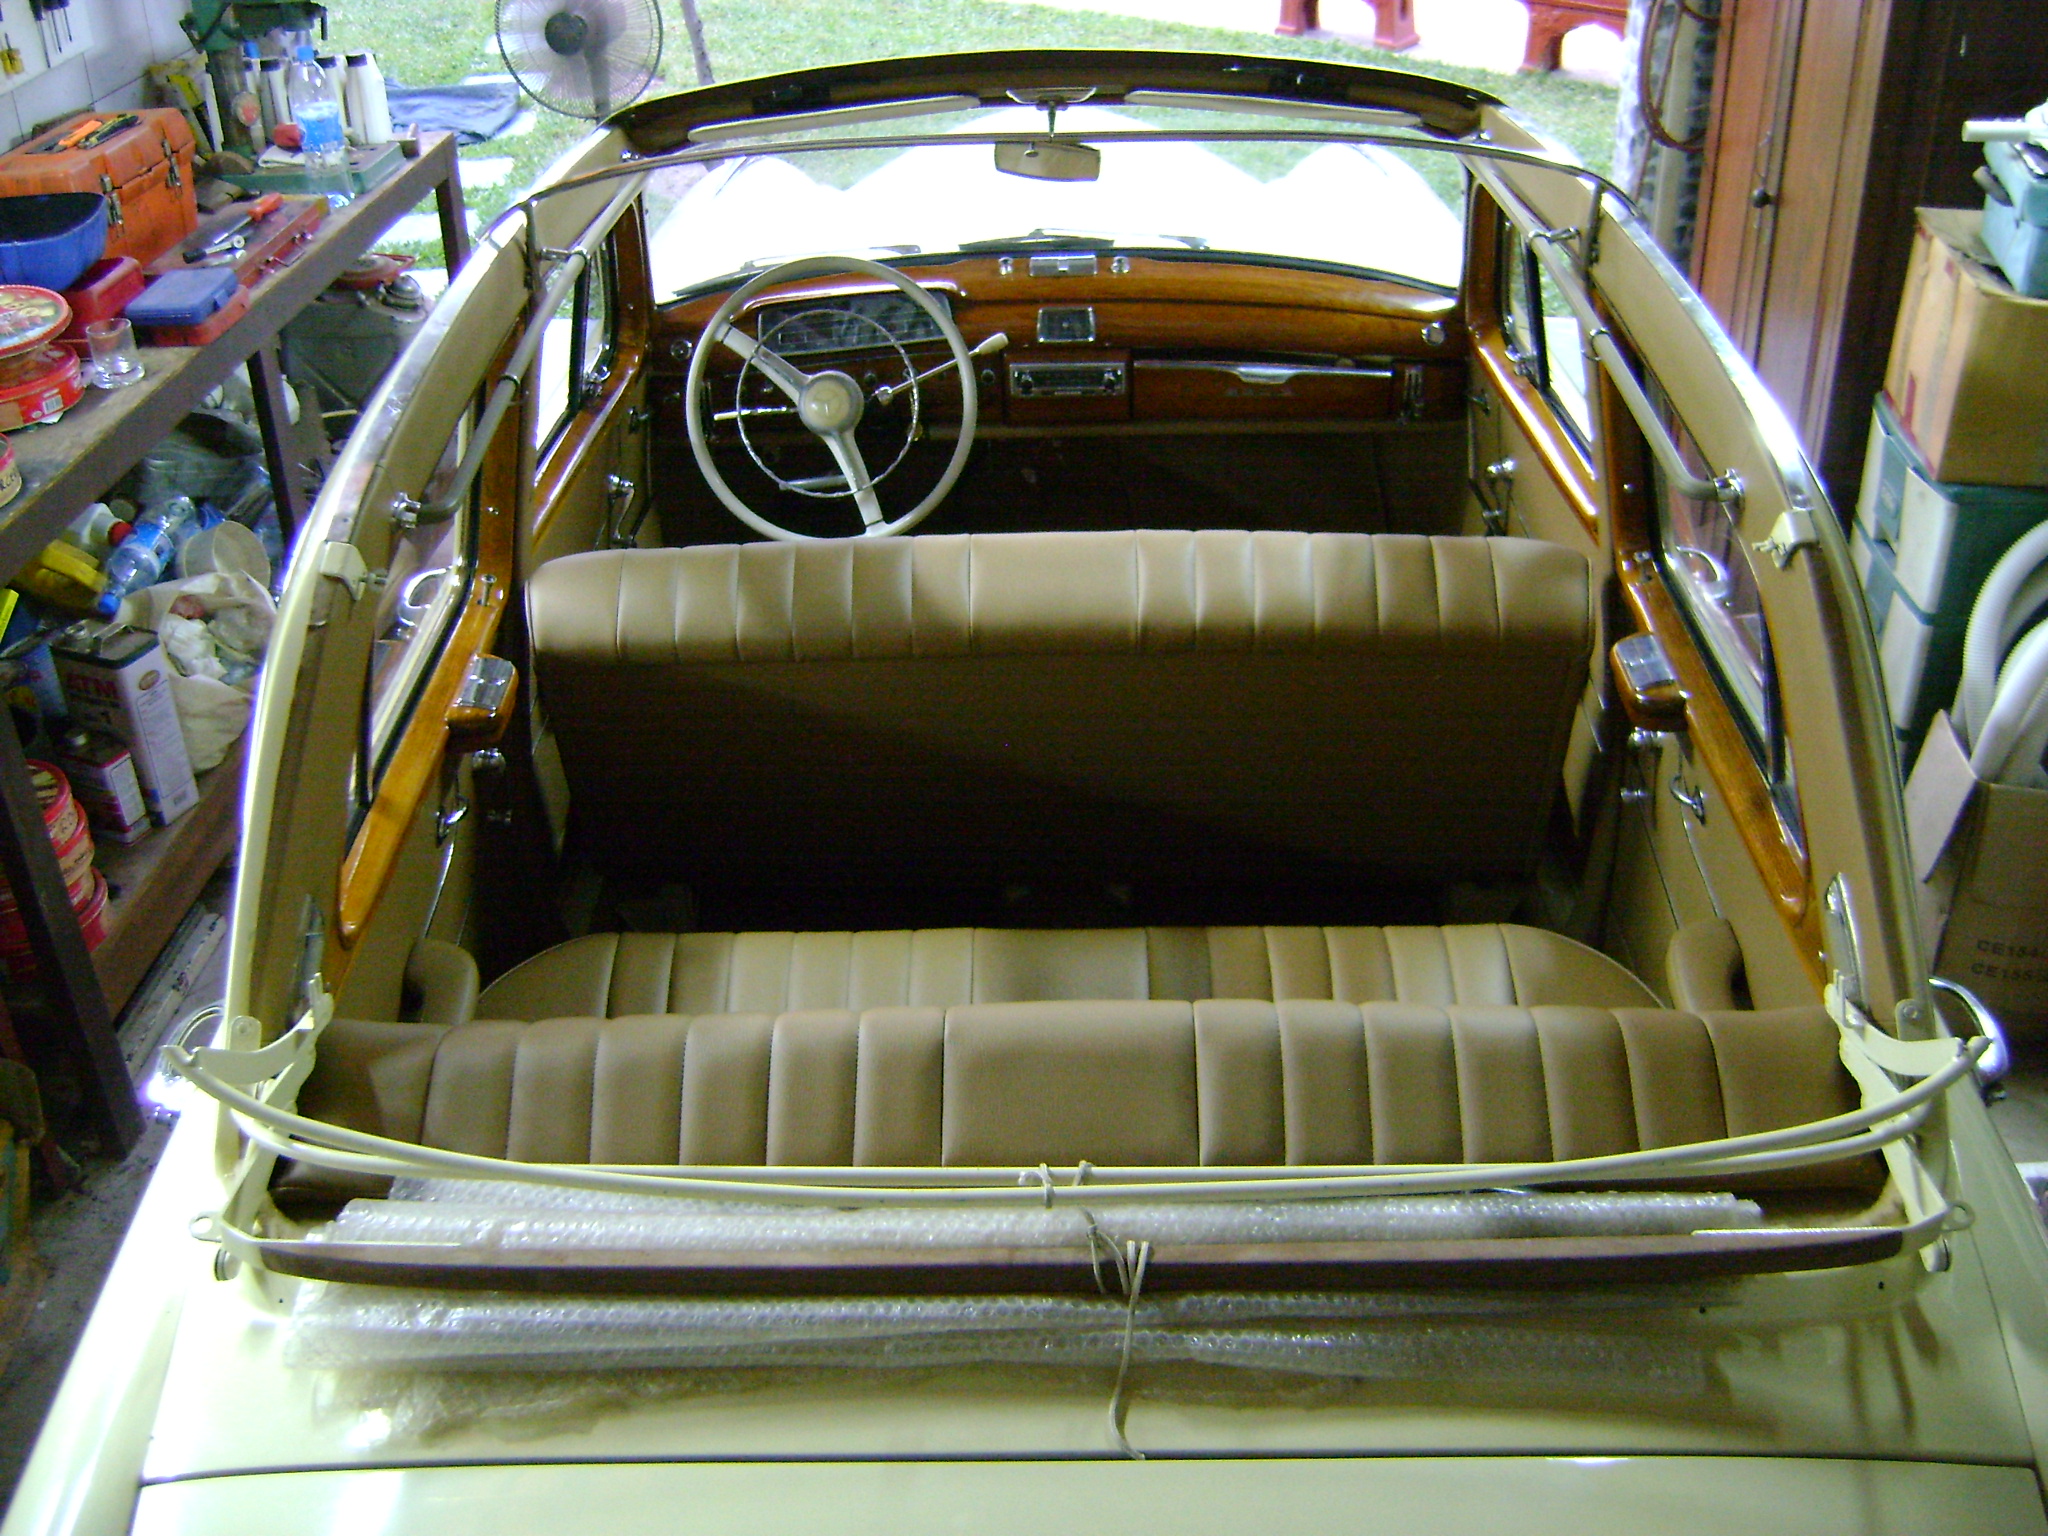
A rare bench seat with folding arm rest in the front.
Everything looks fresh and new with this attractive color combination.
Regards,
Thierry in Laos – with only two Mercedes-Benz Pontons left to restore.
Update / September 7, 2002
Thierry begins another 220S project...
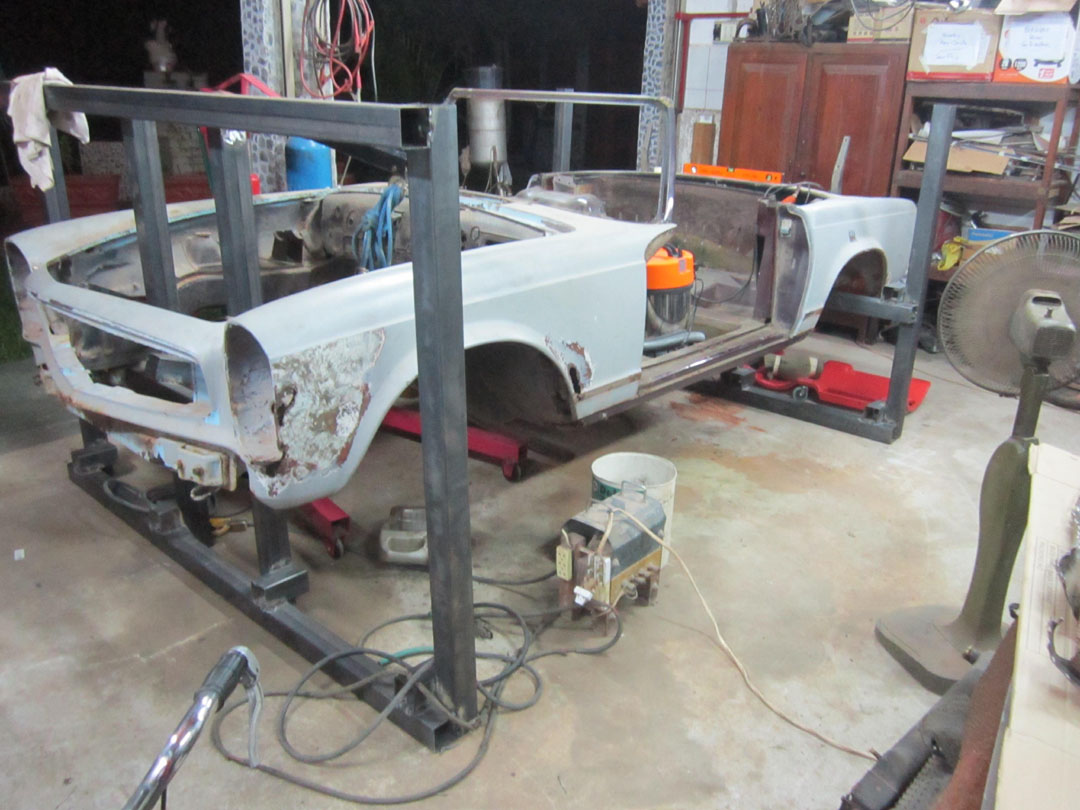
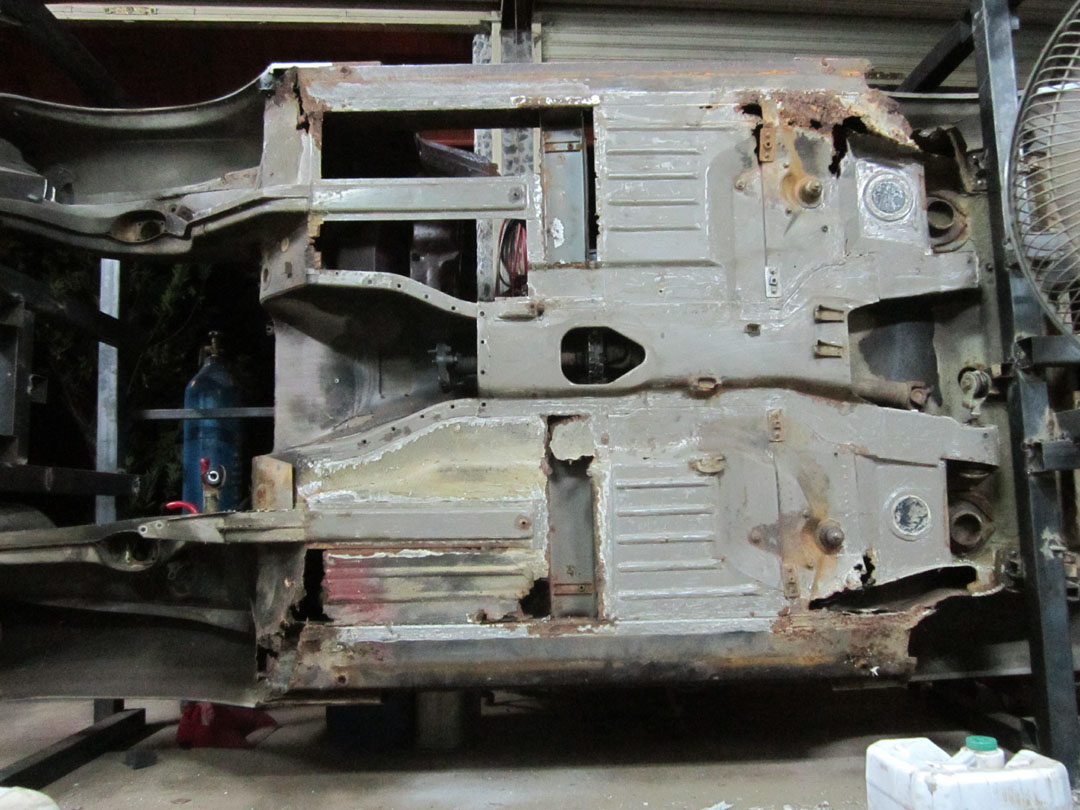
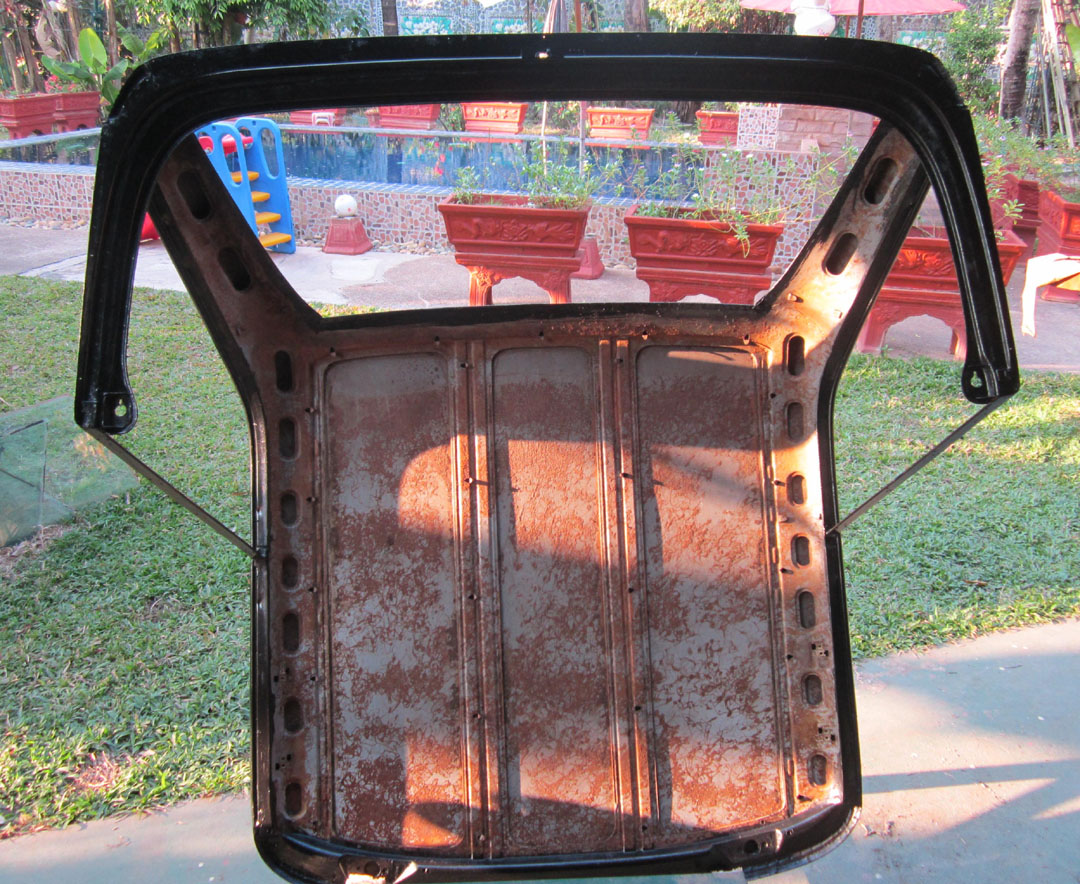
New floor panels being welded in place.
One way to cure the rust and corrosion is to patch in new metal.
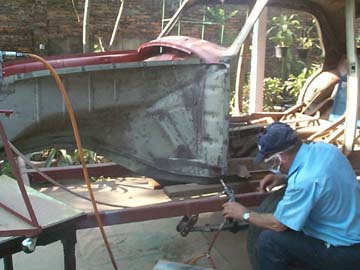
Update / April 25, 2003
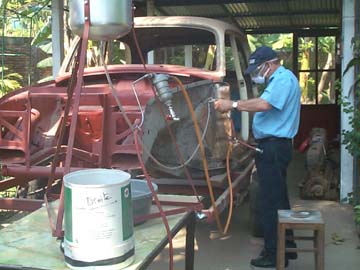
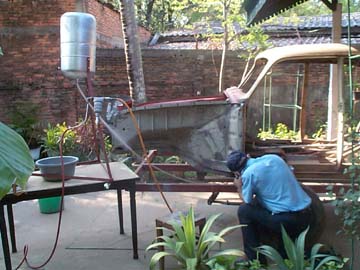
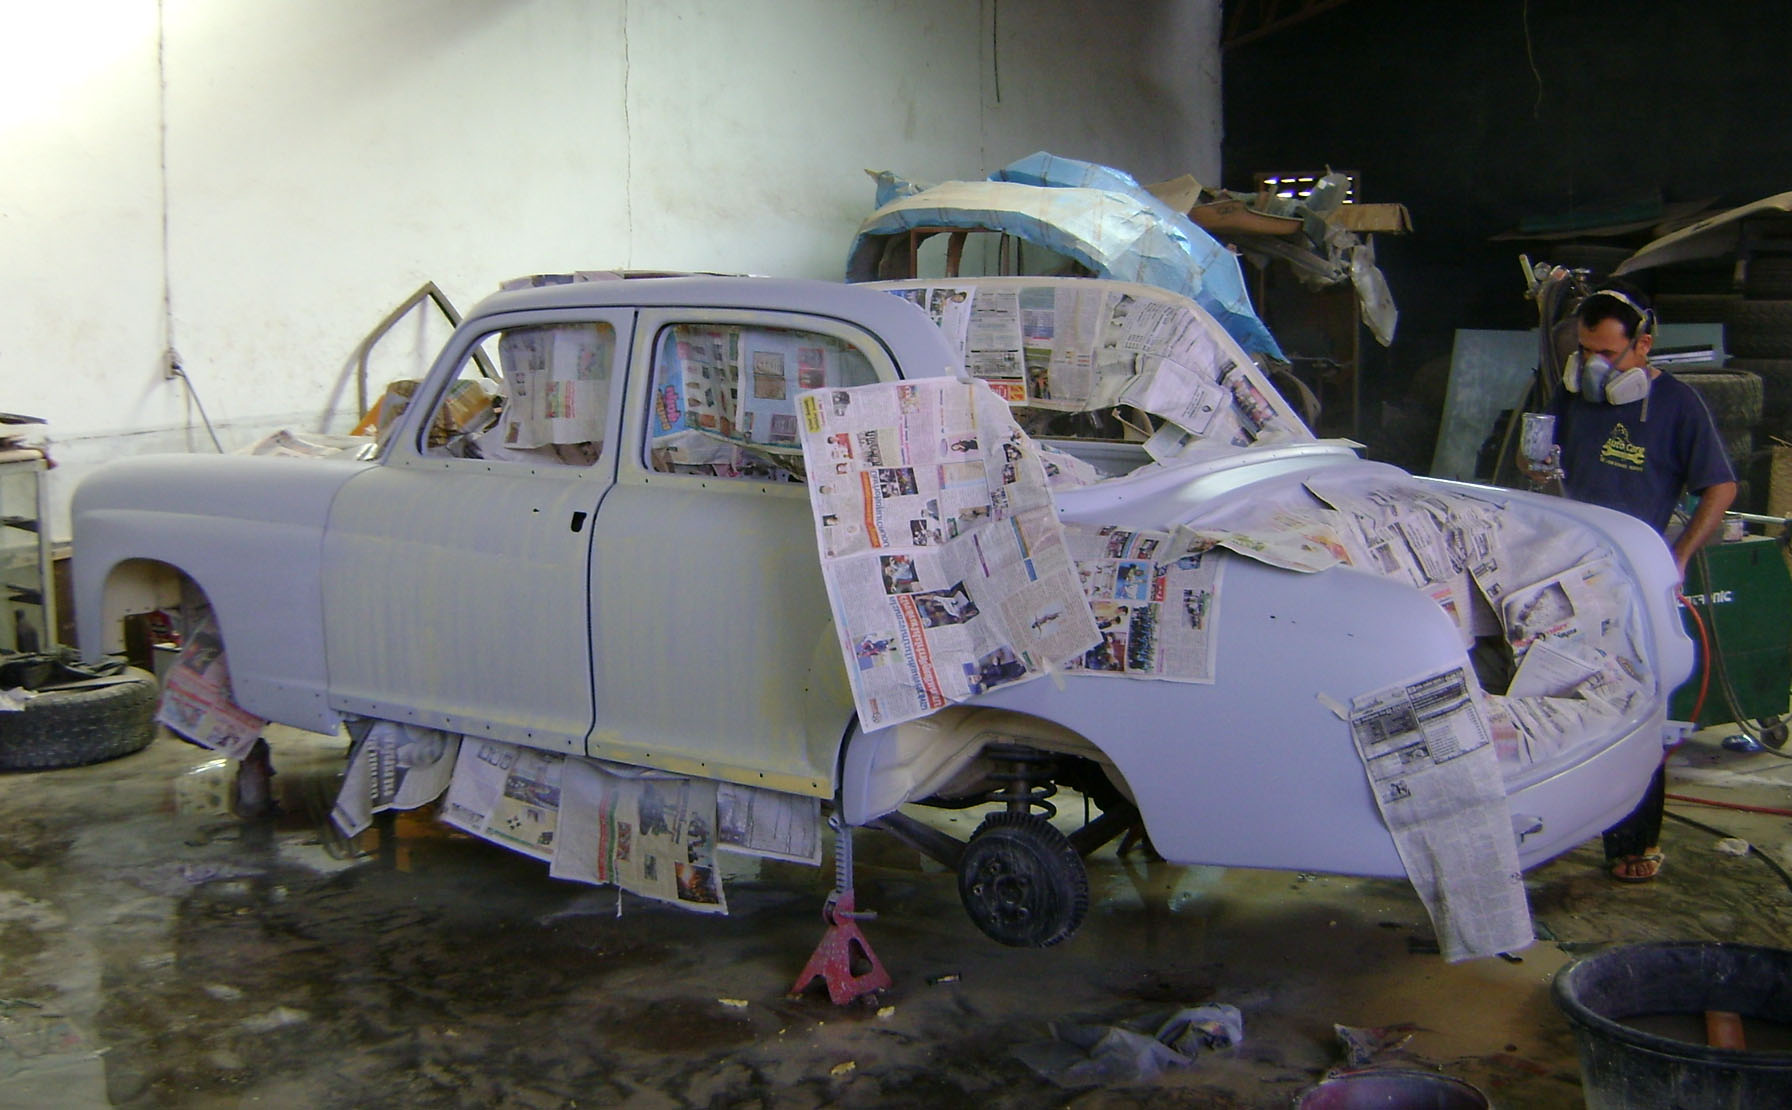
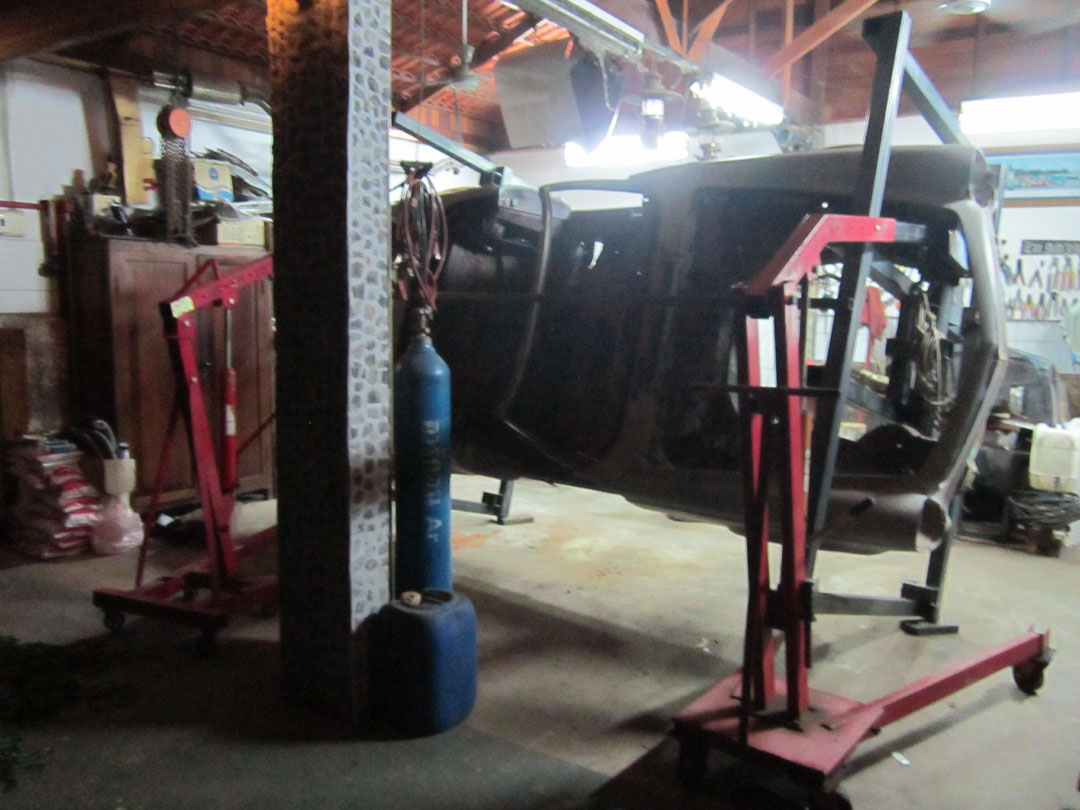
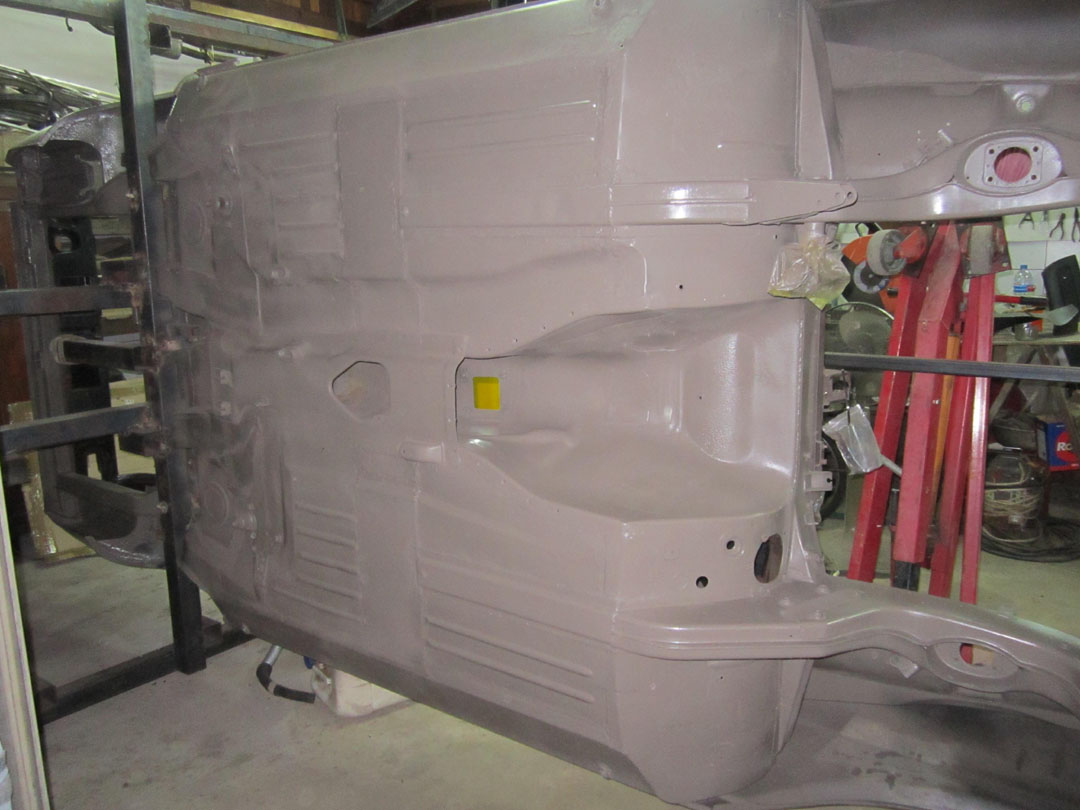
Sandblasting and priming the 220S body shell.
Update / May 18, 2003
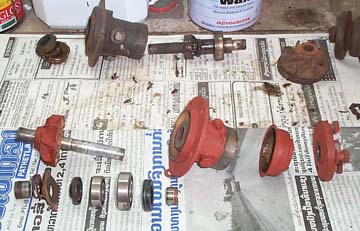
Water pump

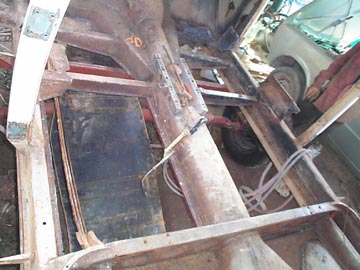
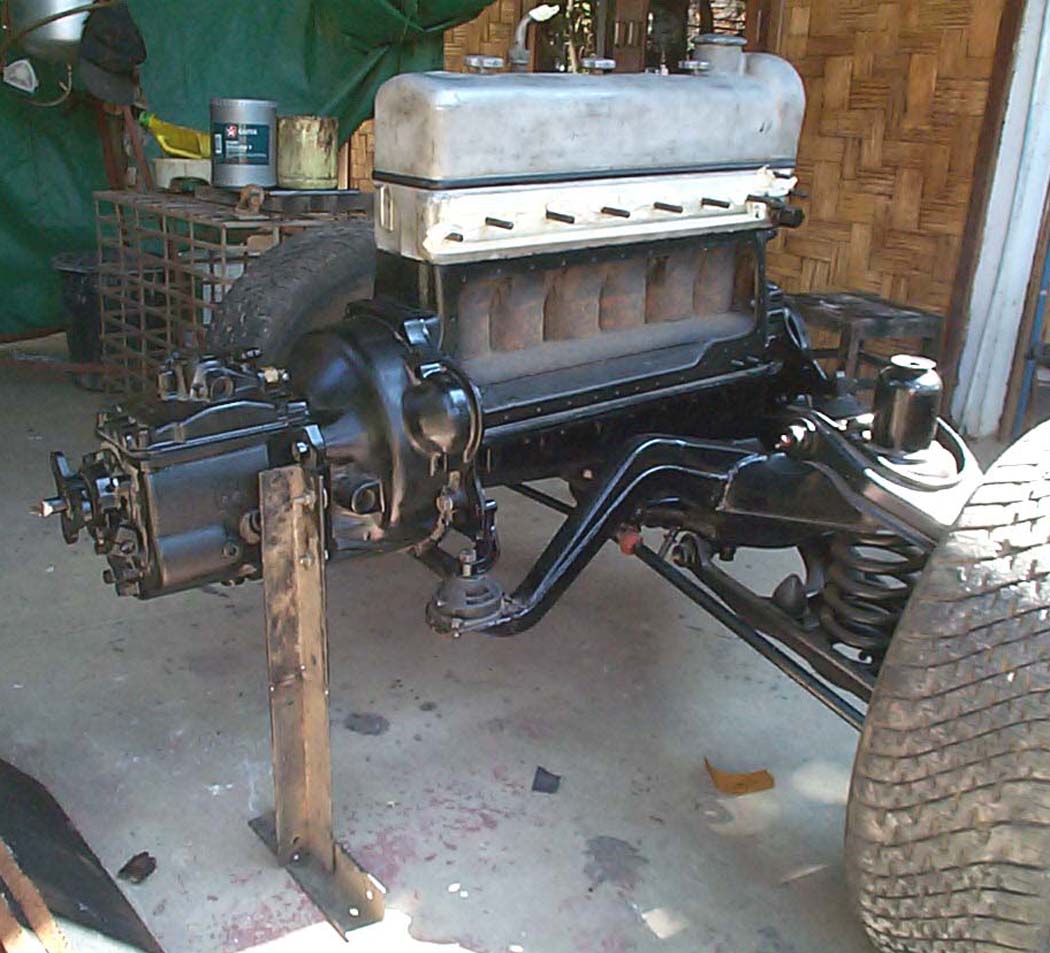
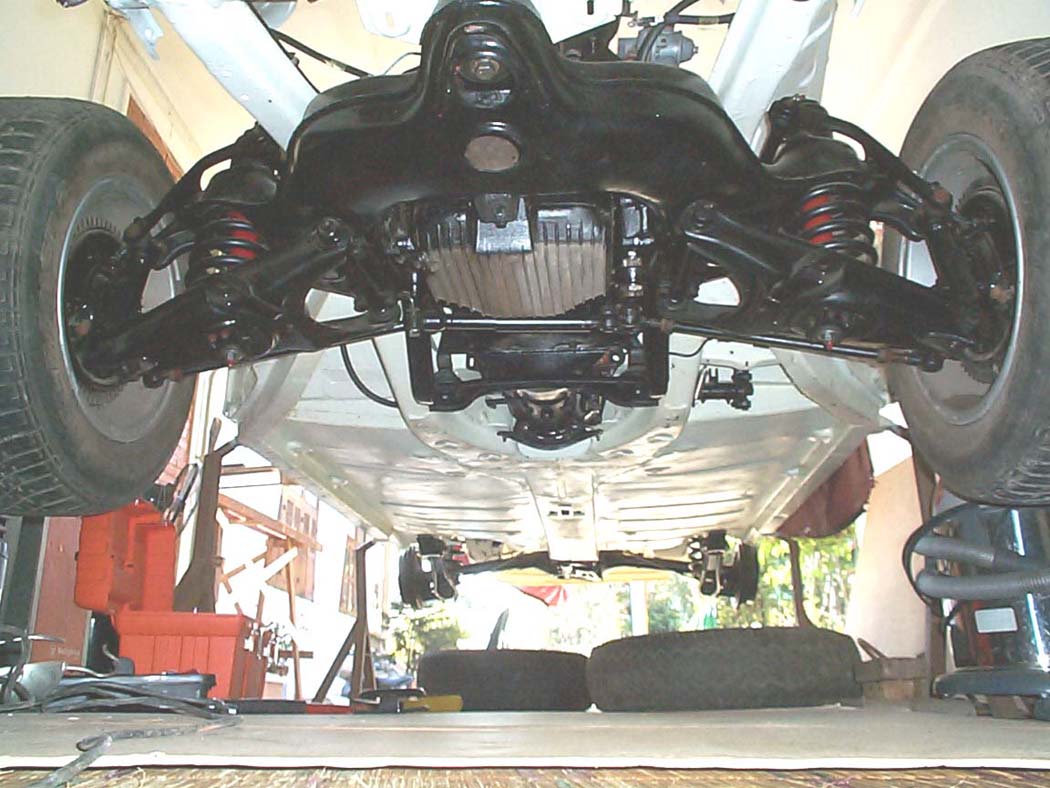
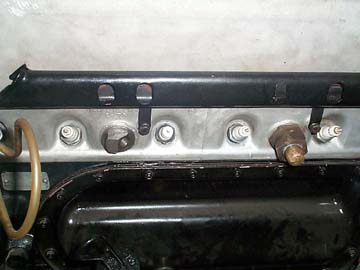
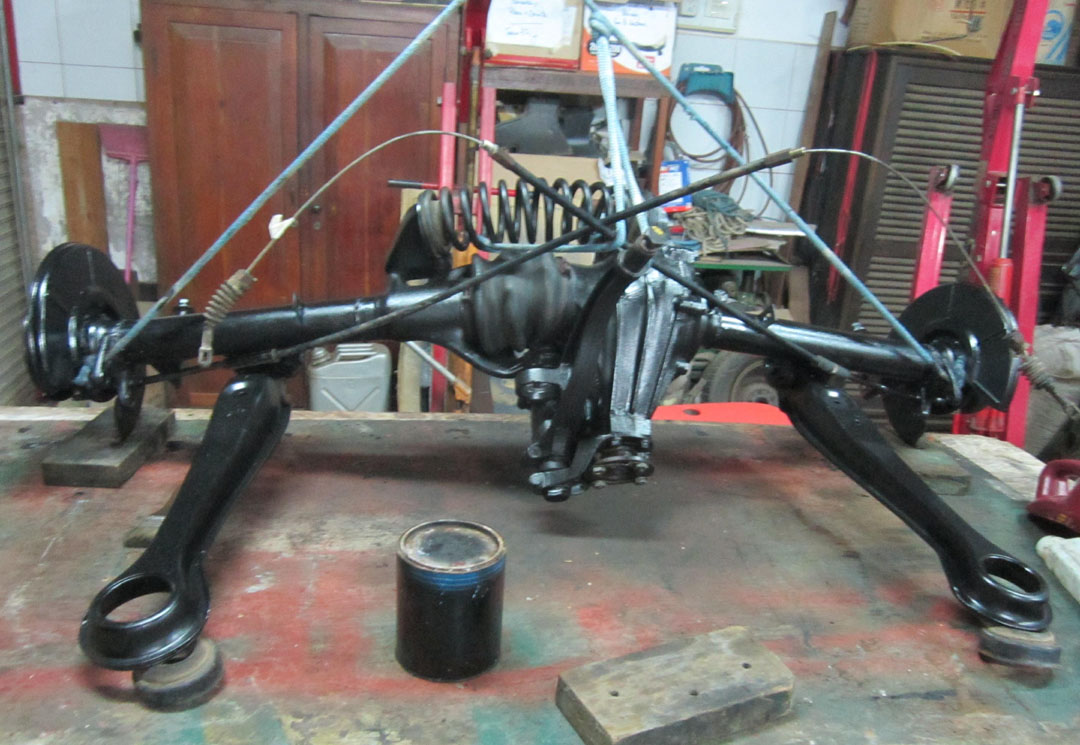
Front suspension
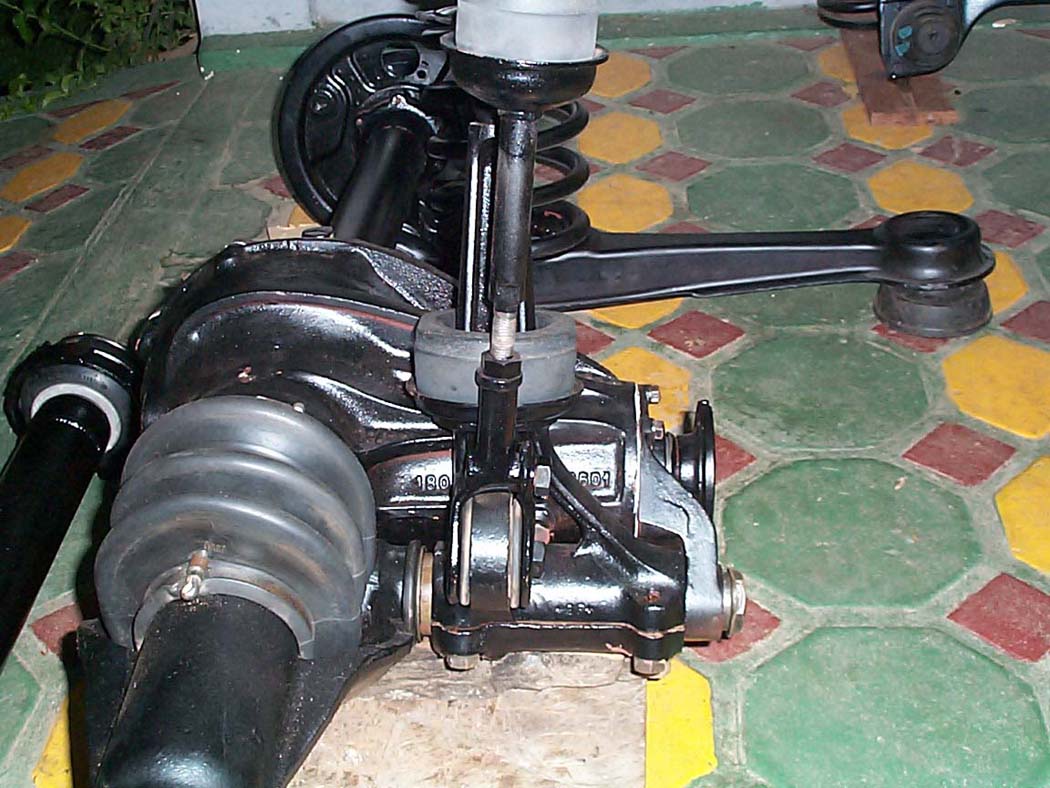
U-shaped sub-frame (the so-called "Fahrschemel"), rubber mounted to the shell at three points. It will hold the engine, gearbox, suspension and recirculating ball steering.
Update / June 8, 2003
Update / January 2, 2005
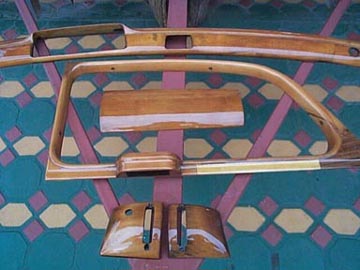
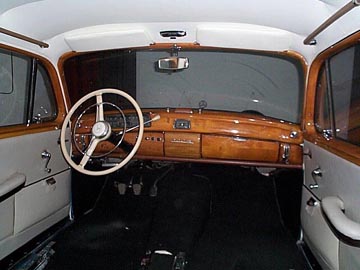
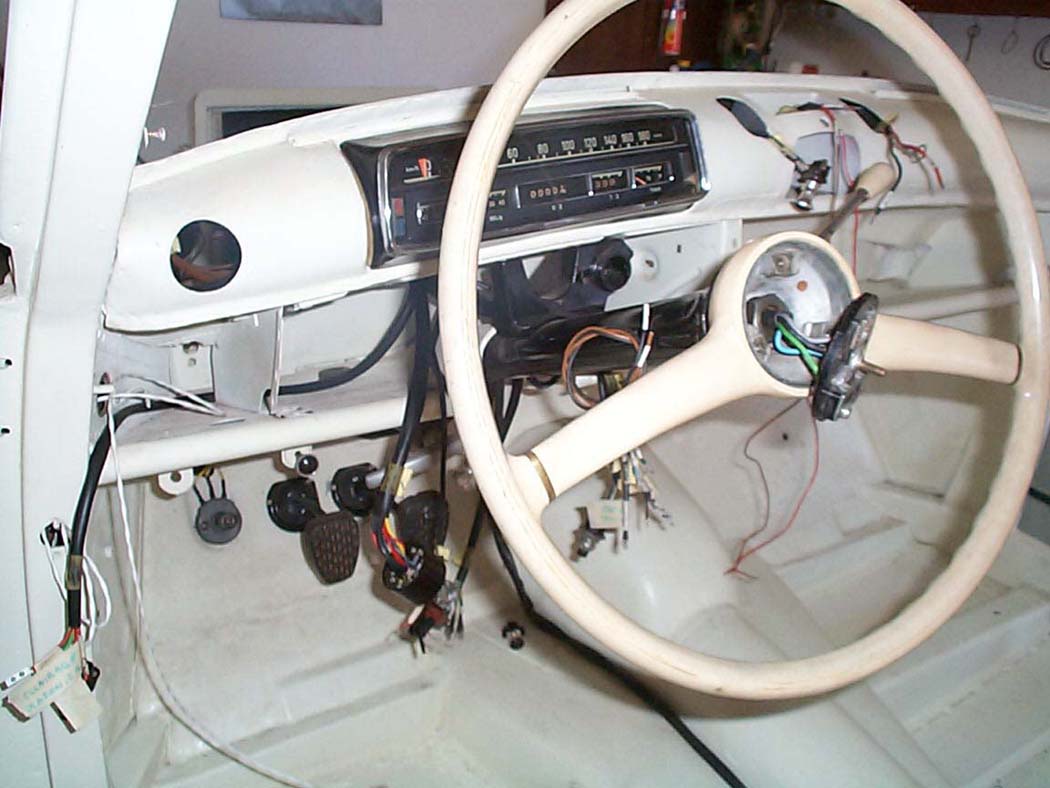
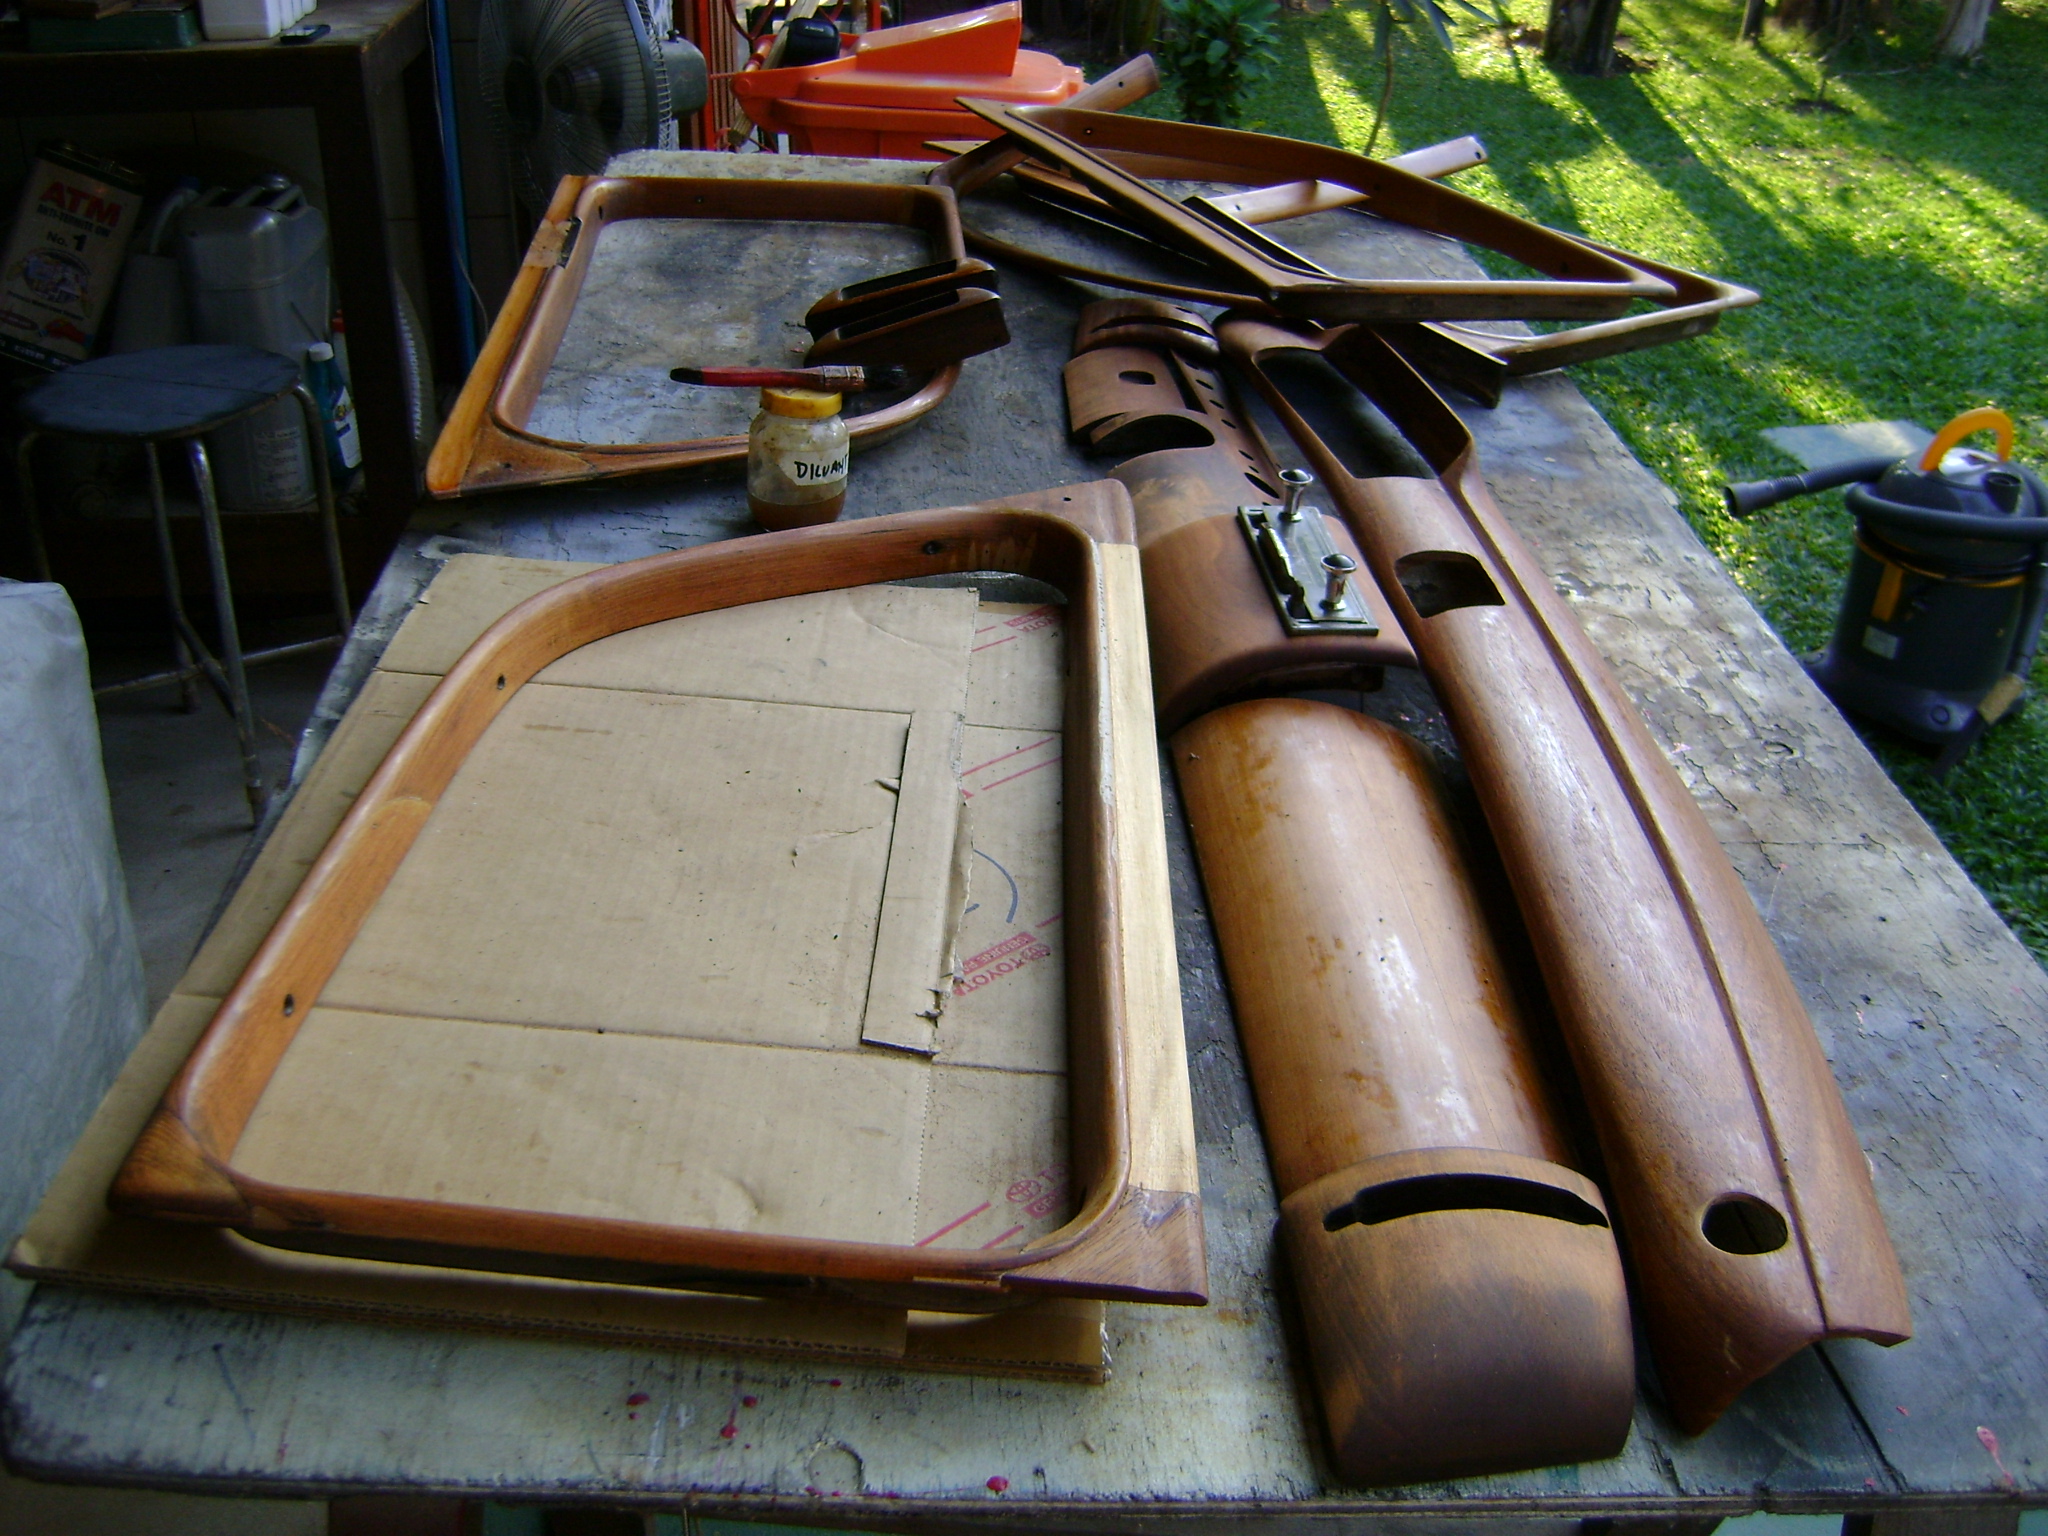
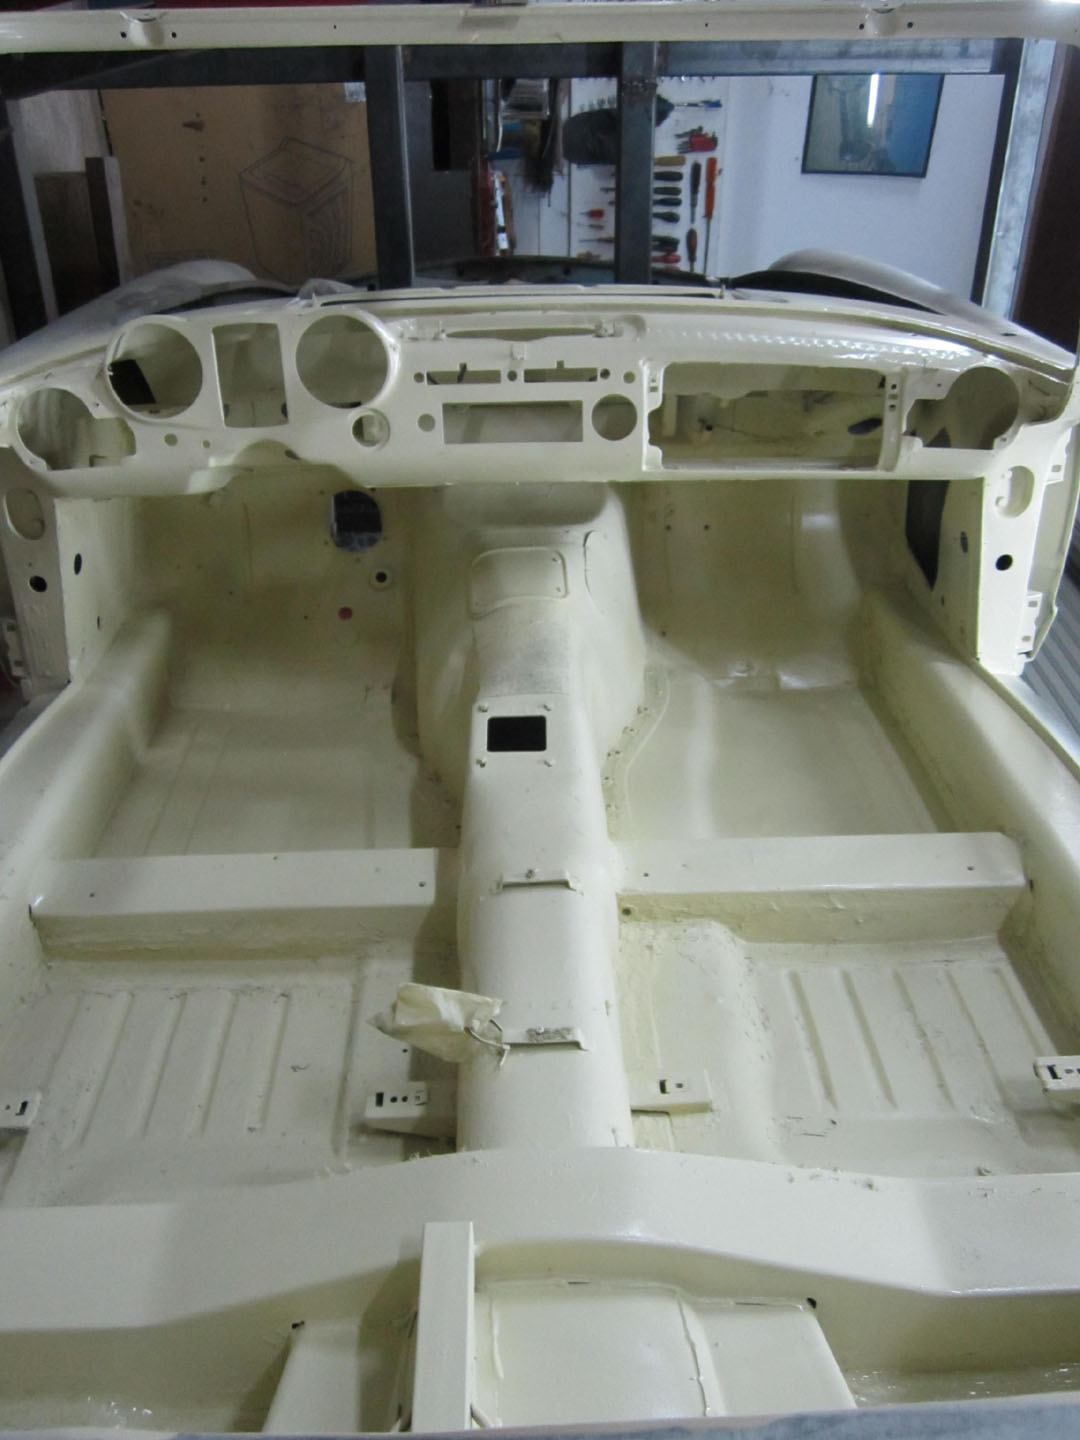
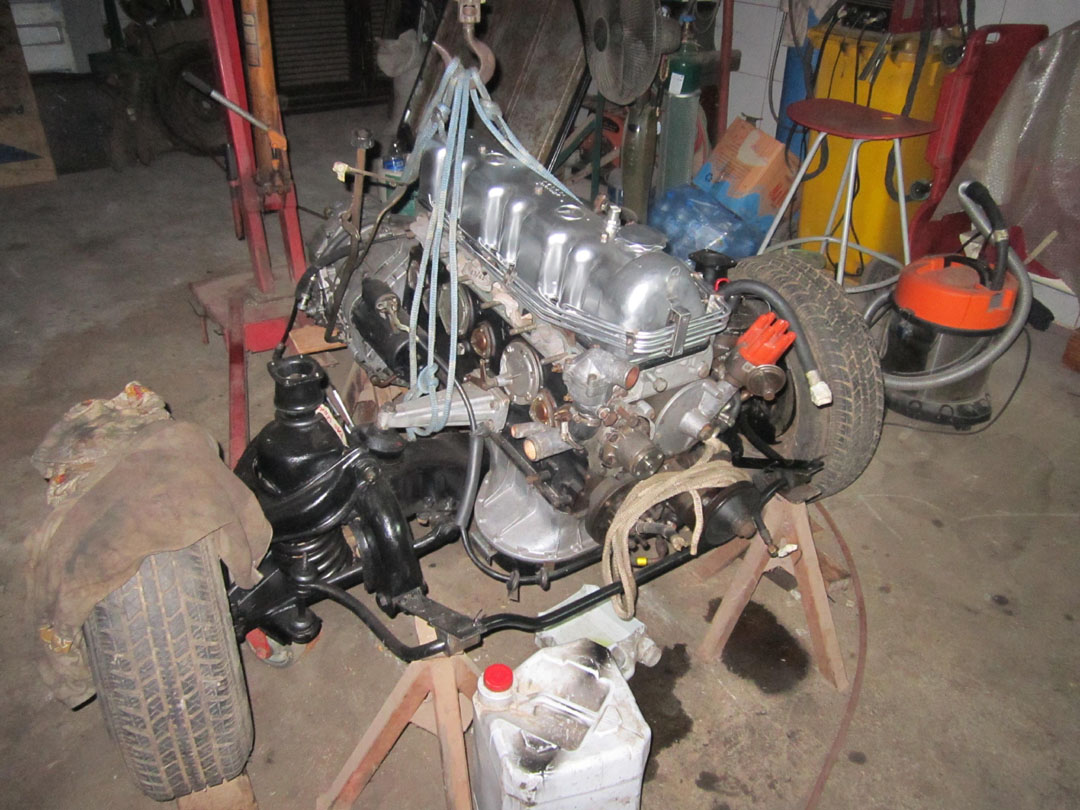
Steering, dashboard, instrument cluster, new wiring harness
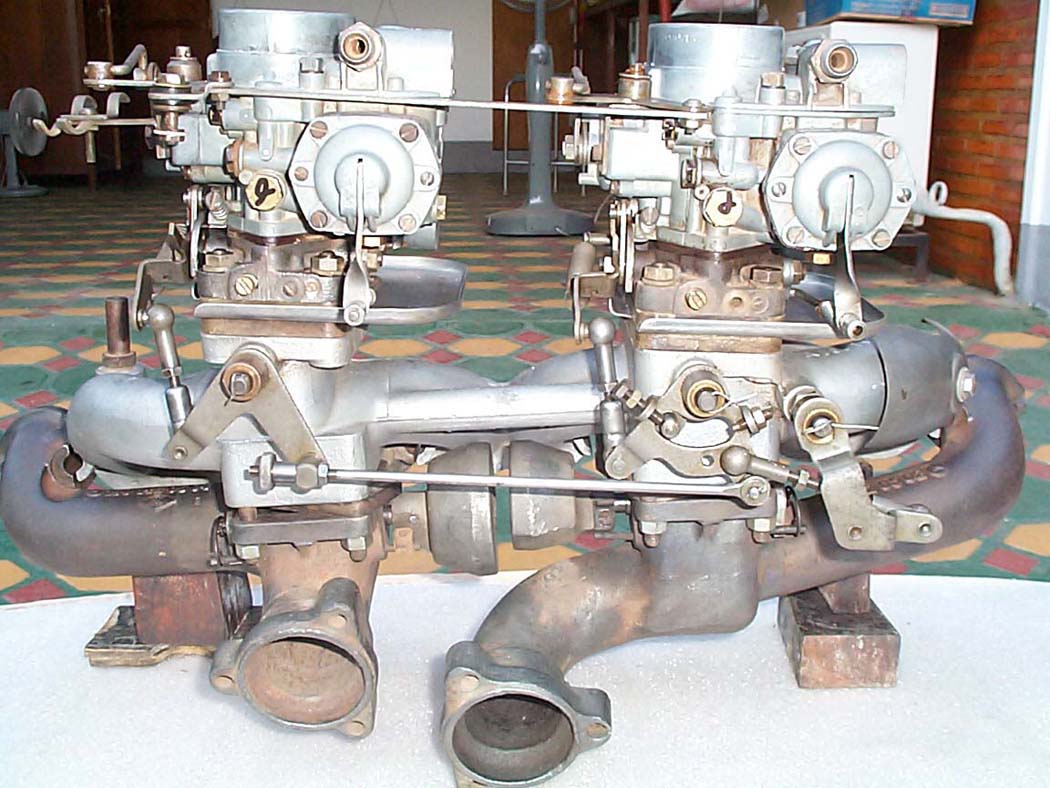
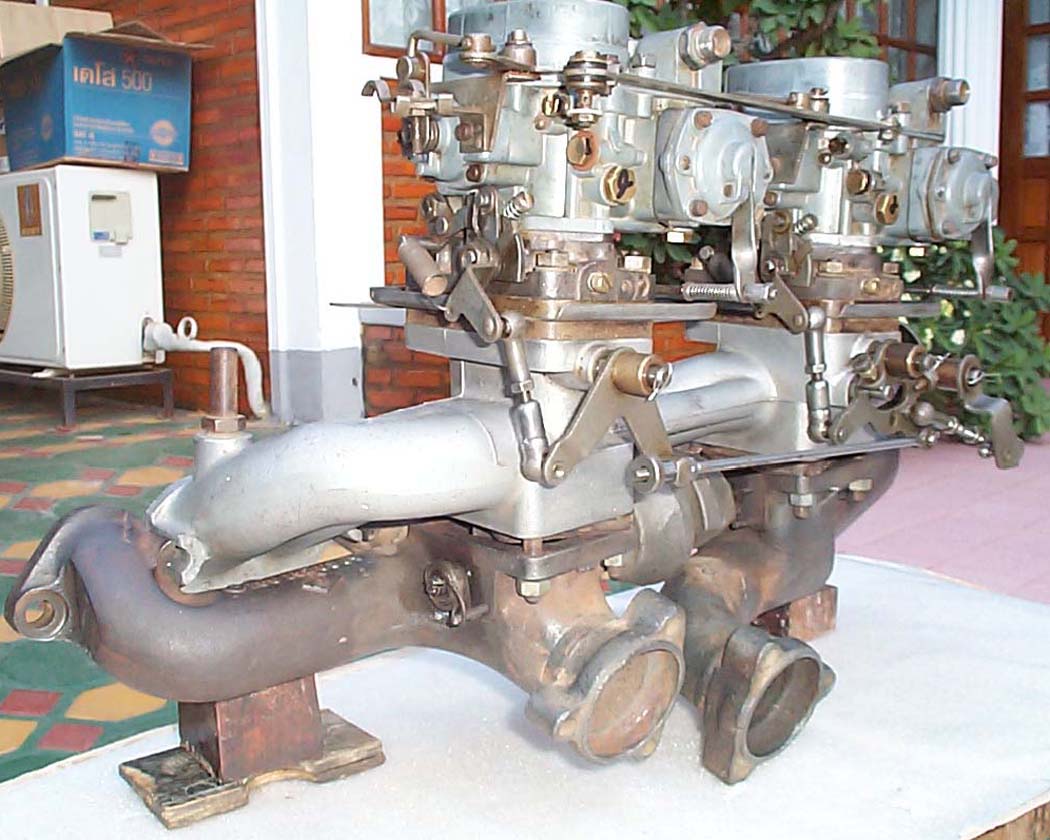
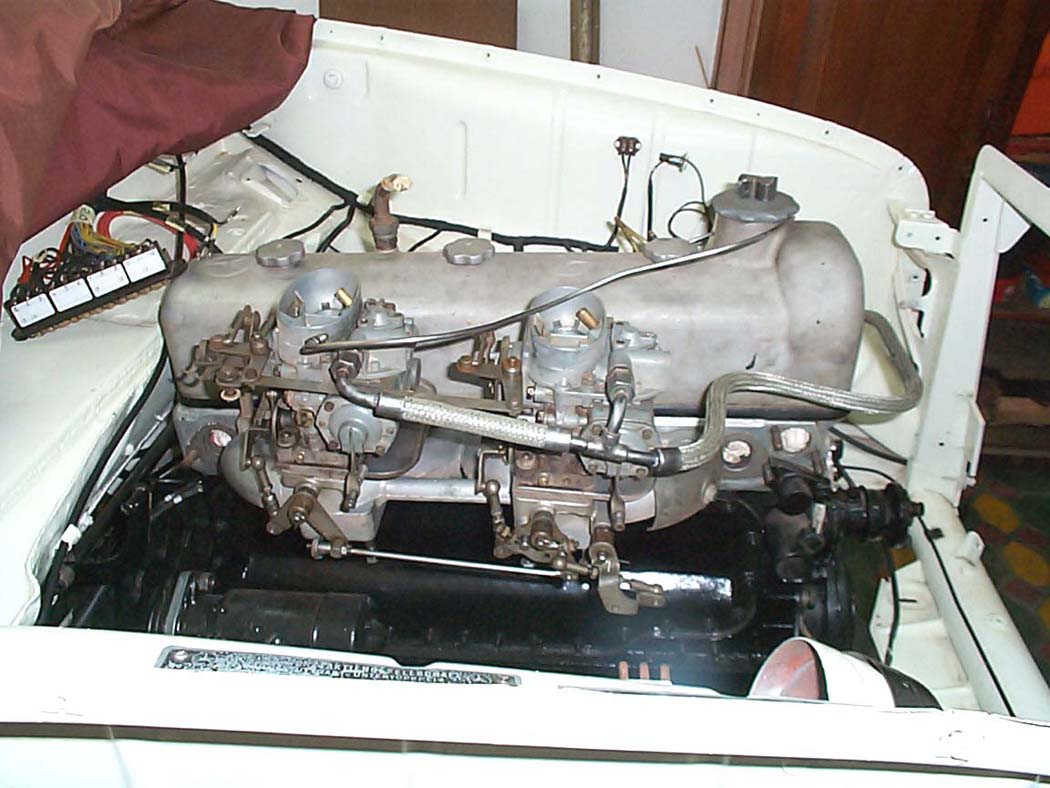
Exhaust manifold and carburetors
Exhaust manifold and carburetors
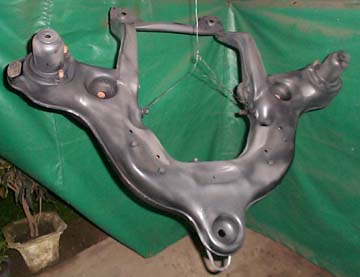
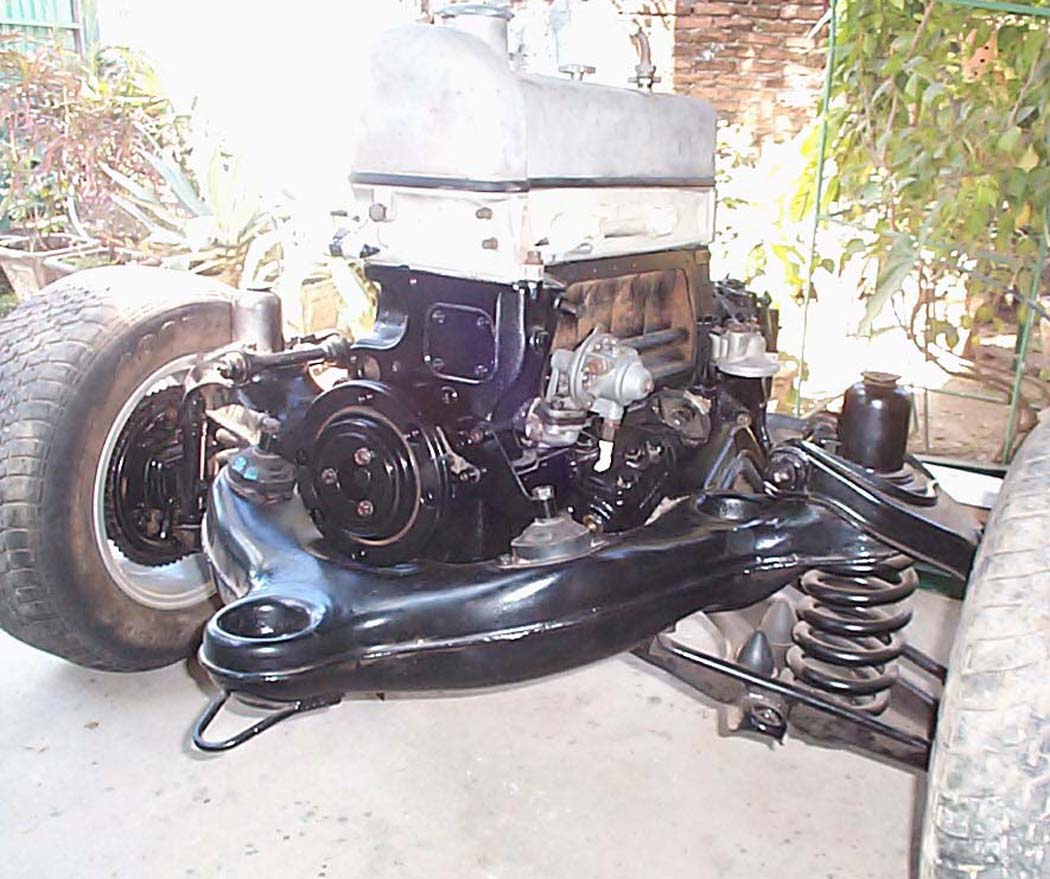
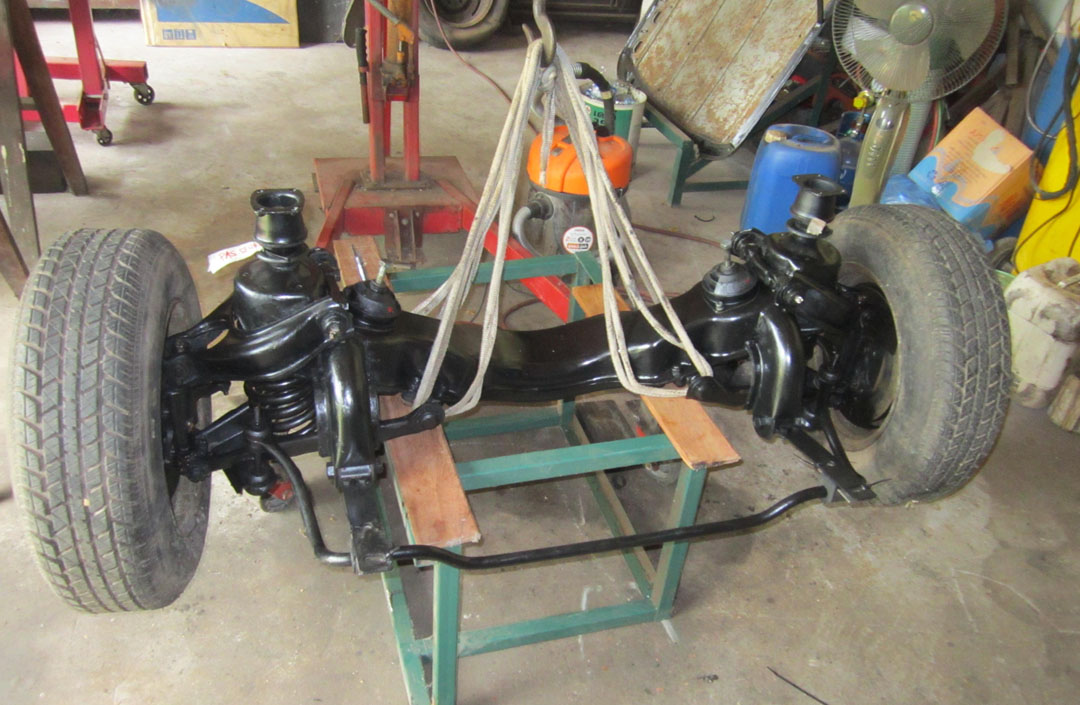
Sub-frame
Sub-frame (front view) with engine
Sub-frame (rear view) with engine
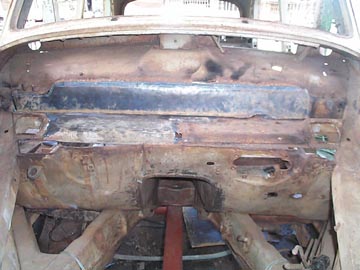
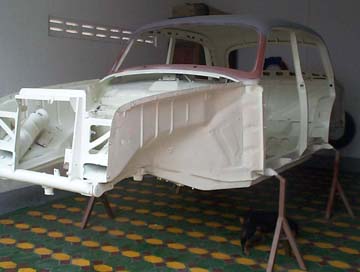
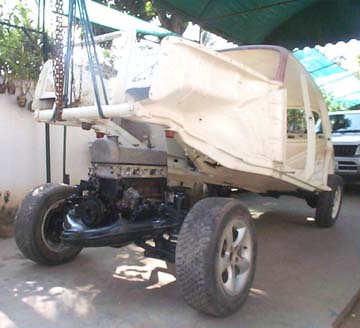
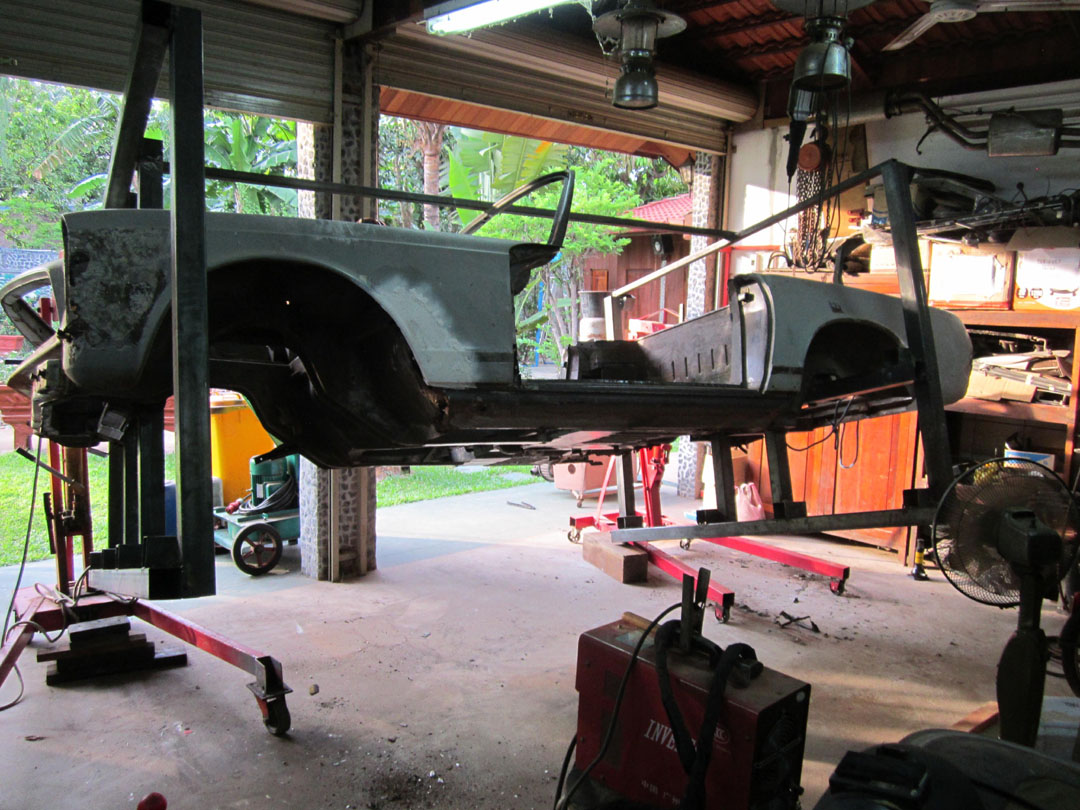
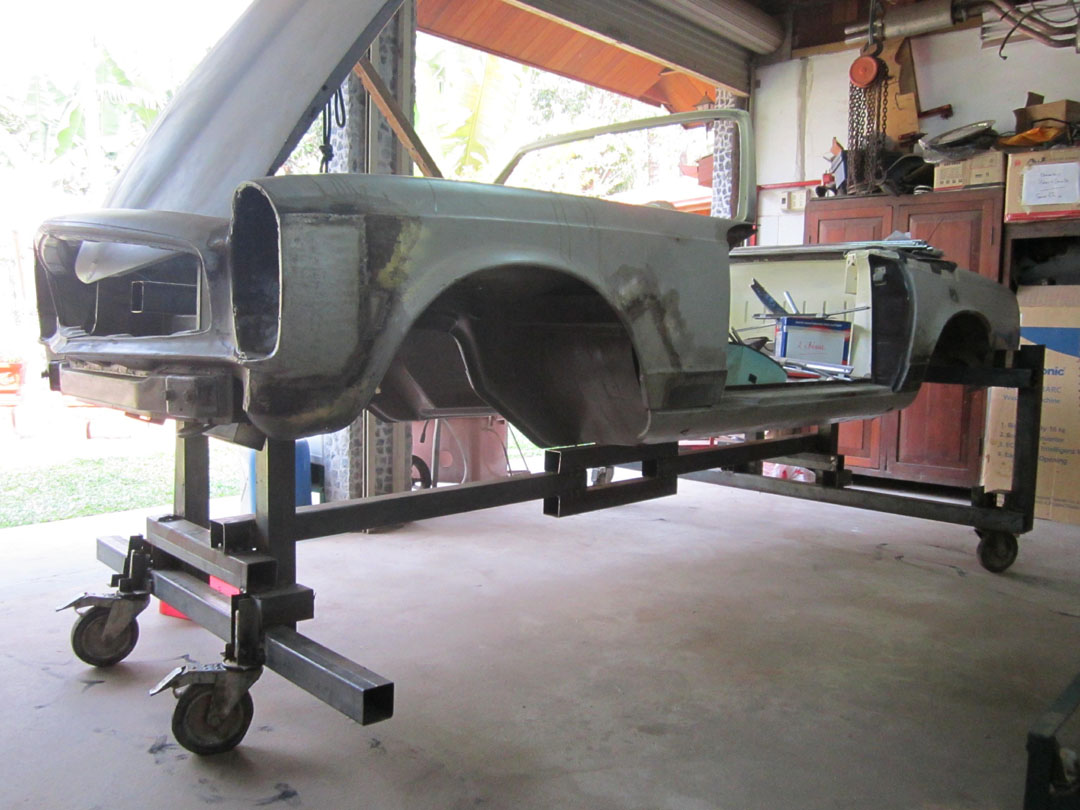
Body being lowered onto the sub-frame
Engine bay
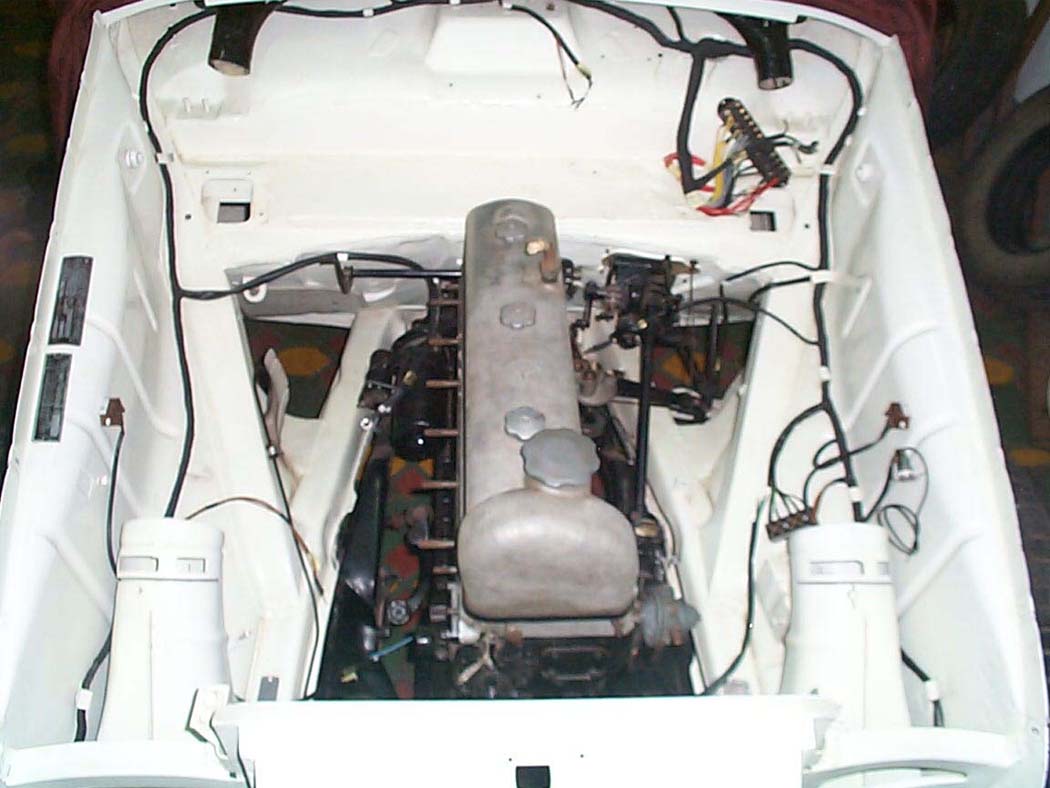
Engine bay with new wiring harness
Sub-frame (bottom view)
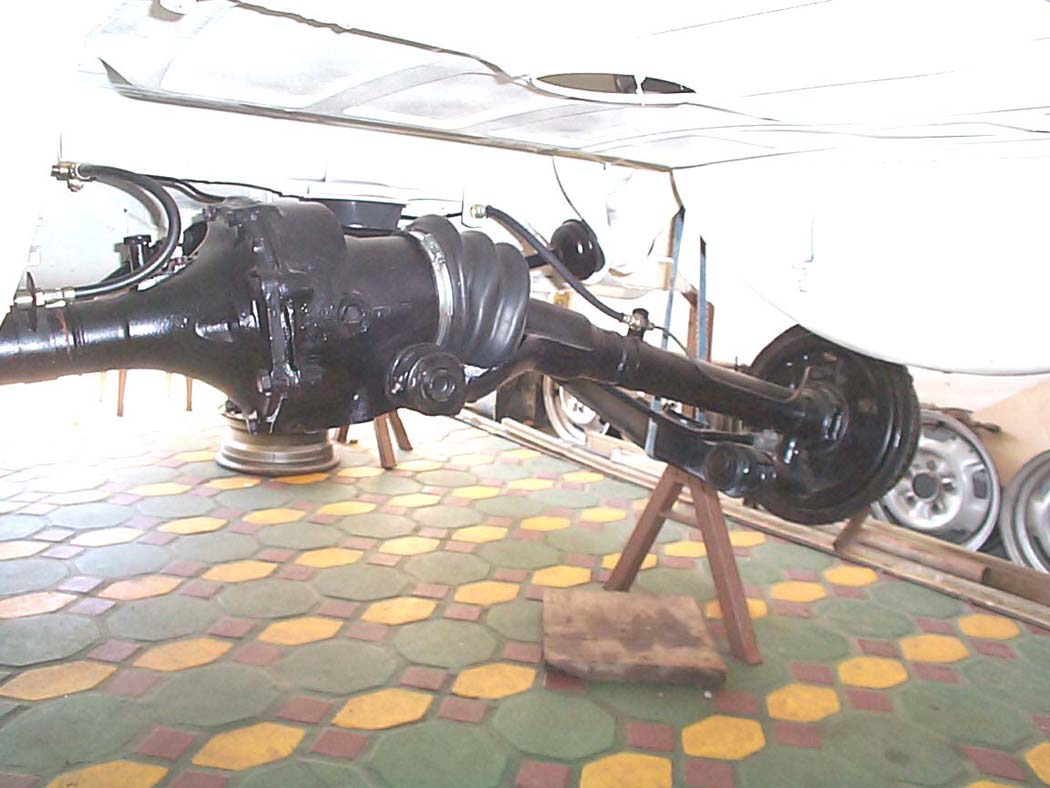
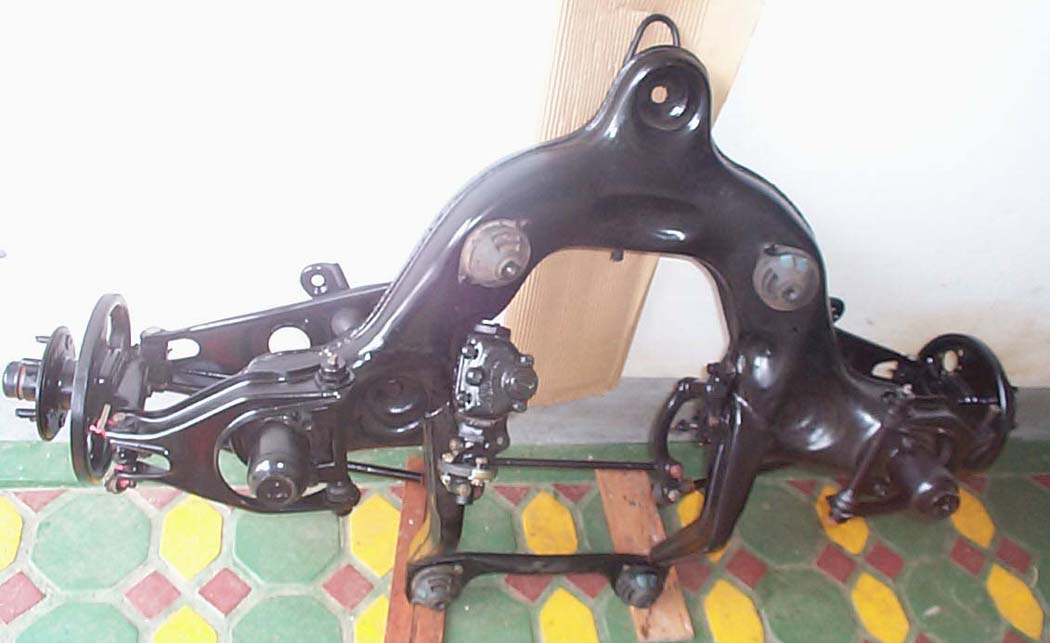
Rear axle (rear view) with rubber boot visible
Rear axle with rubber boot visible
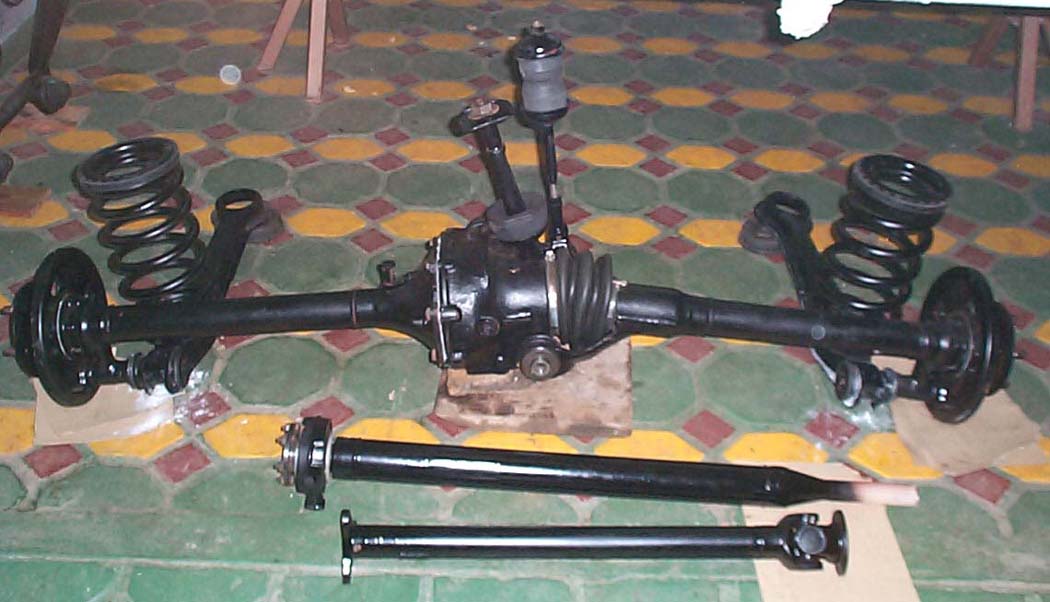
Rear axle
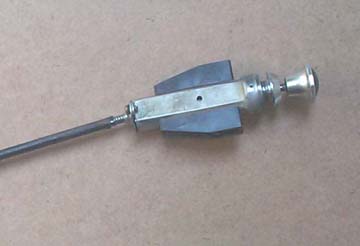
Choke cable
I found my choke cable to be rusted (as most are) and could not make anything from it. I went to my donor car but it had the same damage (of course!). So I finally found out that the engine hood cable was the same and is never damaged. Furthermore it is longer, so making it into a new cable for the choke was possible. The results are very good. I also made it a little longer to better adjust it when it is finally installed on the carburetors.
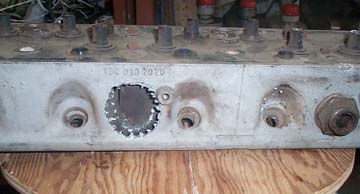
I had quite a difficult time removing the water temperature adaptor. Finally I had to drill it out. I also drilled out the replacement unit from a donor cylinder head (see photo above).
Cylinder head with new fittings for water temperature adapter
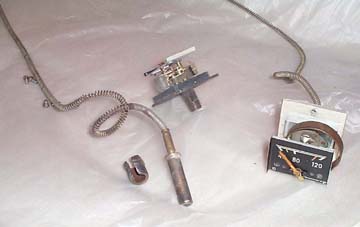
Water temperature gauges
Update / November 14, 2012
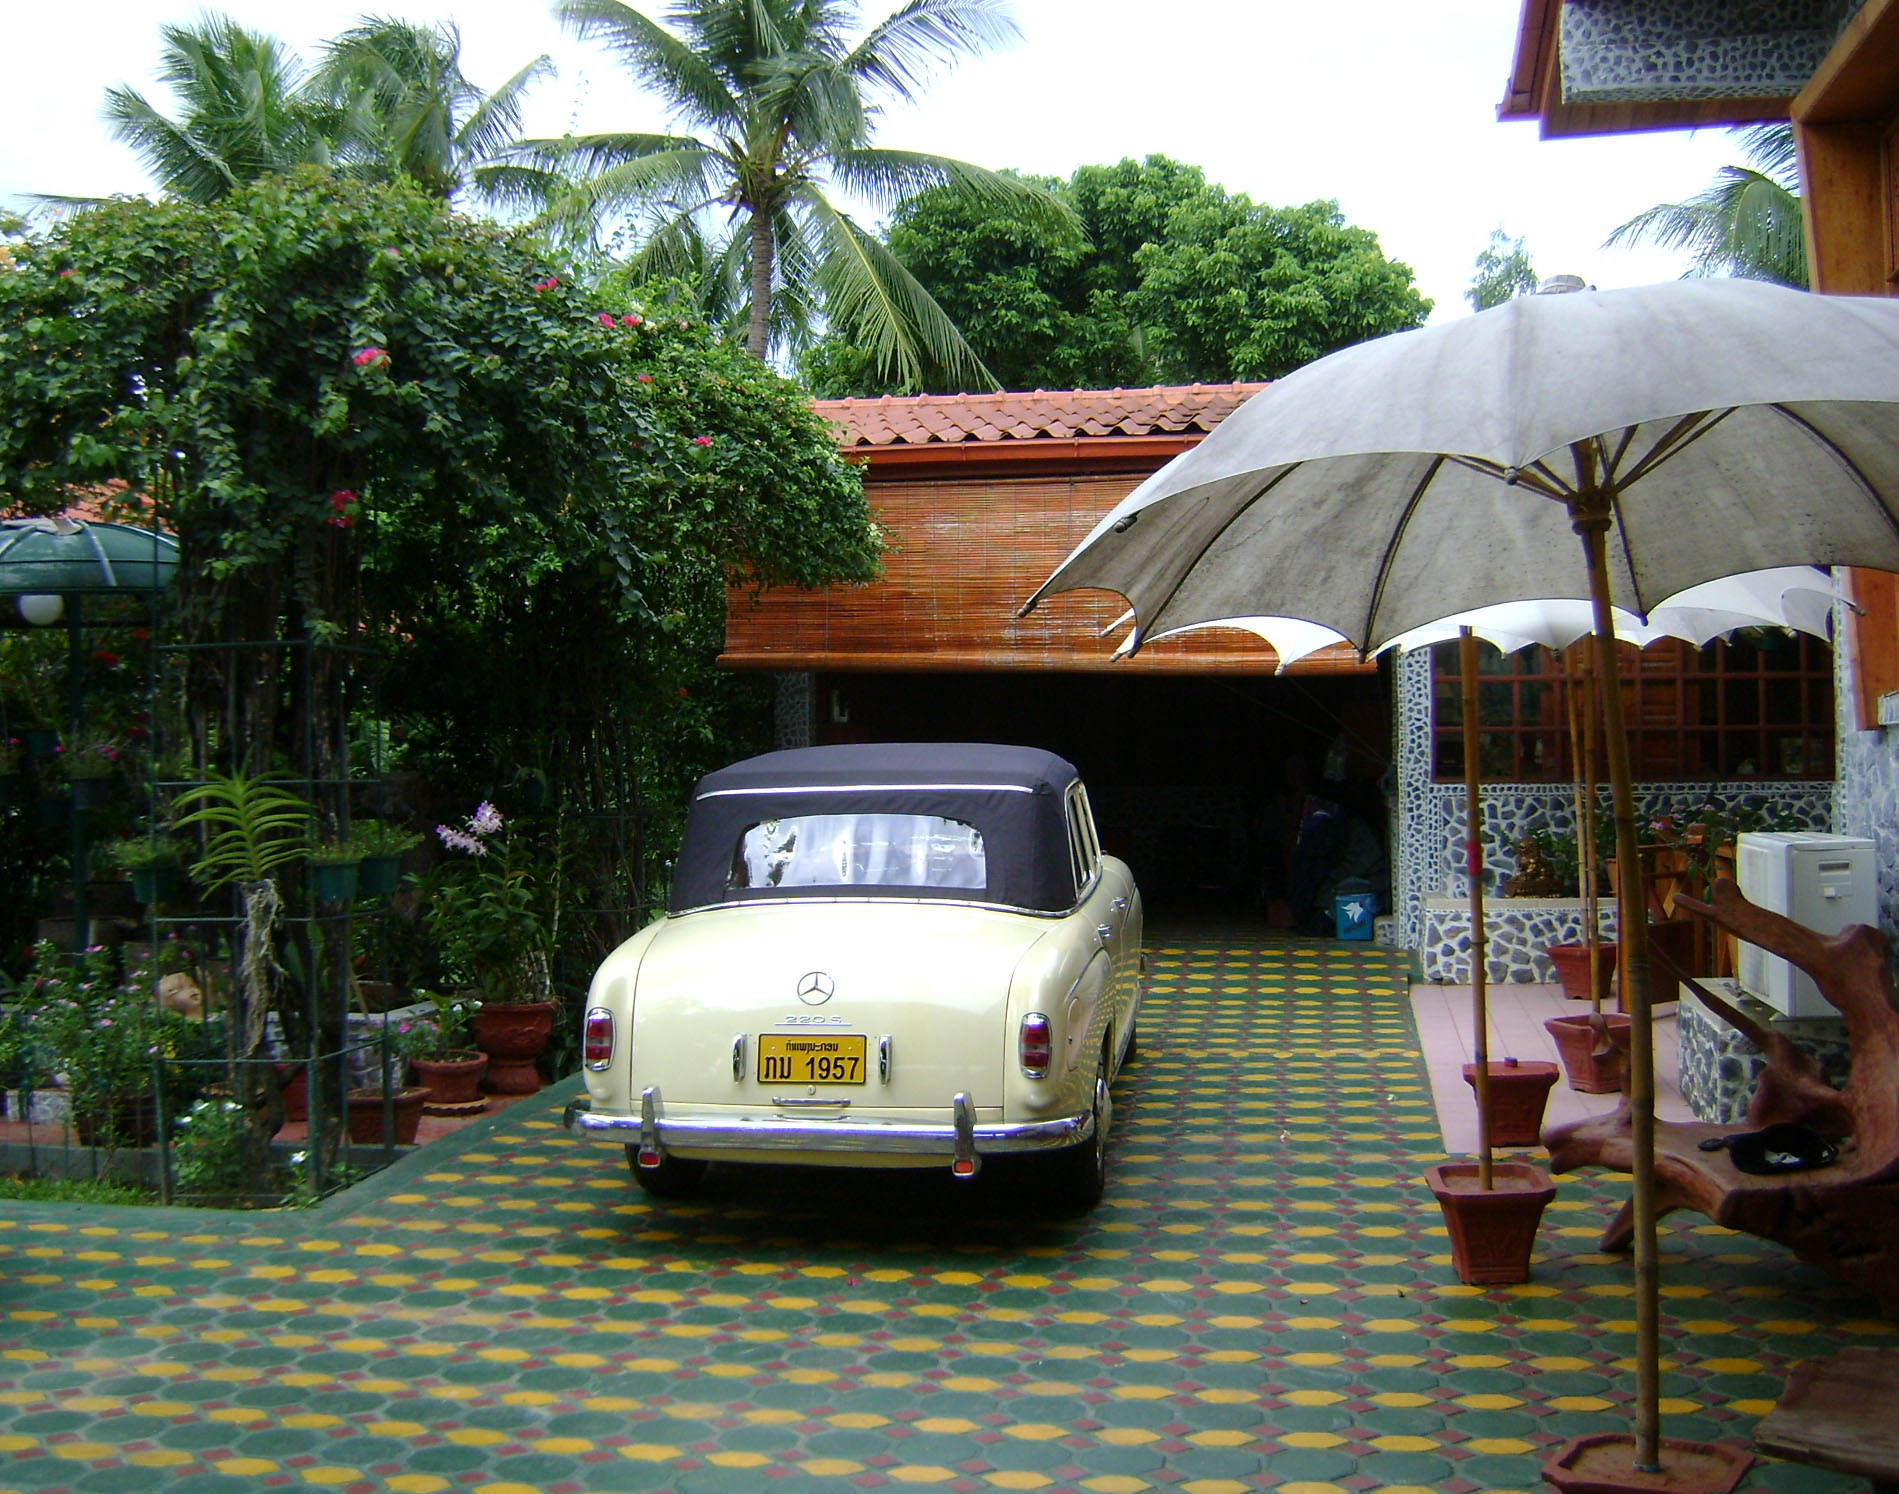
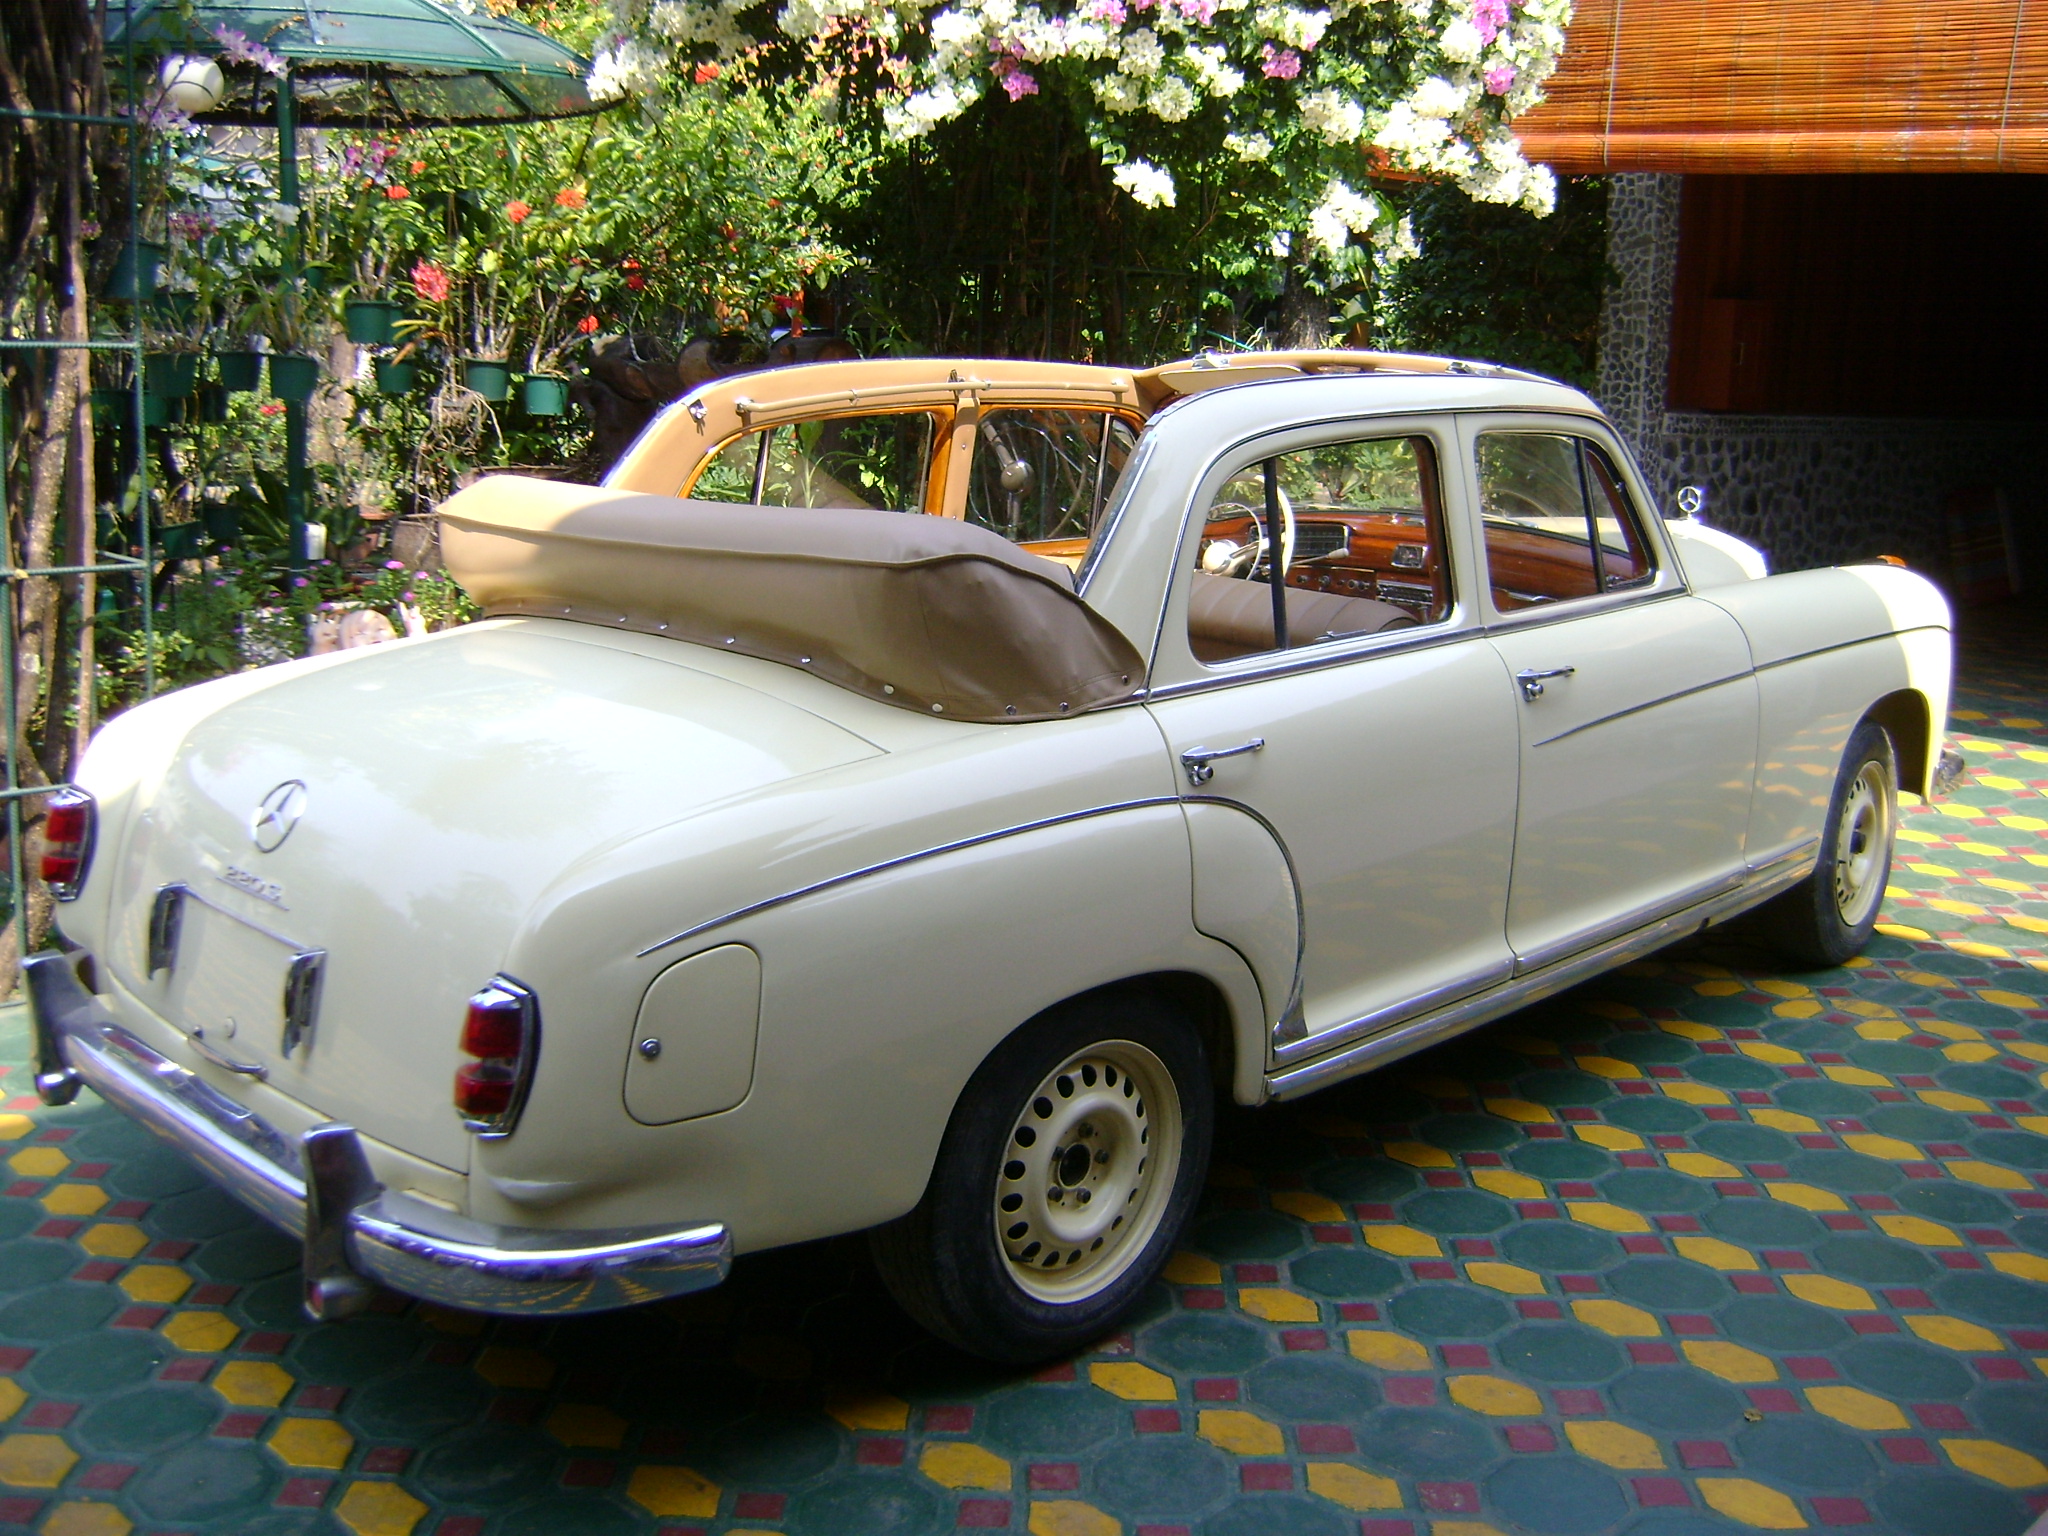
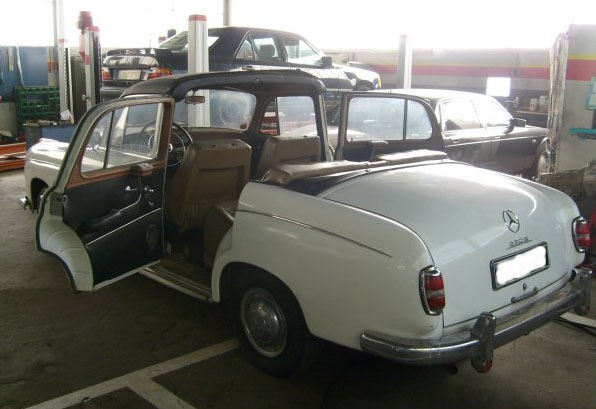
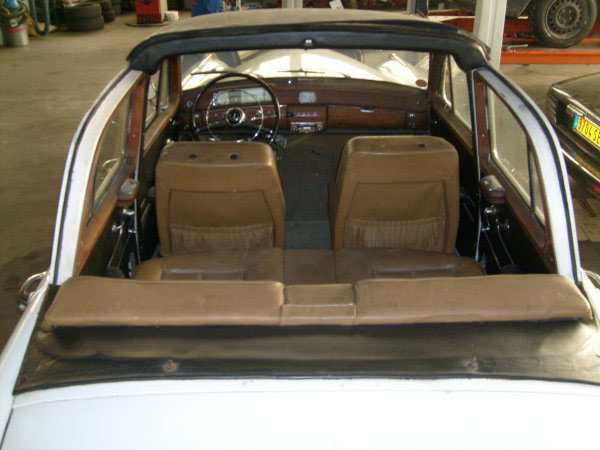
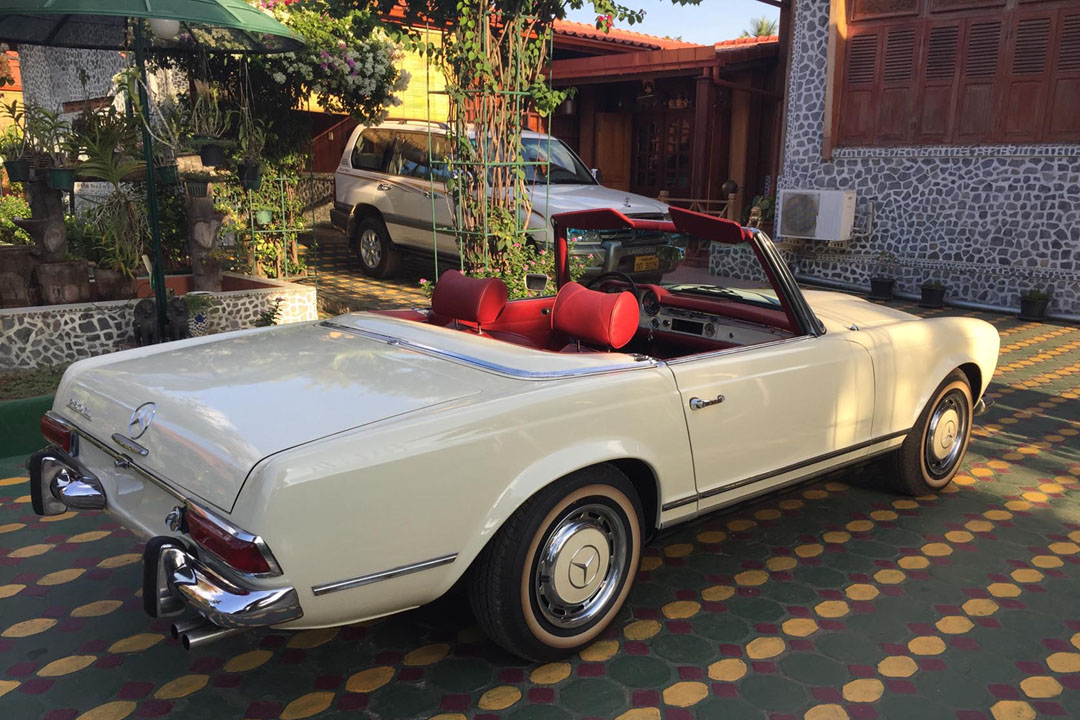
1957 Mercedes-Benz Ponton "Découvrable"
(sedan-to-cabrio conversion)
The découvrable (la découvrable) was an after-market product designed in the 1950s by the French company "Anciens Etablissements Ansart et Teisseire" (AEAT) and used on brands like Citroën, Peugeot, and Renault – but this is something new for a Mercedes-Benz!
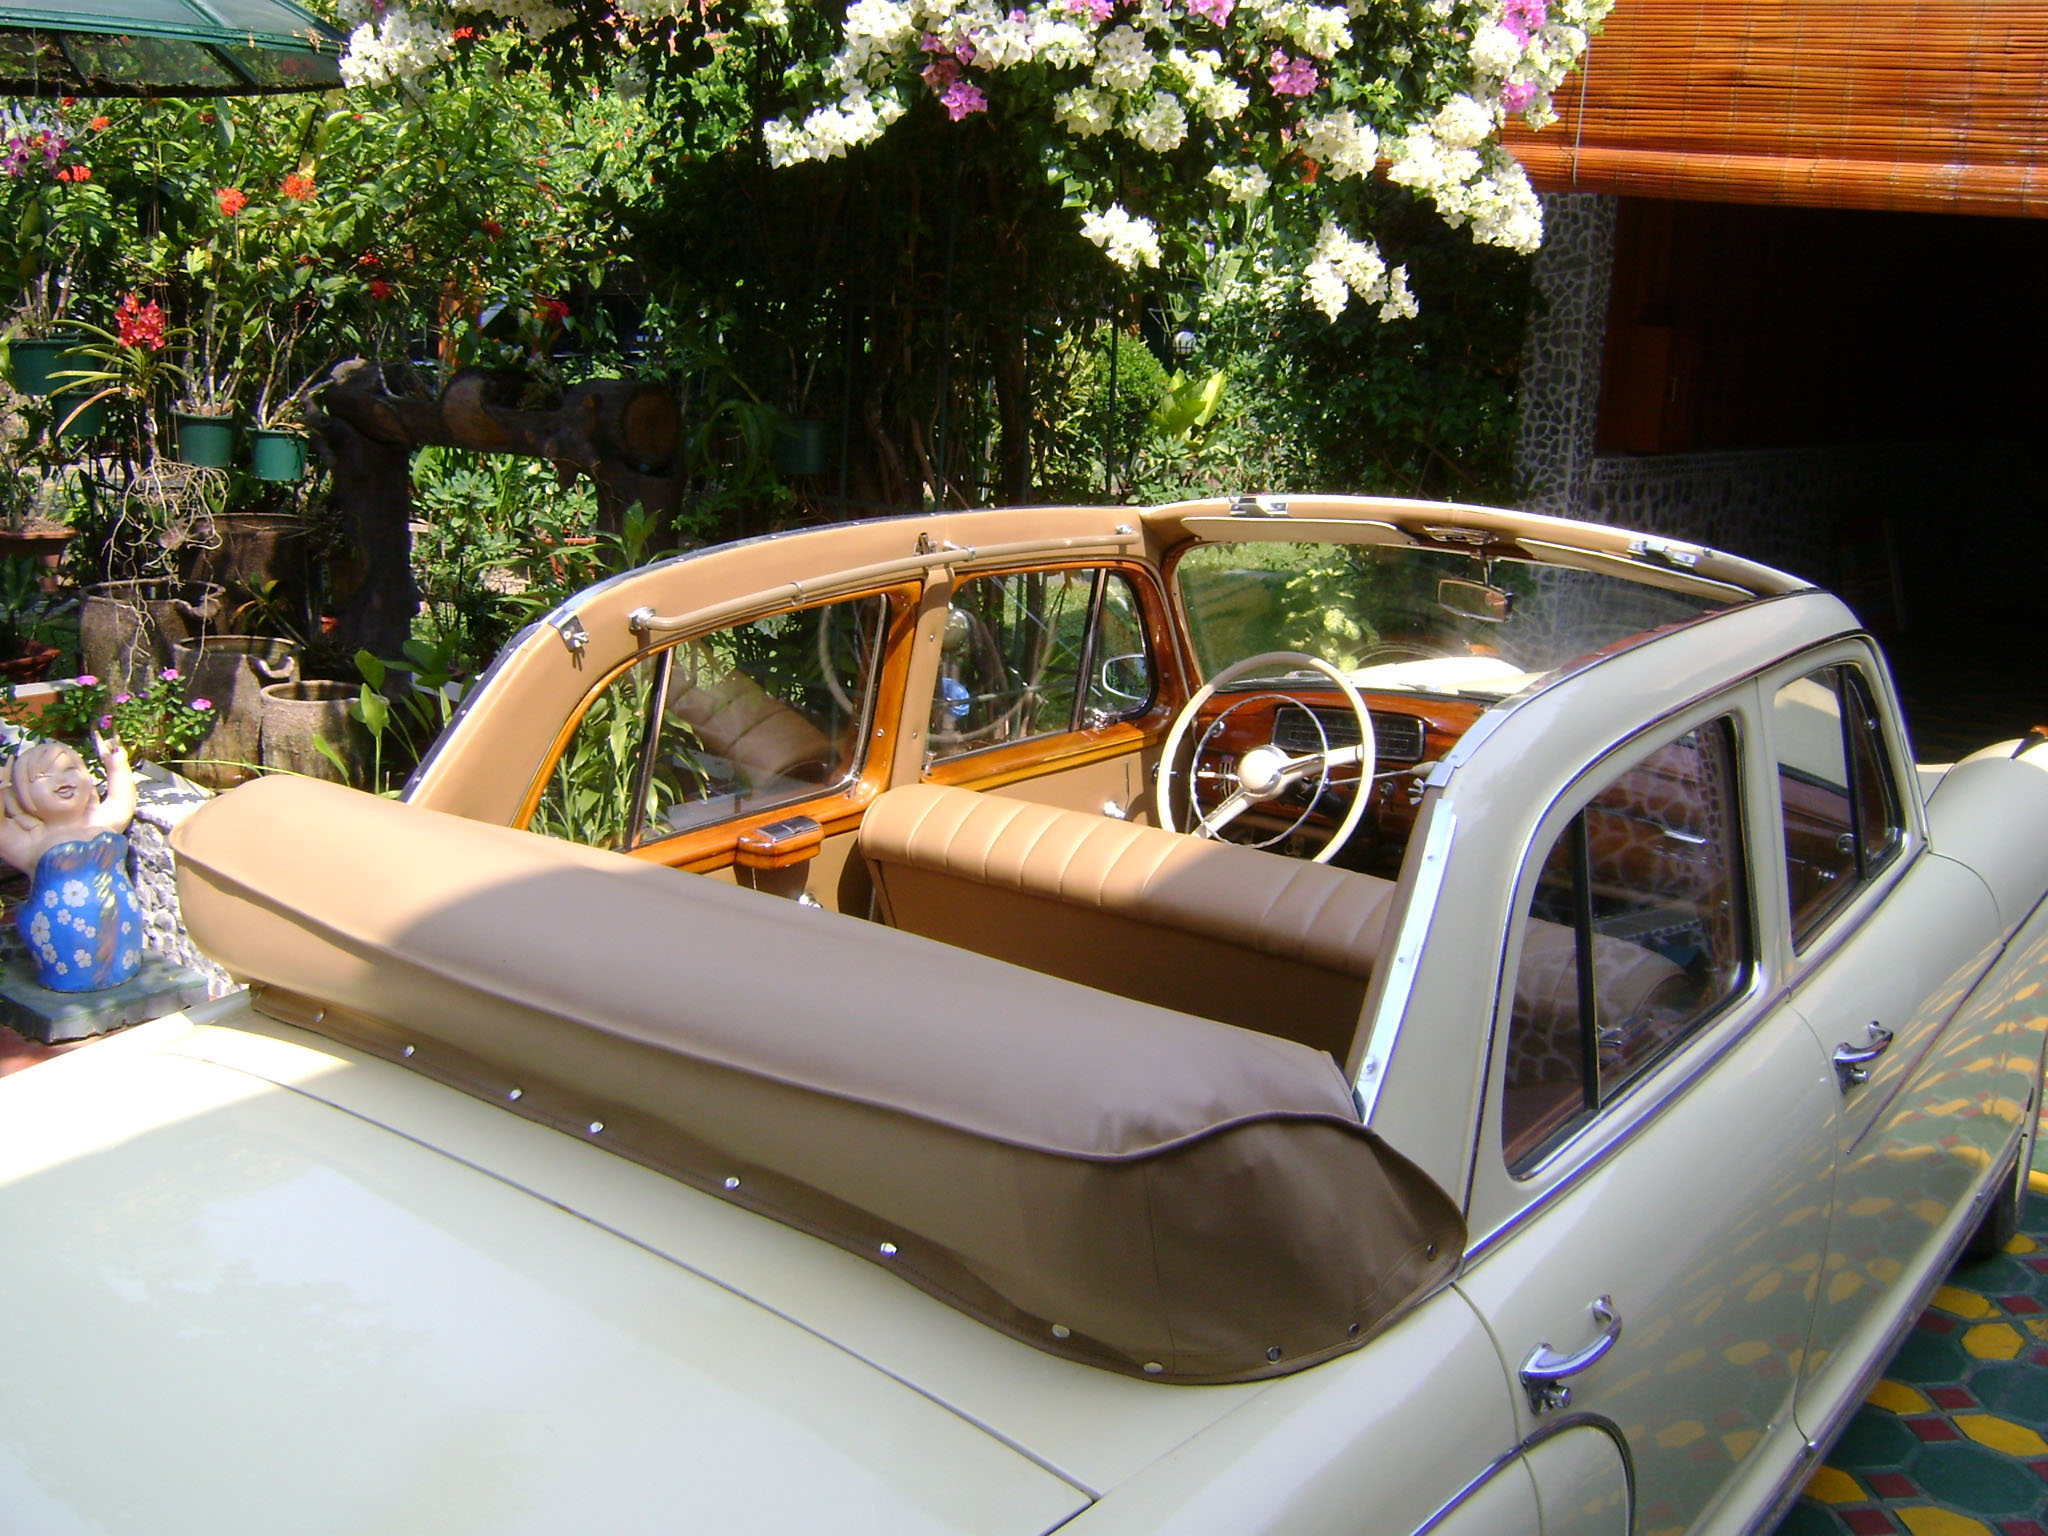
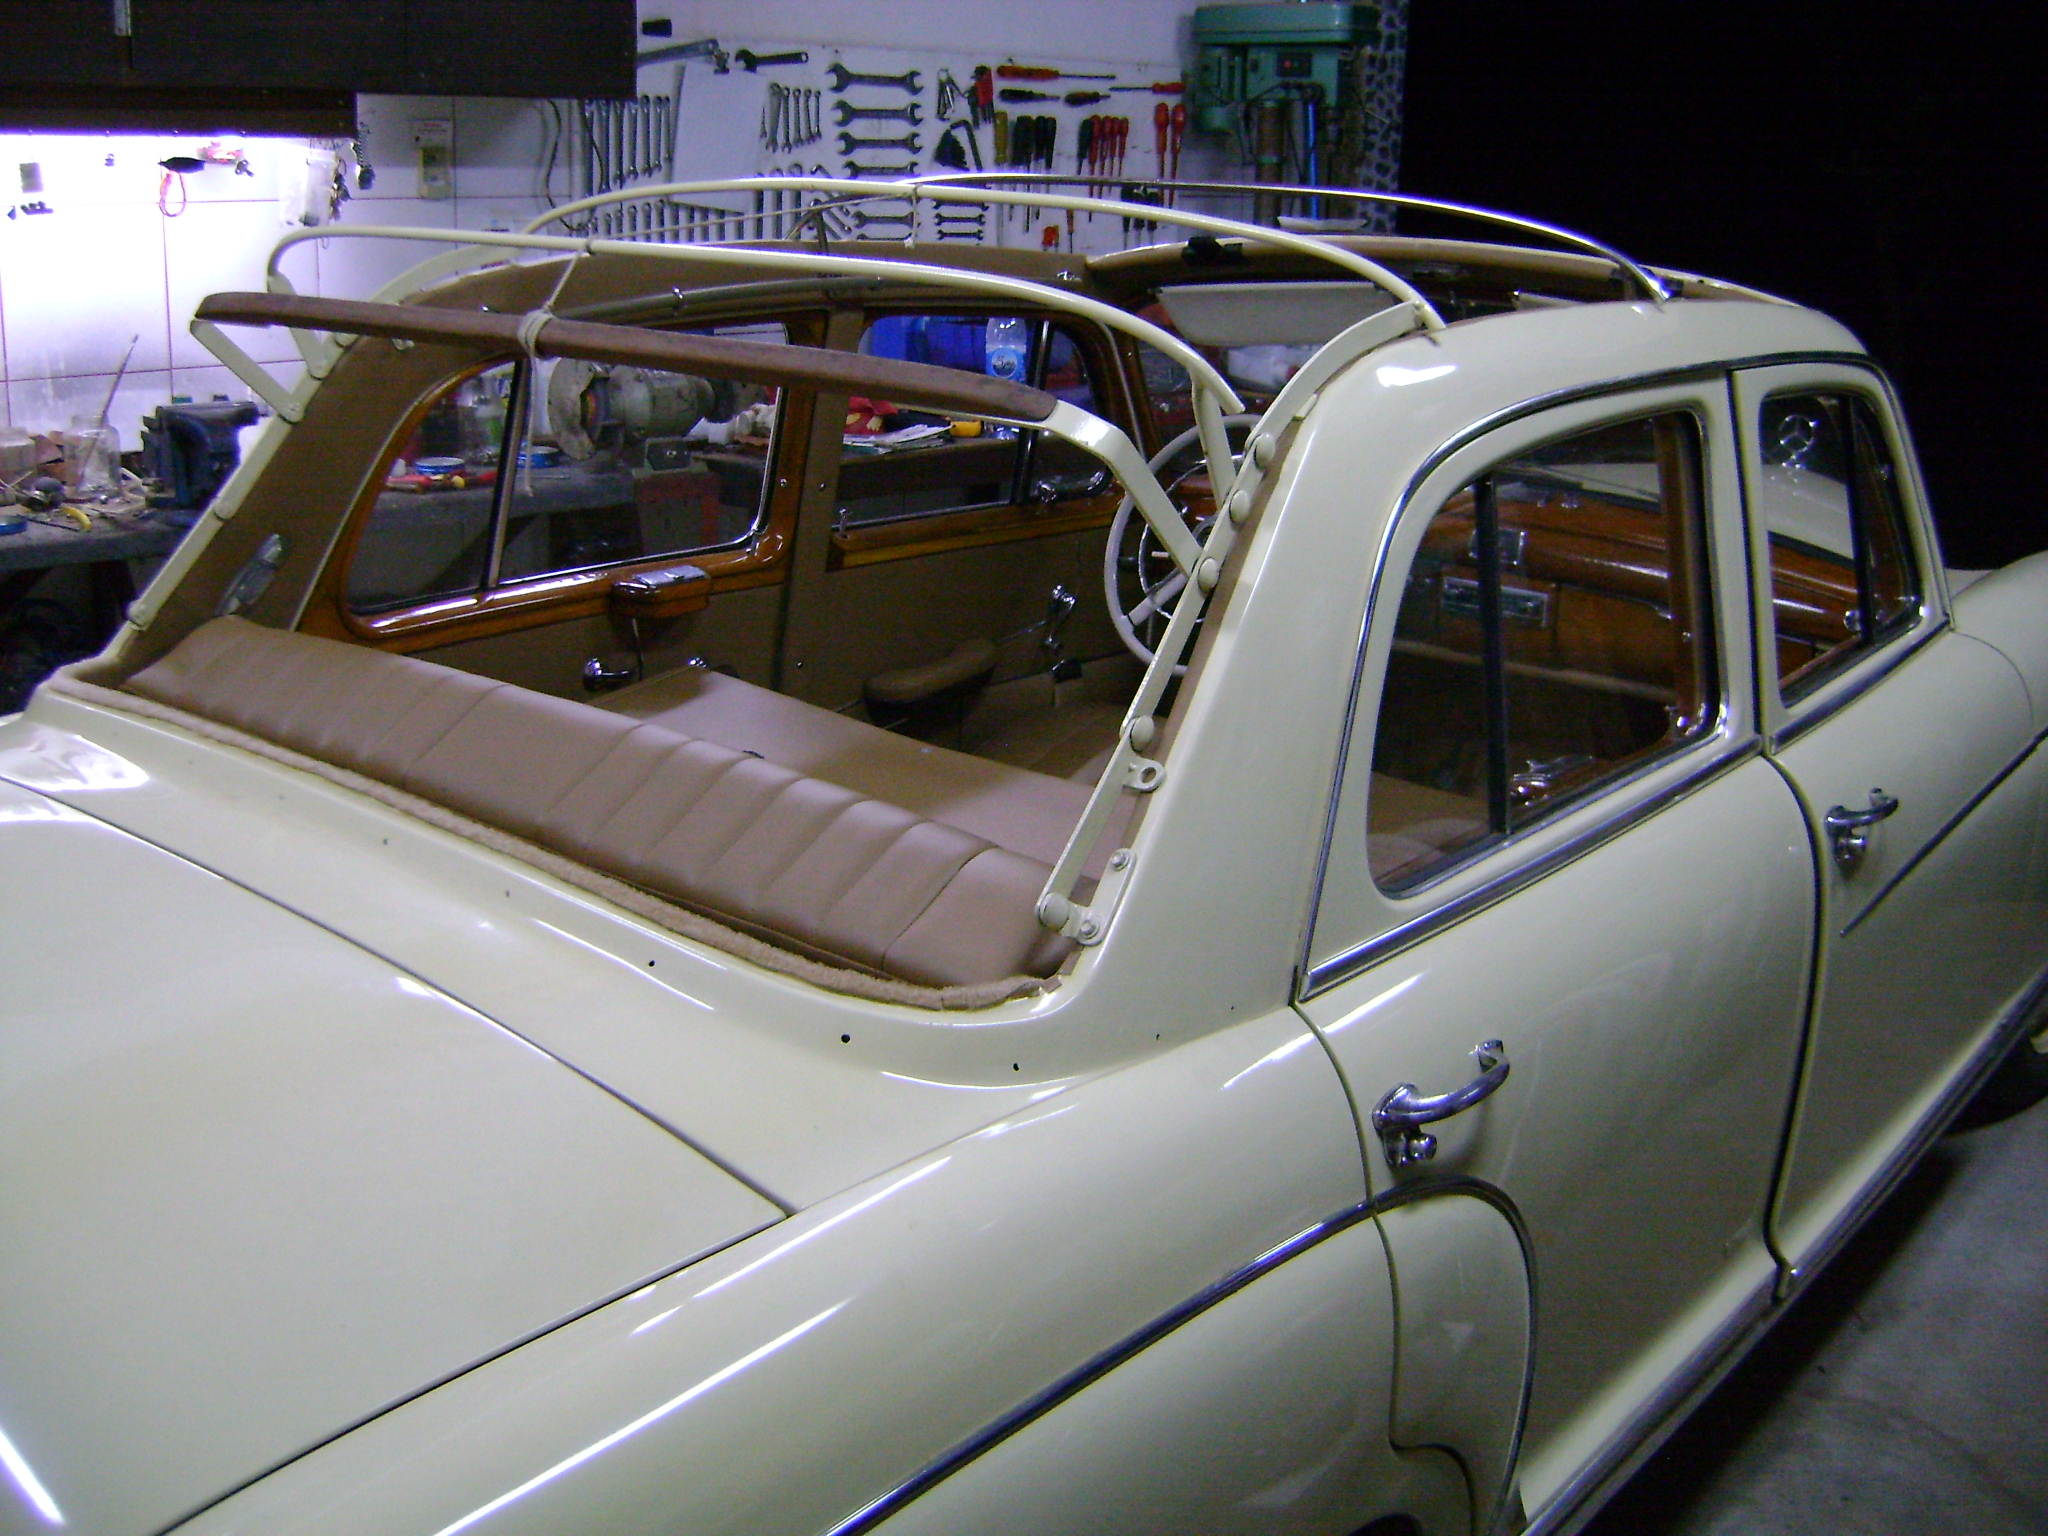
Notice the bench seat.
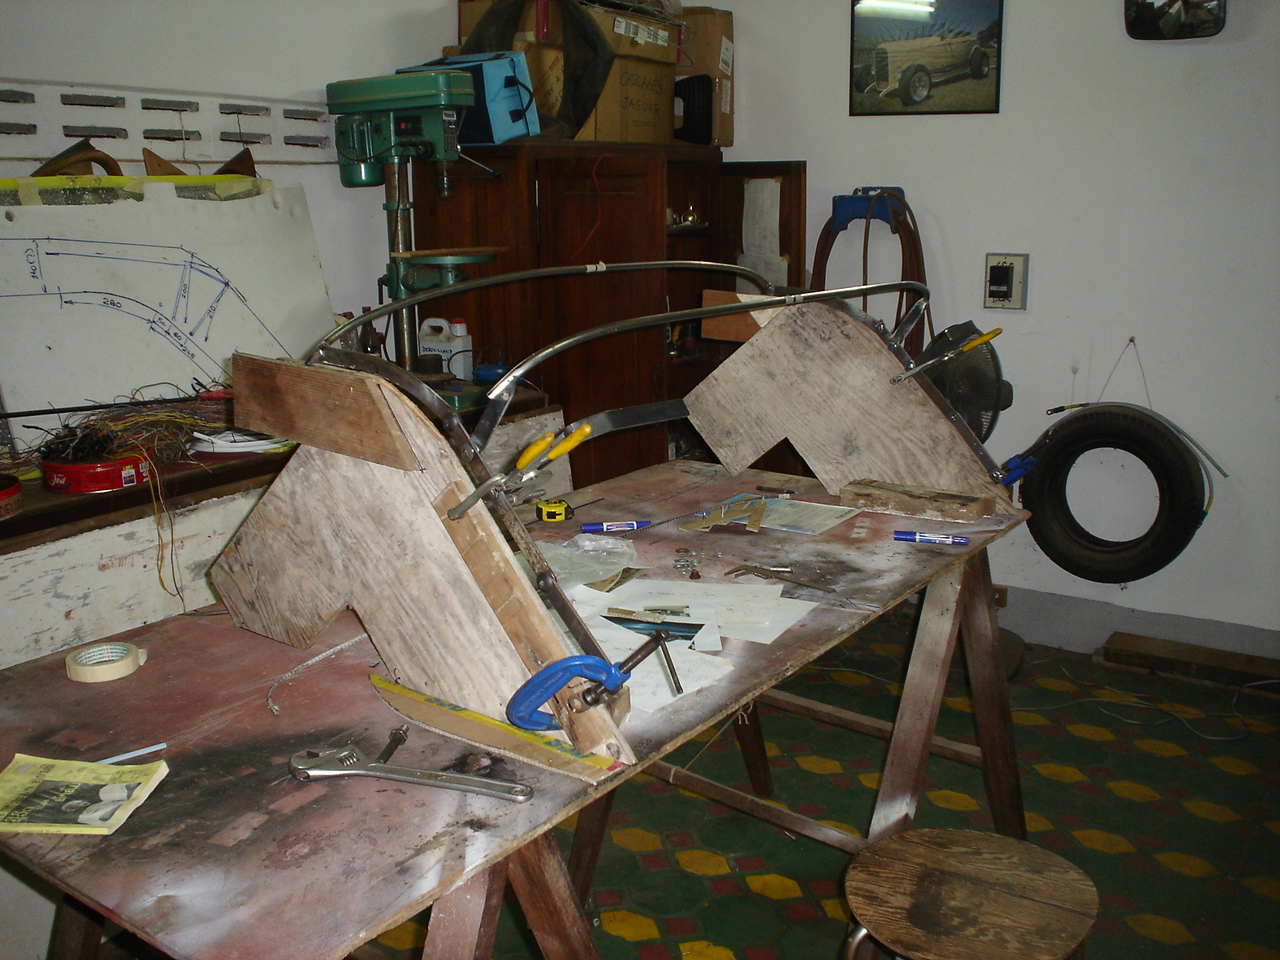
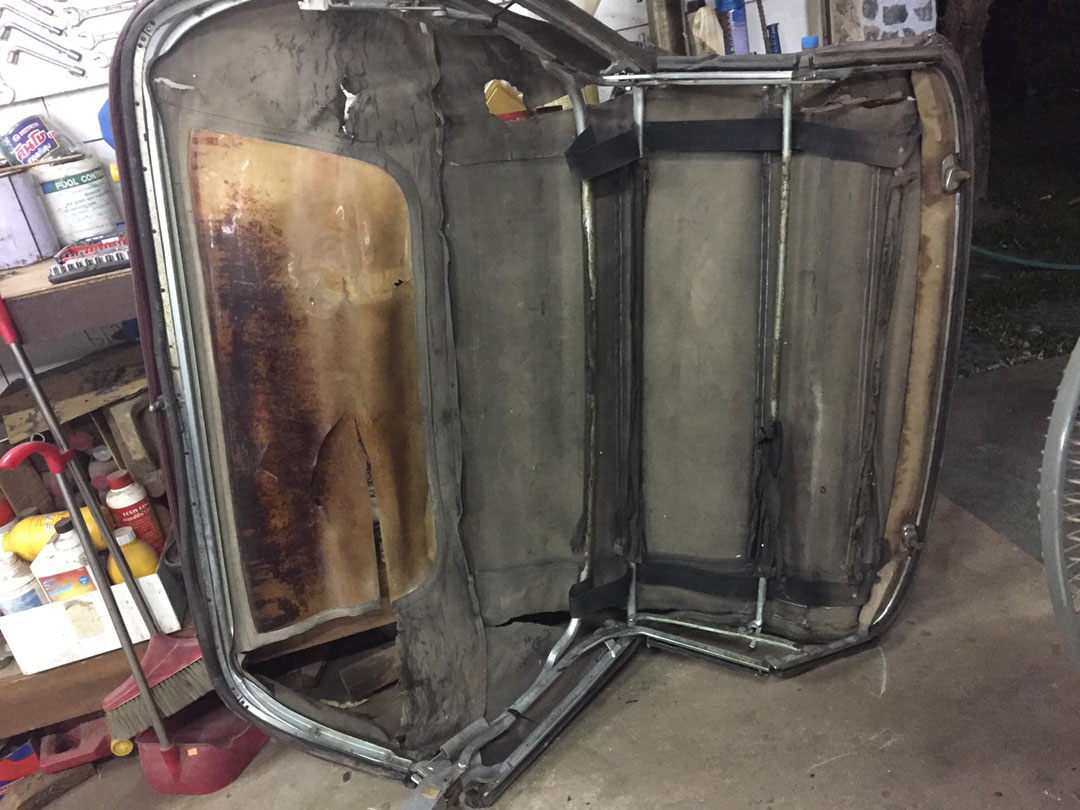
This shows the first step to design and build the support for the découvrable soft top.
The big decision was made to cut, and introduce the 220S to some open sky!
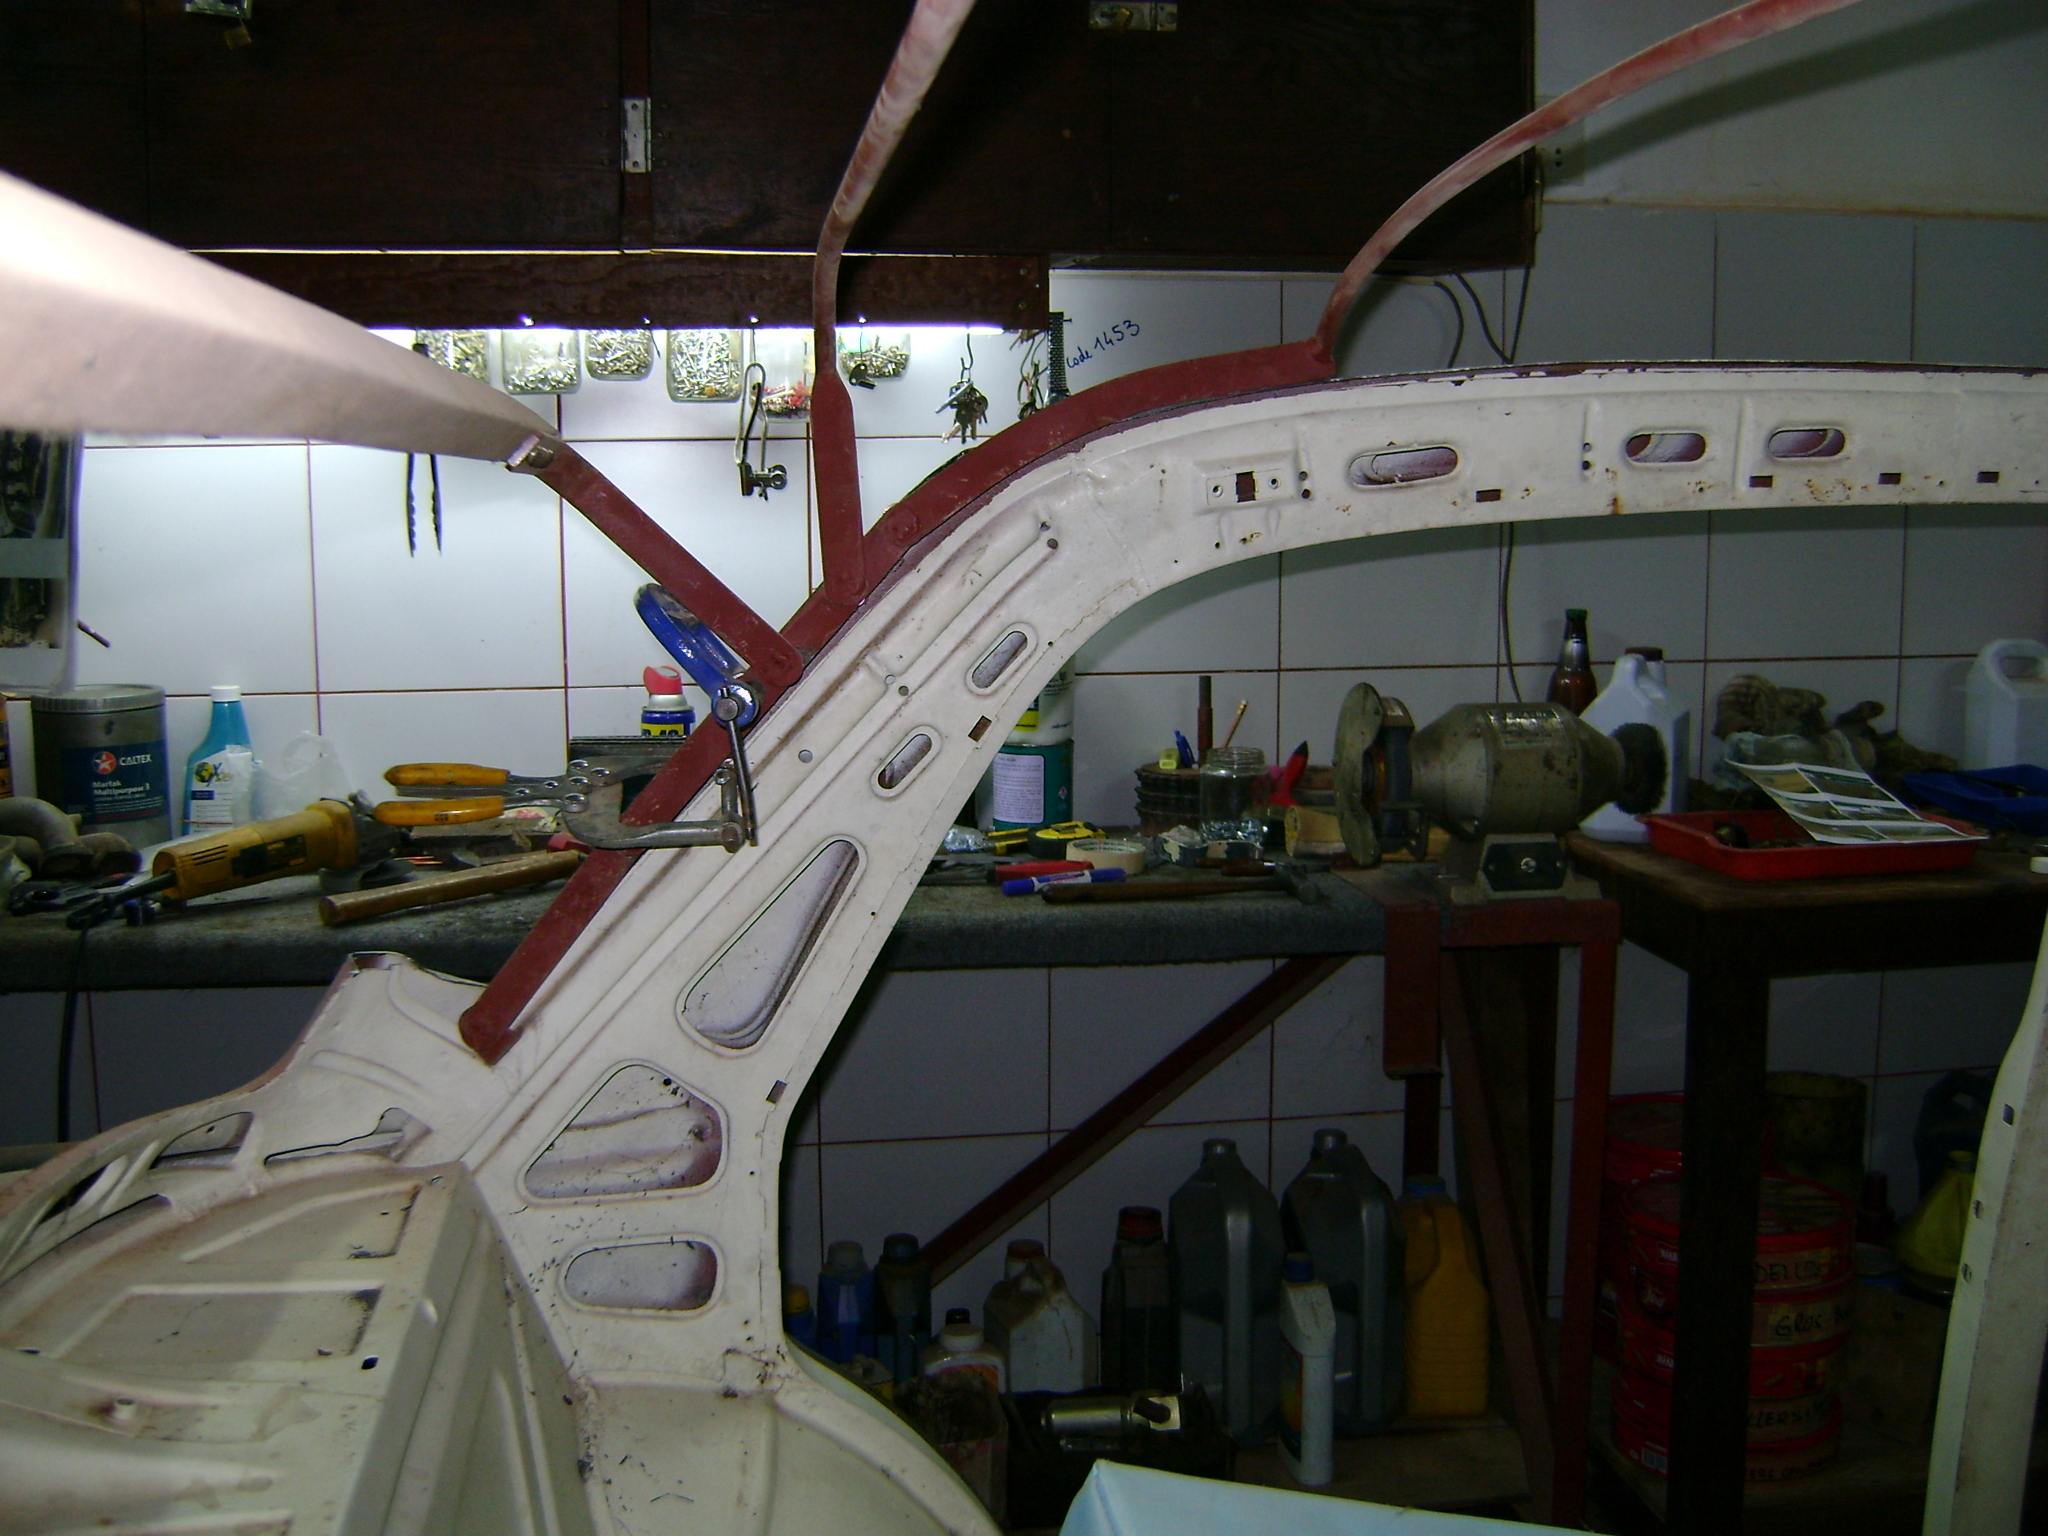
Fitting the mechanism to see if the design was accurate.
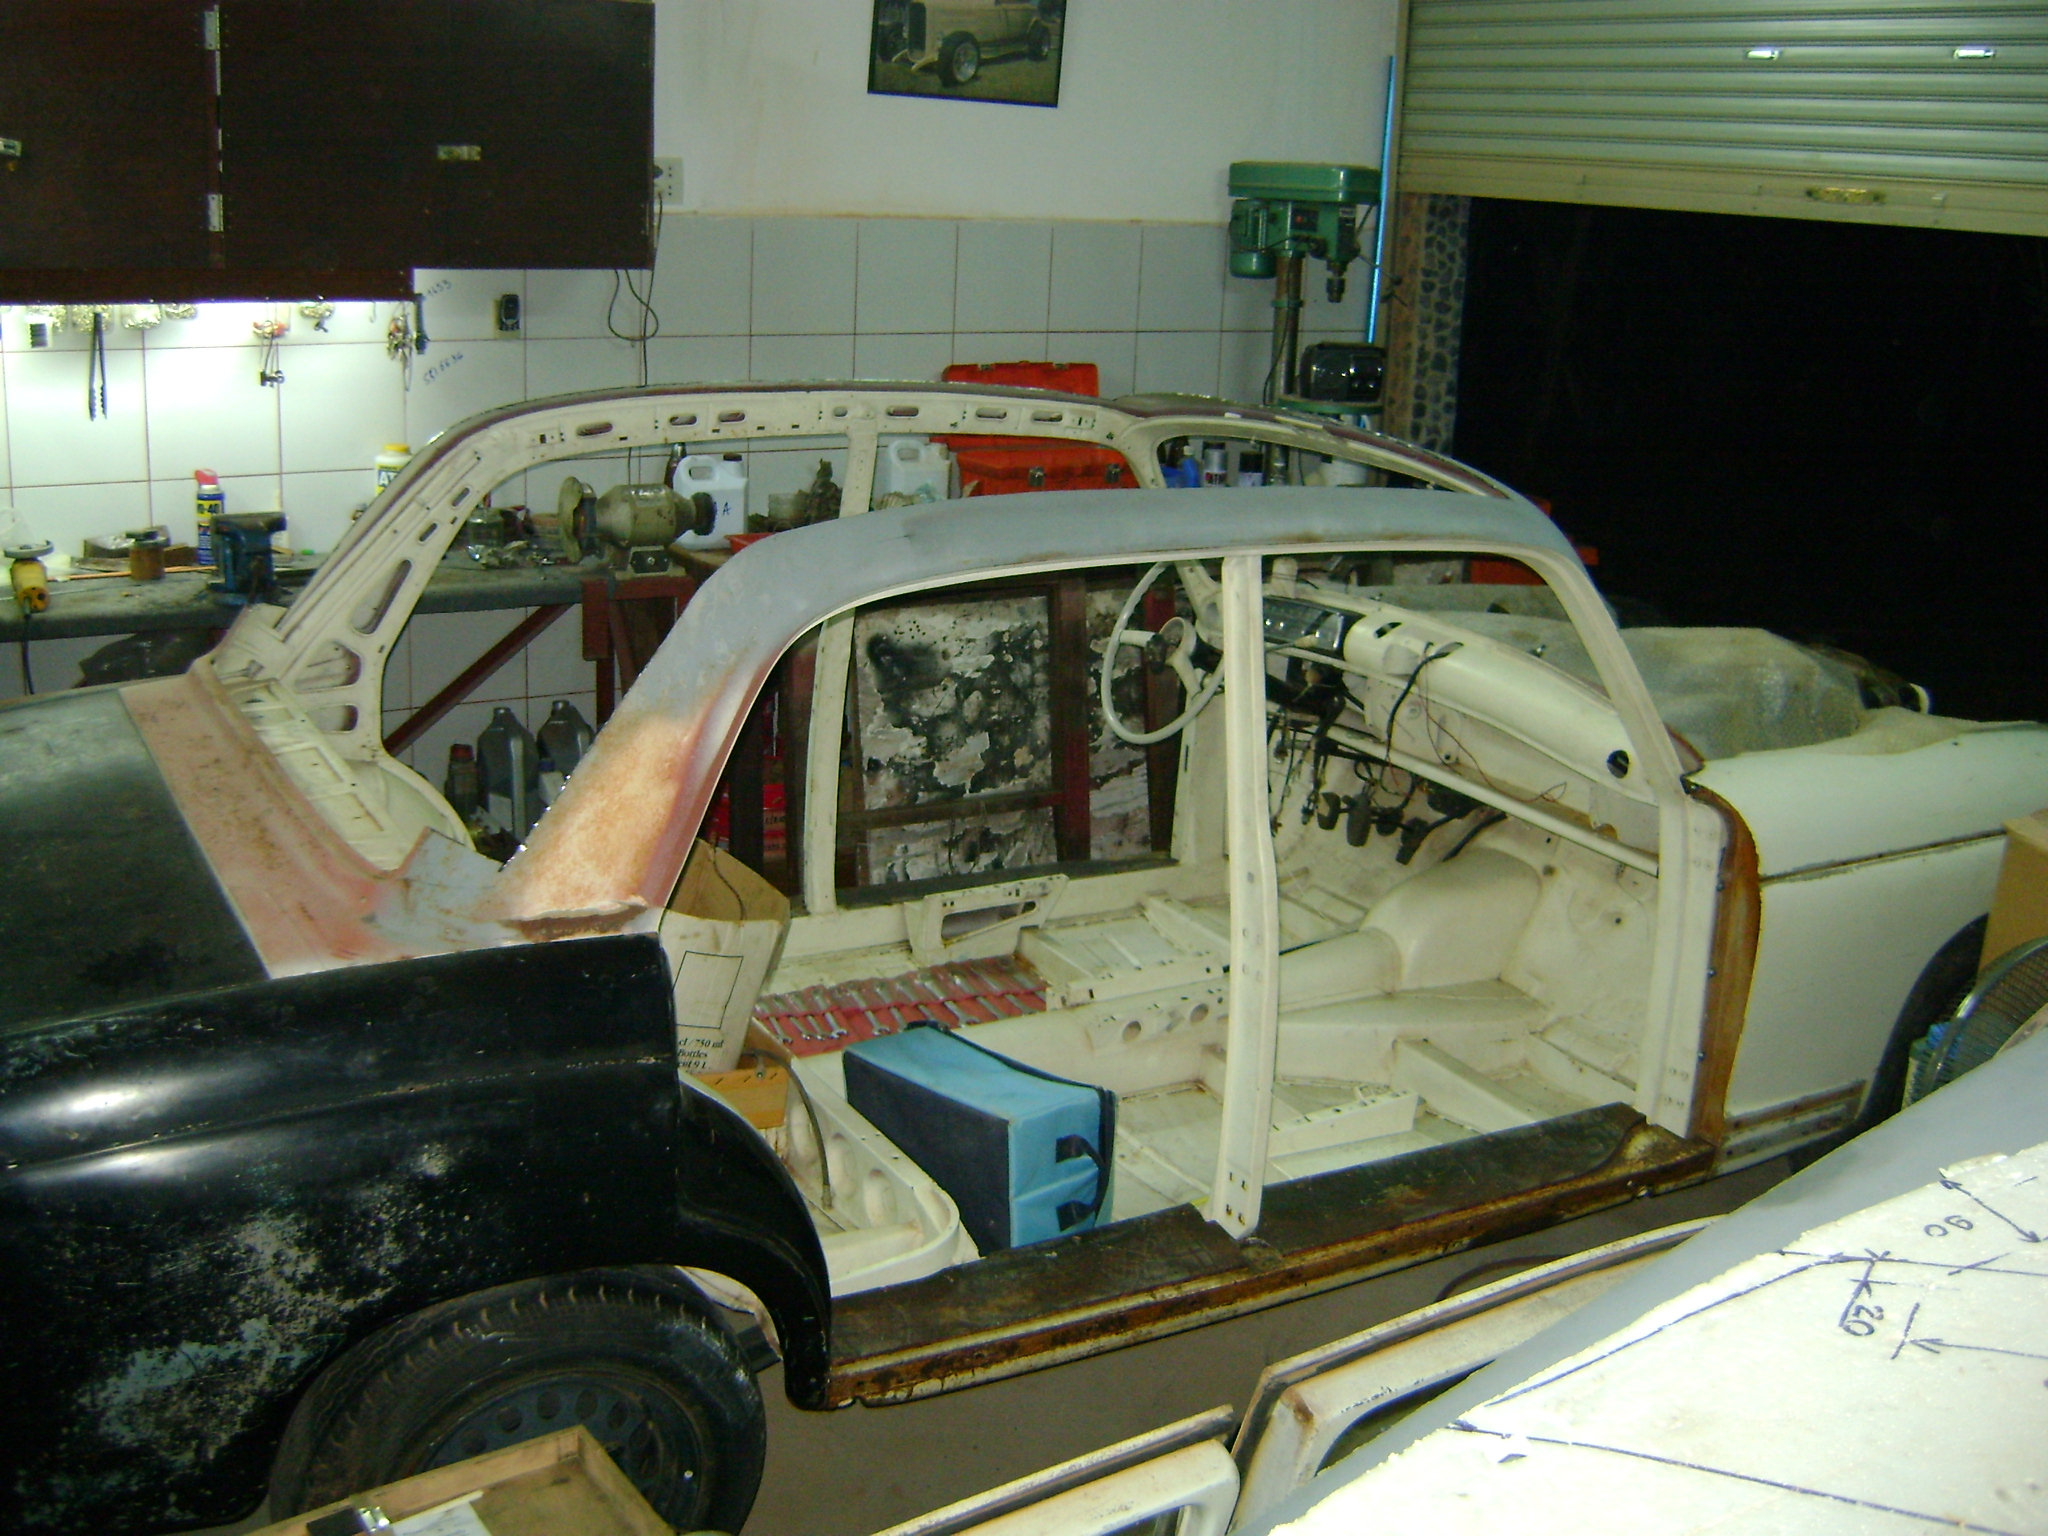
As it seemed right, I made the cuts clean by welding nice looking borders taken from the material on the cut roof.
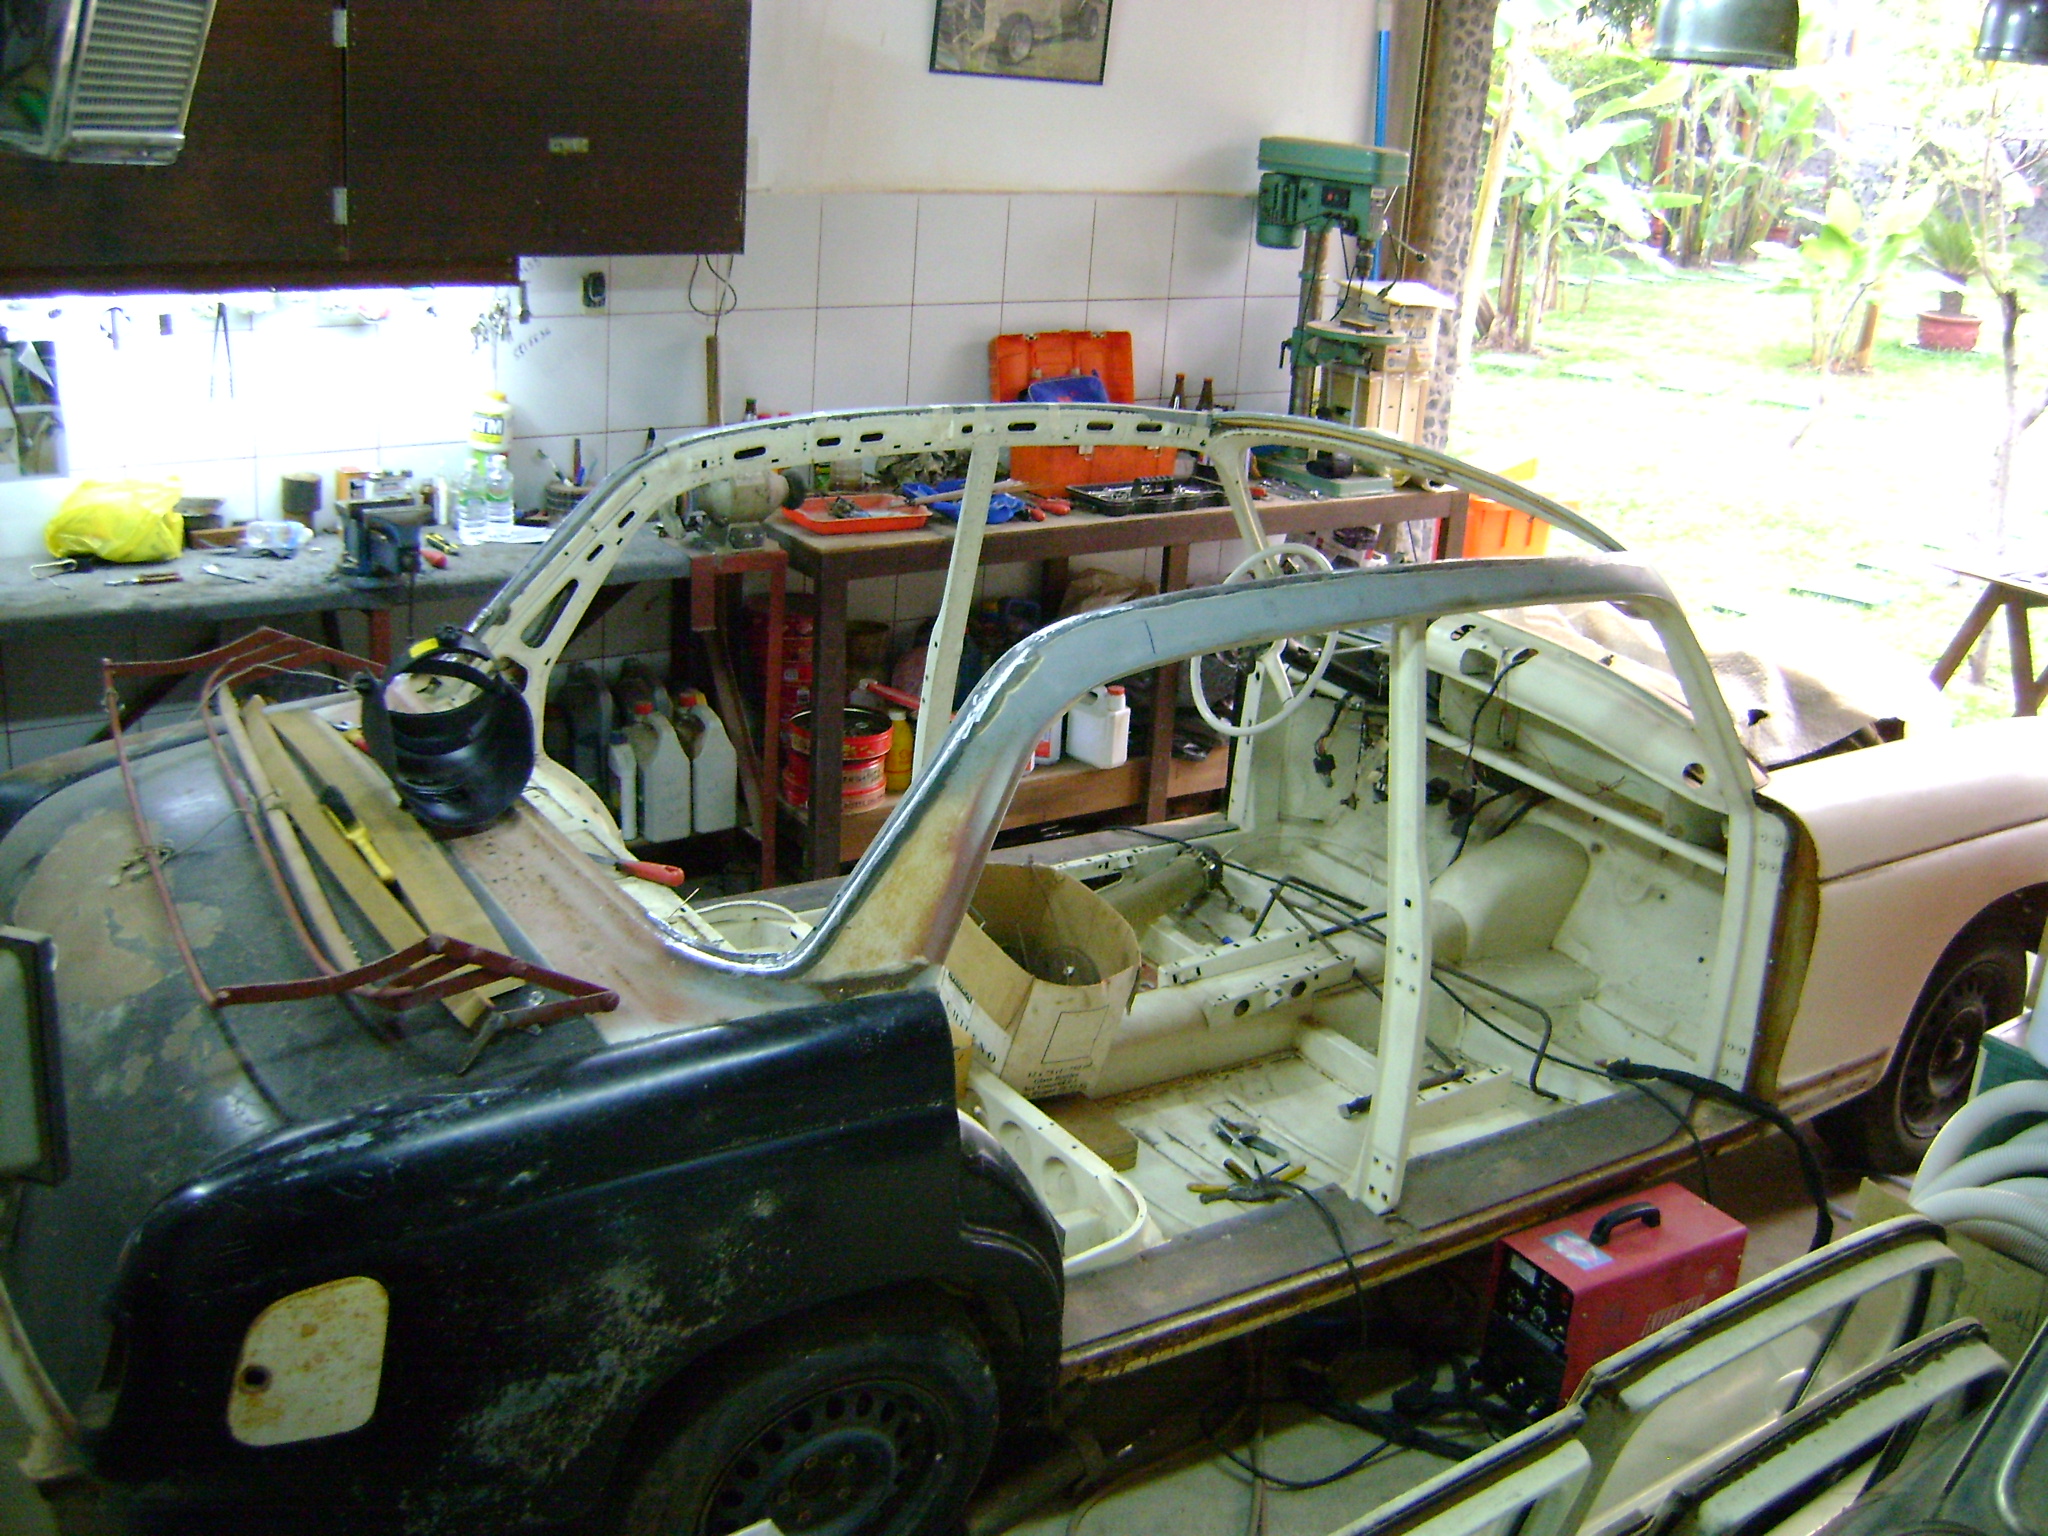
I cut a strong piece of wood to strengthen the front top structure and to enable fitting the locks for the soft top. I also used the curved/spherical sheet from the rear cut roof to make the removable front part of the soft top. Since I didn't have the machinery to make such parts at home, I recycled the one available!
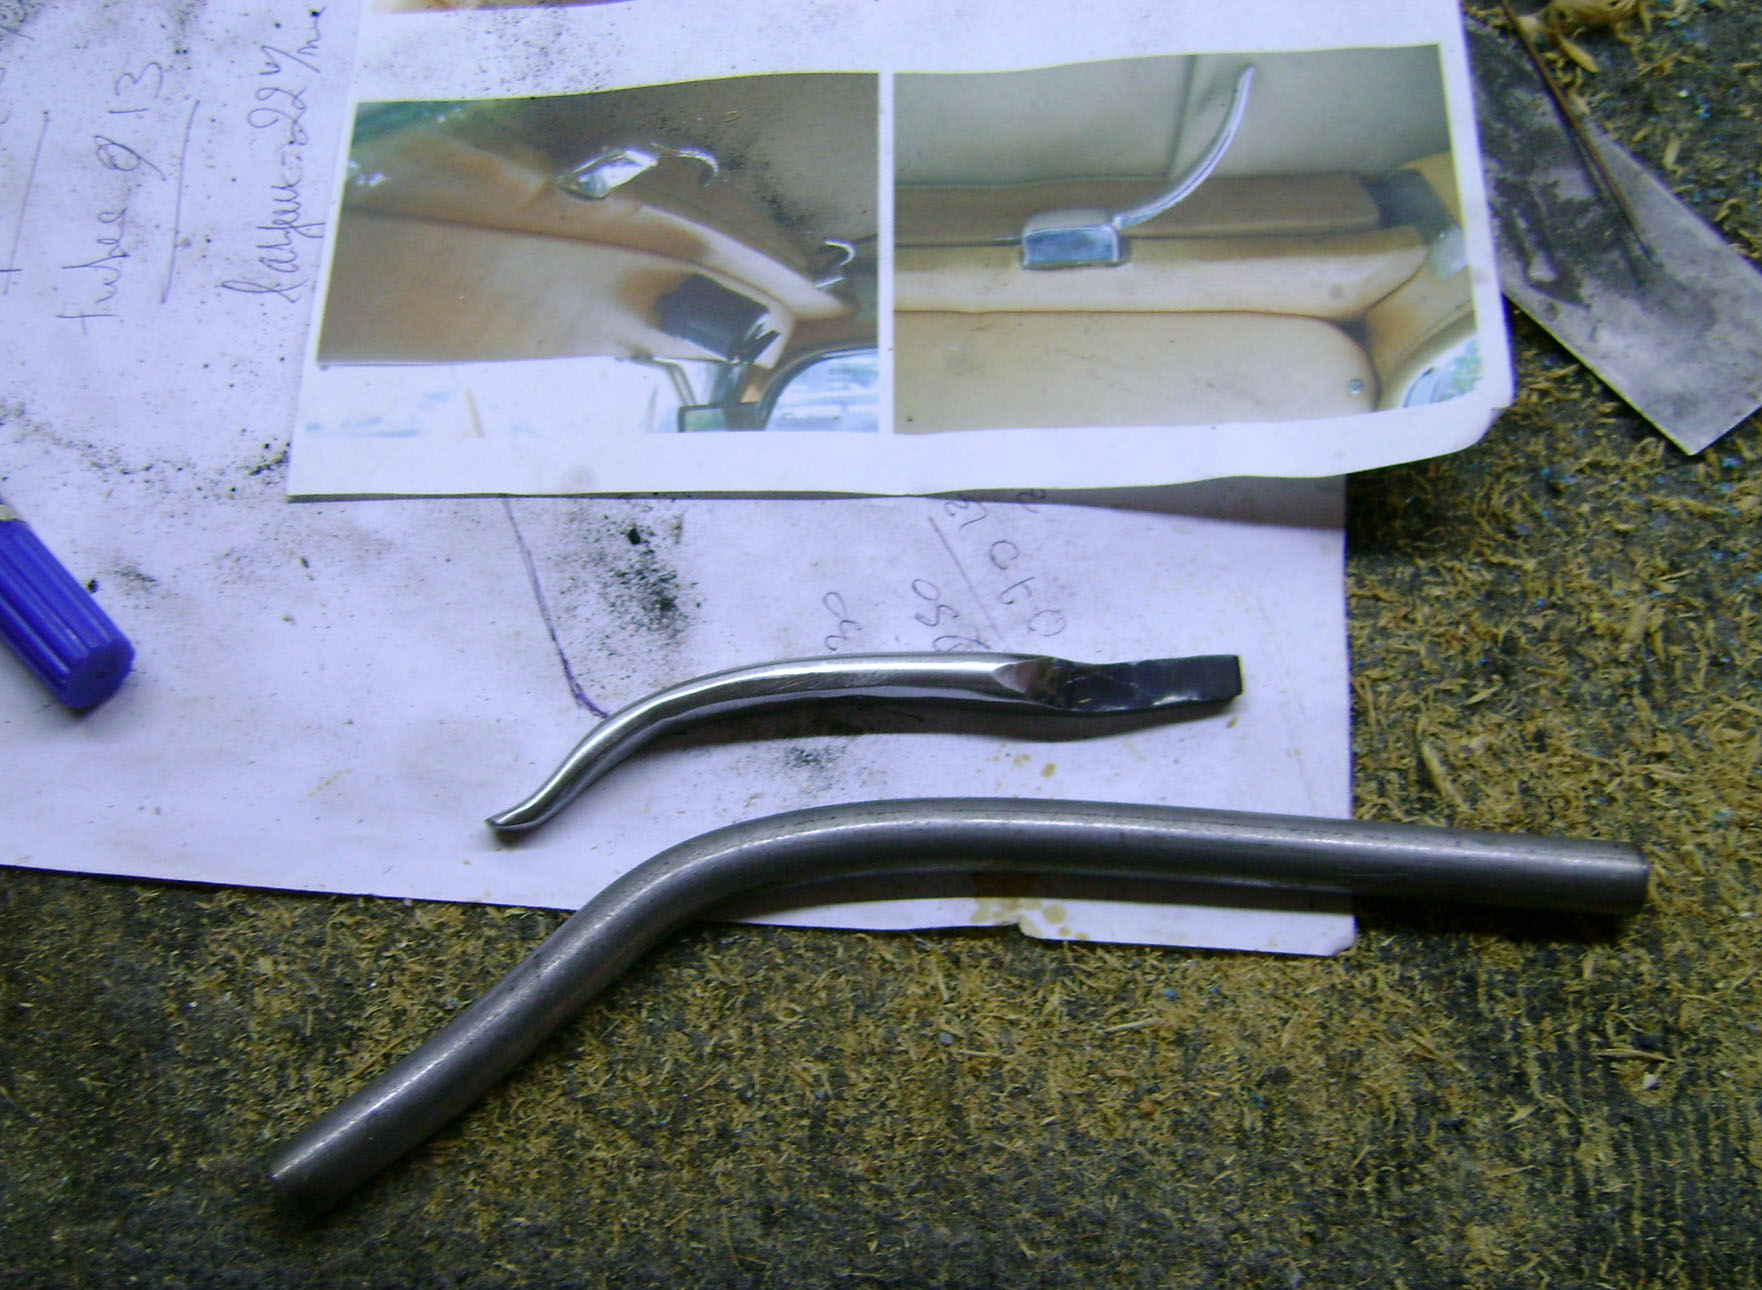
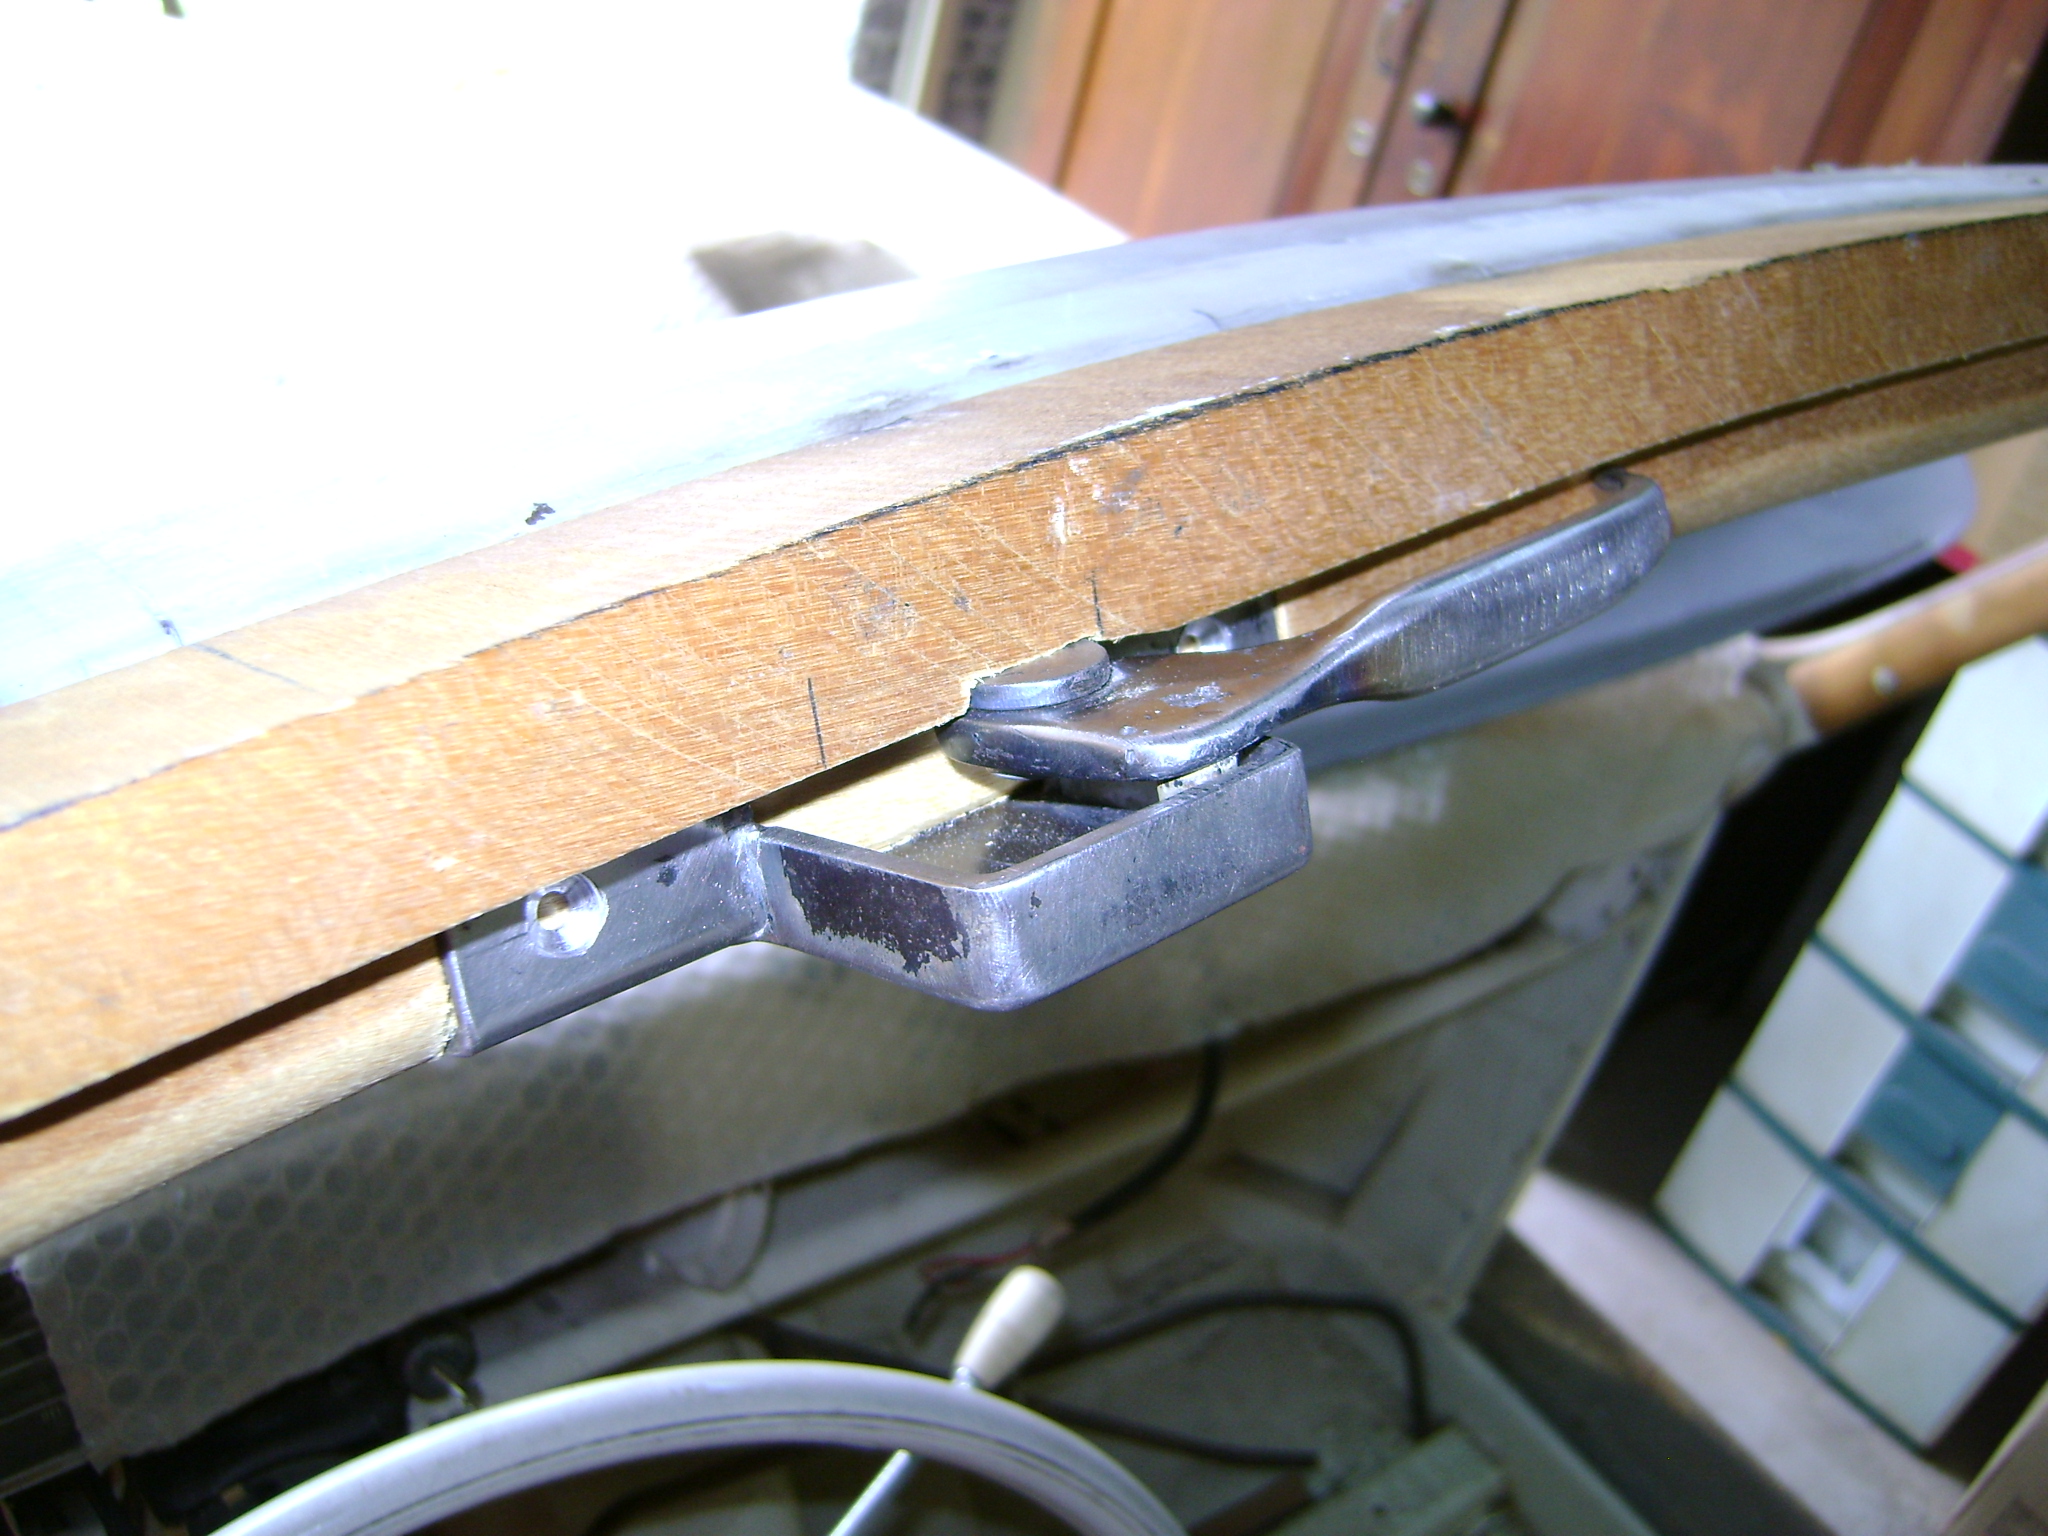
I made the same locks as the original AEAT design, from scrap and they will be chromed later.
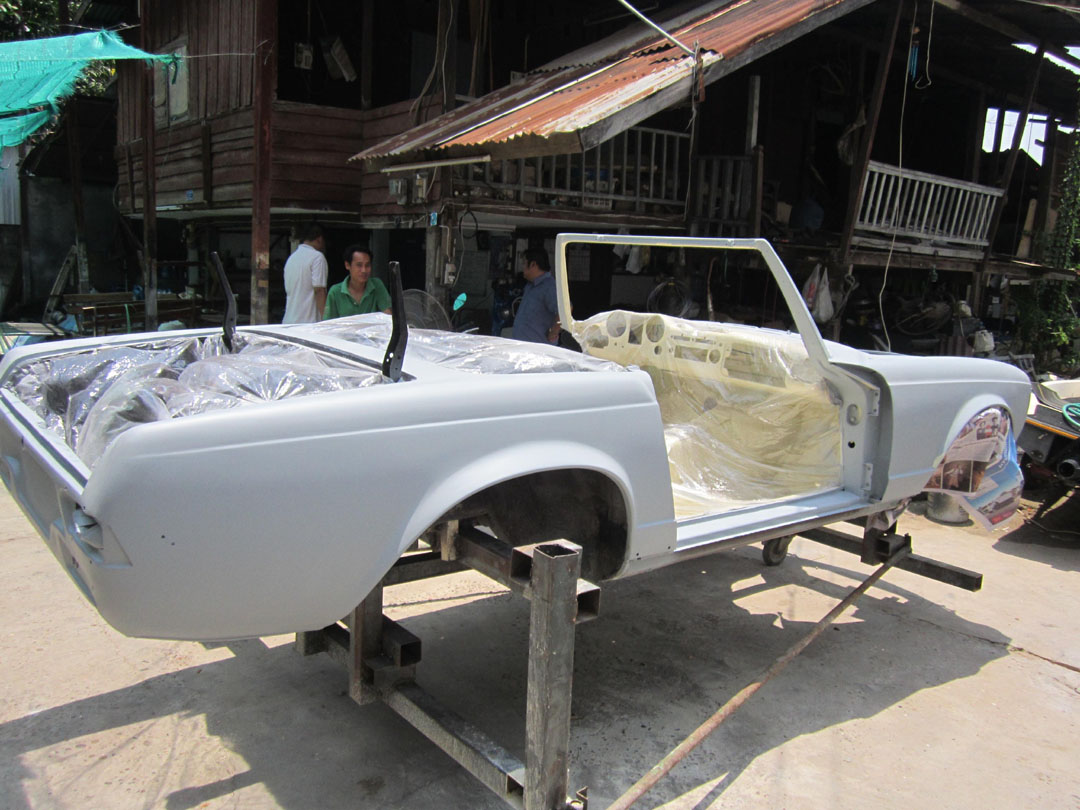
Some paint to drive around (for road testing) after such a long restoration and transformation. If everything is OK I will send the car to paint shop at last?
The car tested fine, and then it went to the paint shop for the final look.

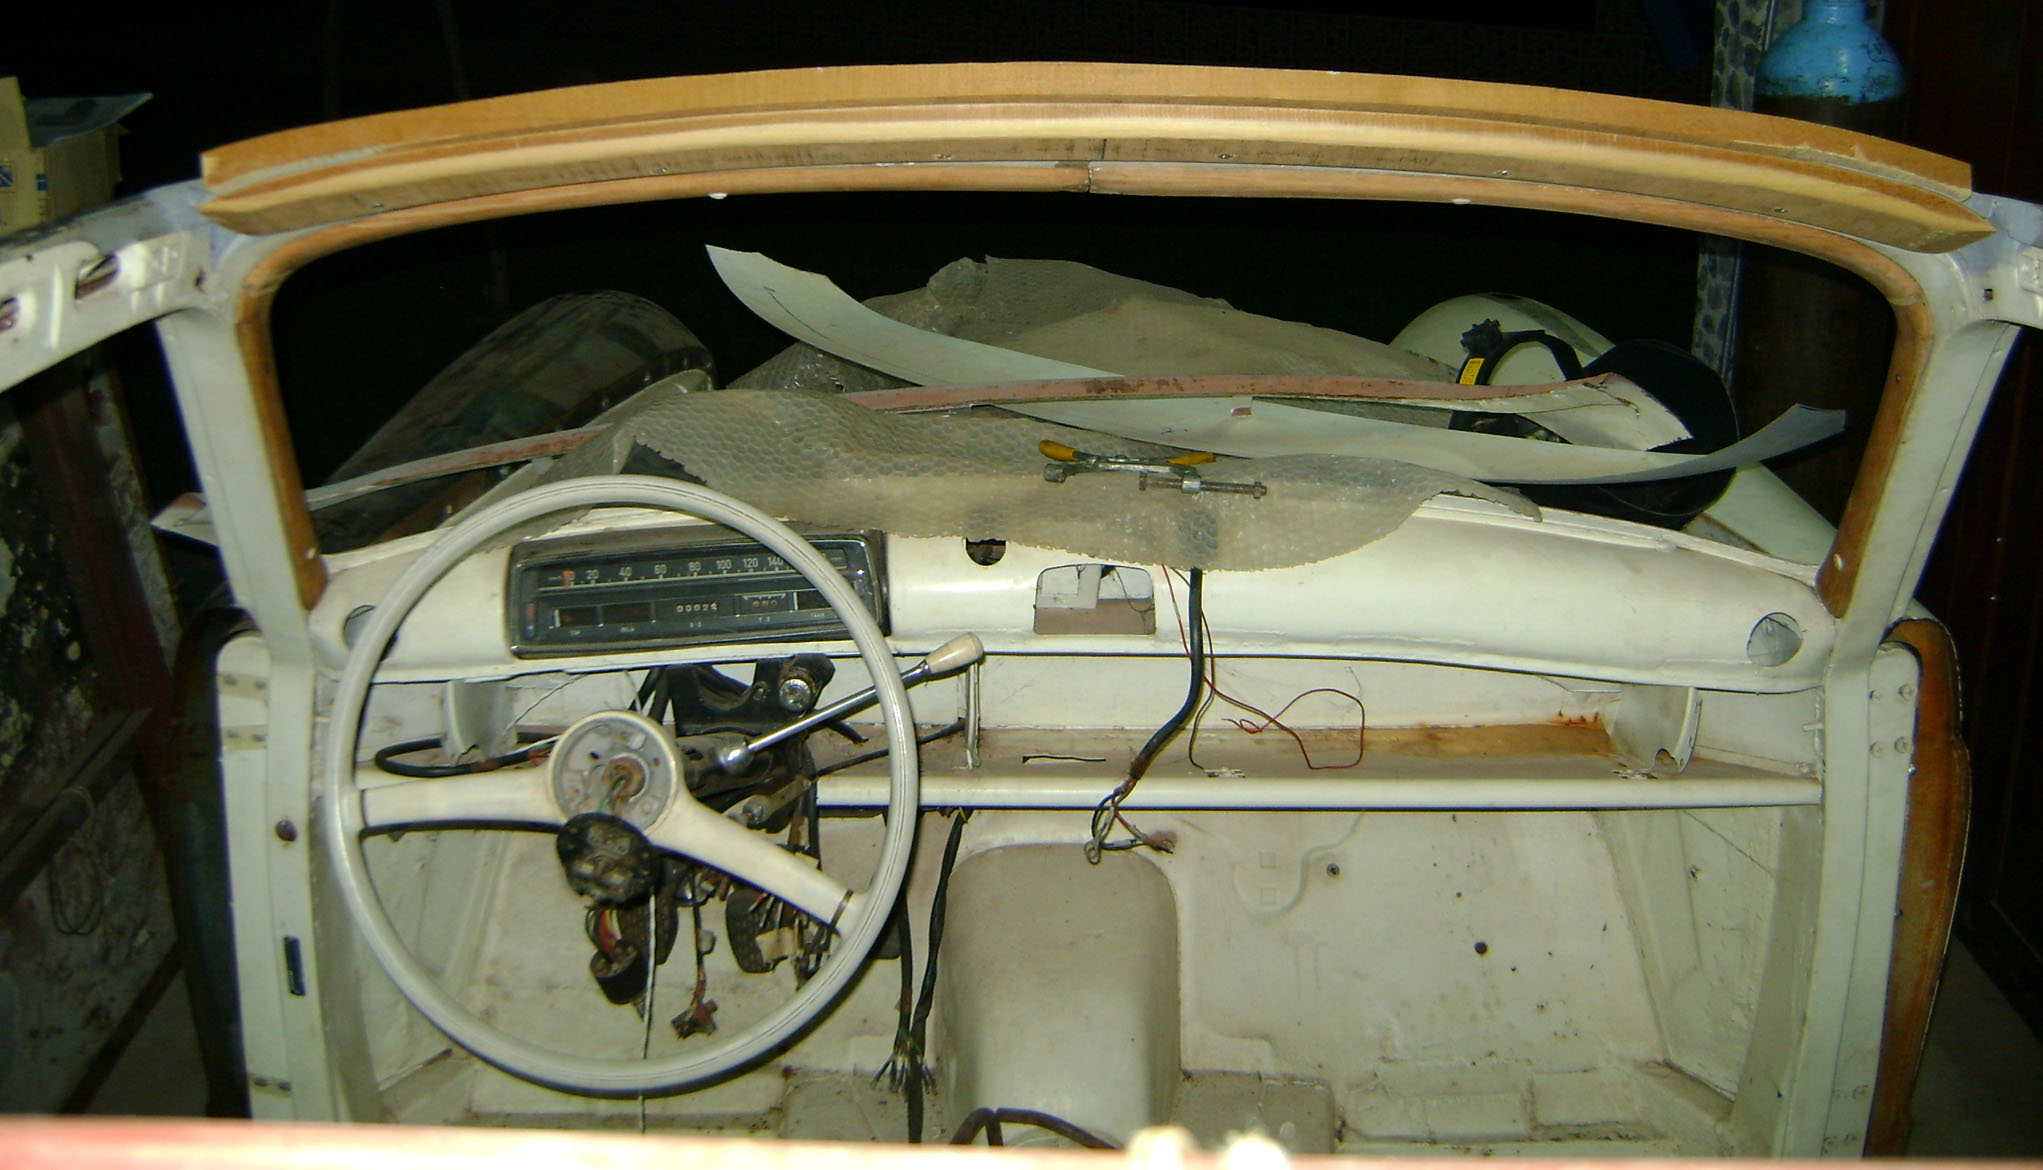
In the meantime I built a copy machine and made a new dashboard and other parts that didn't resist the old front window seal leakage and tropical rains.
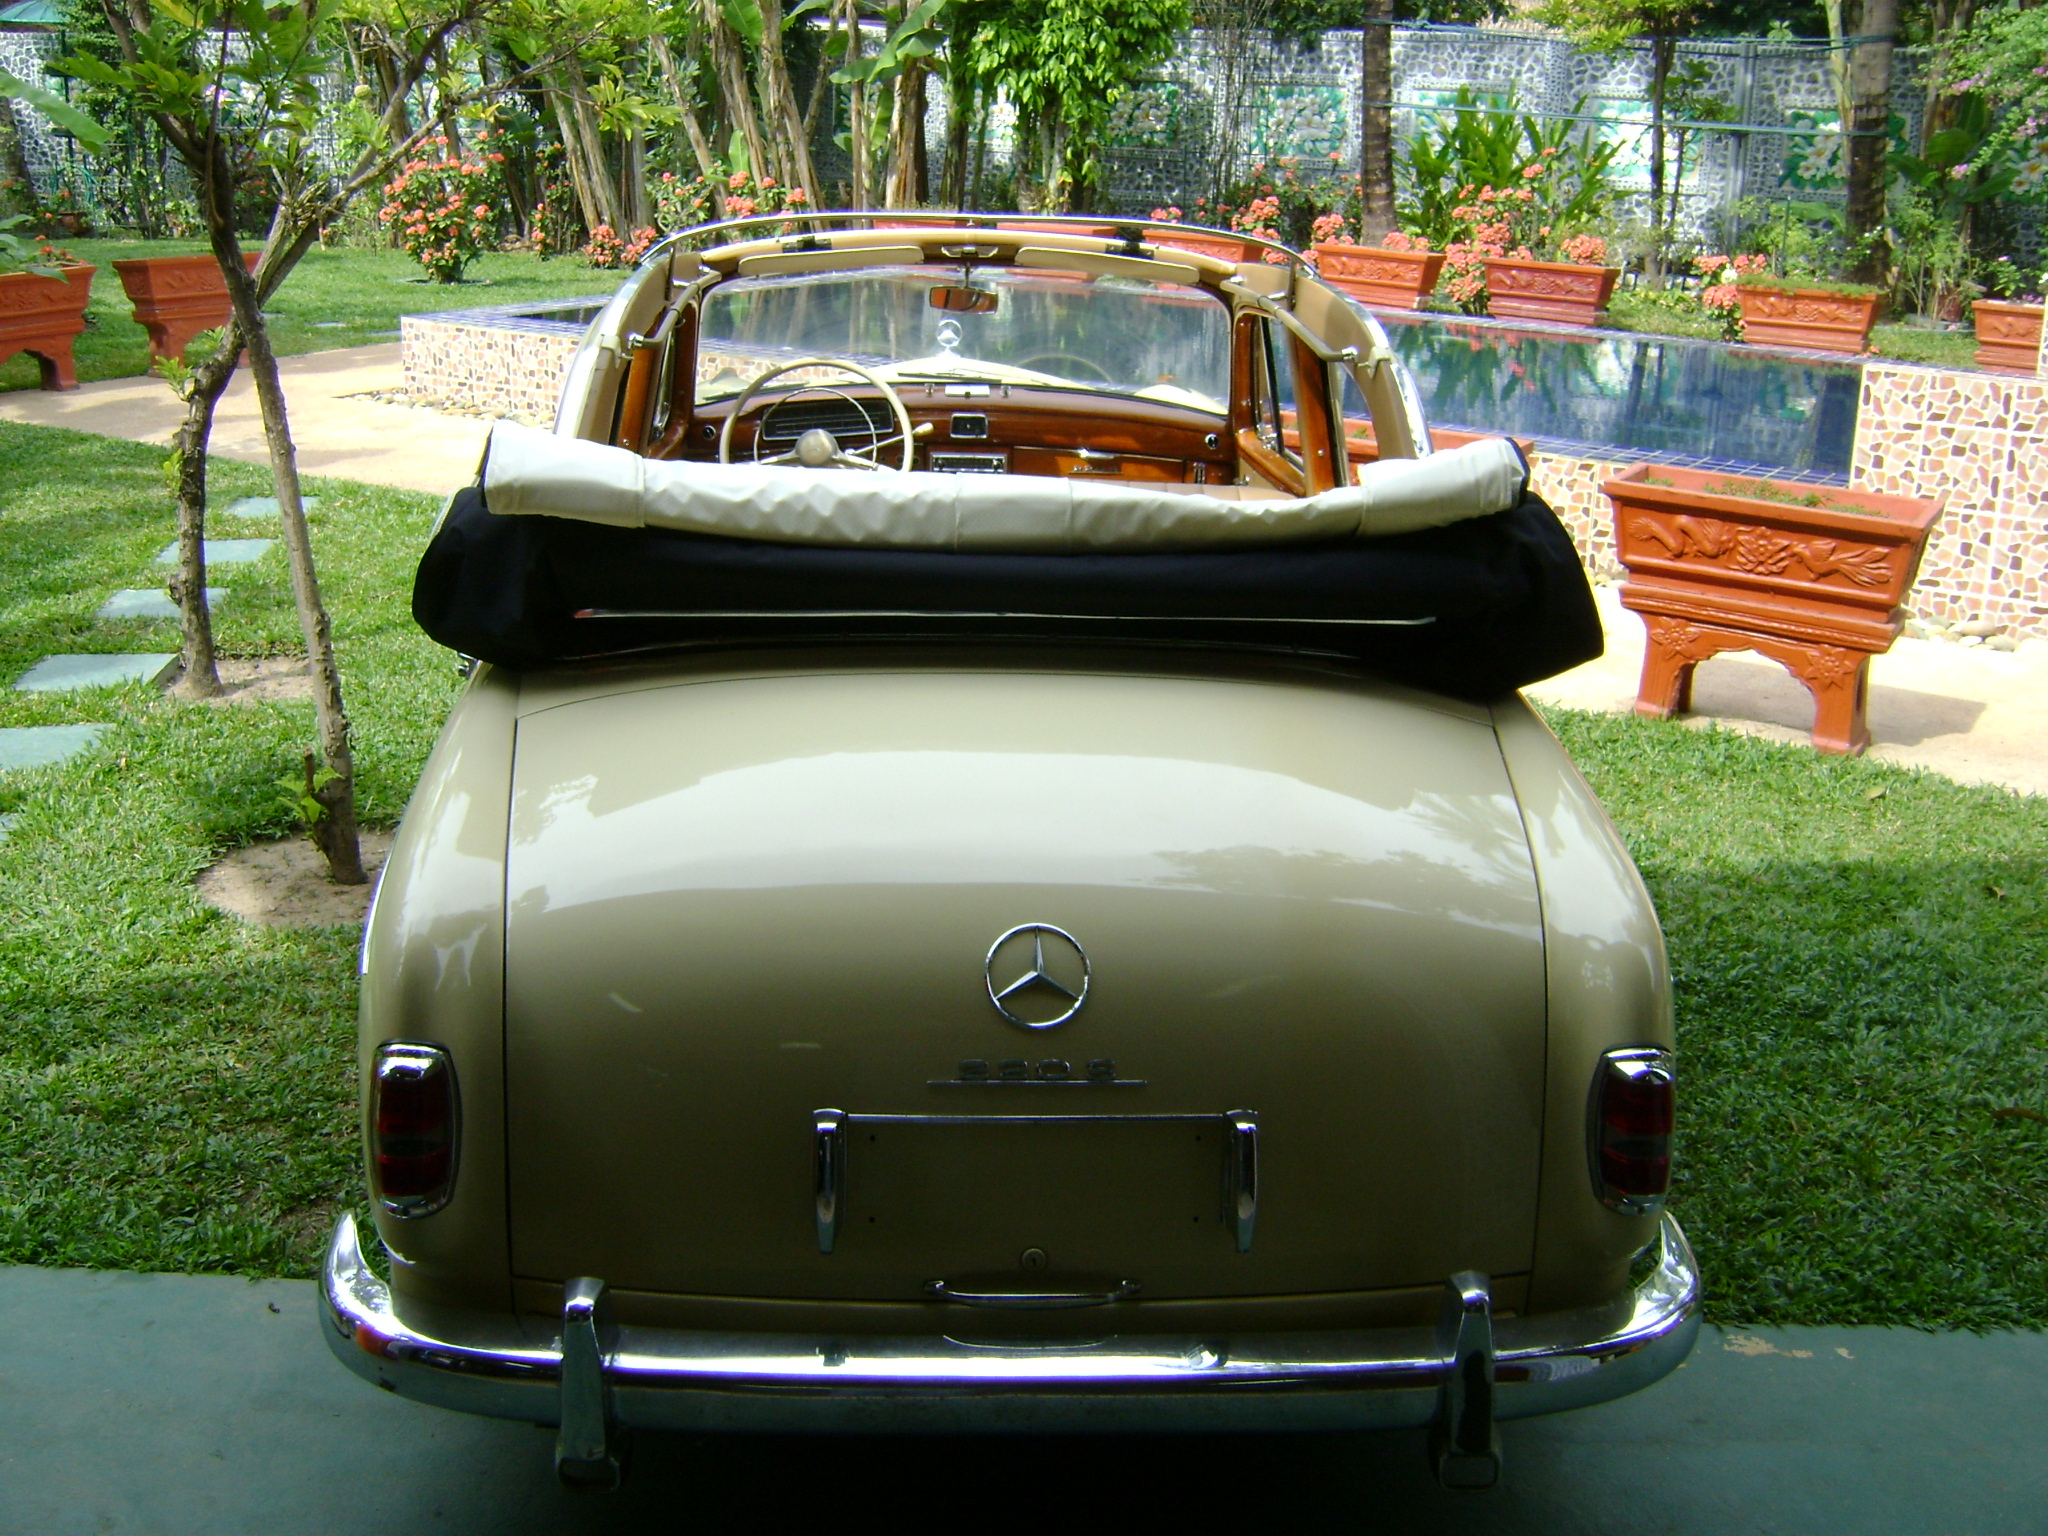
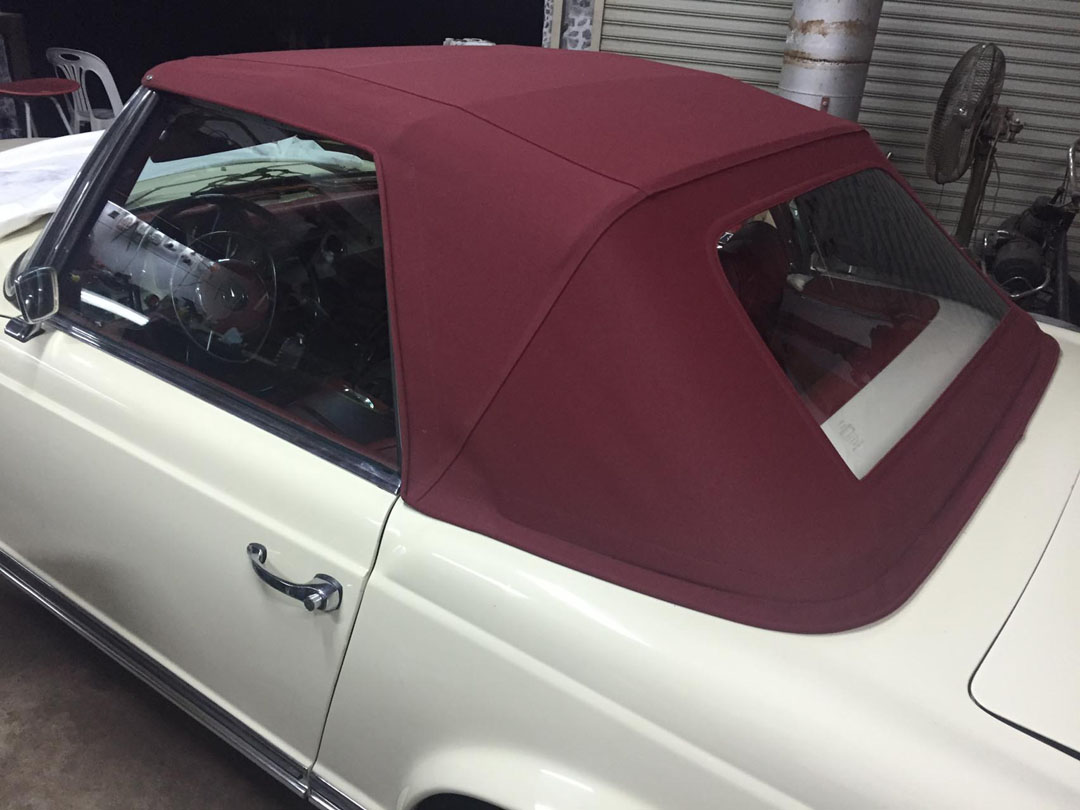
Looking good now – don't you agree?
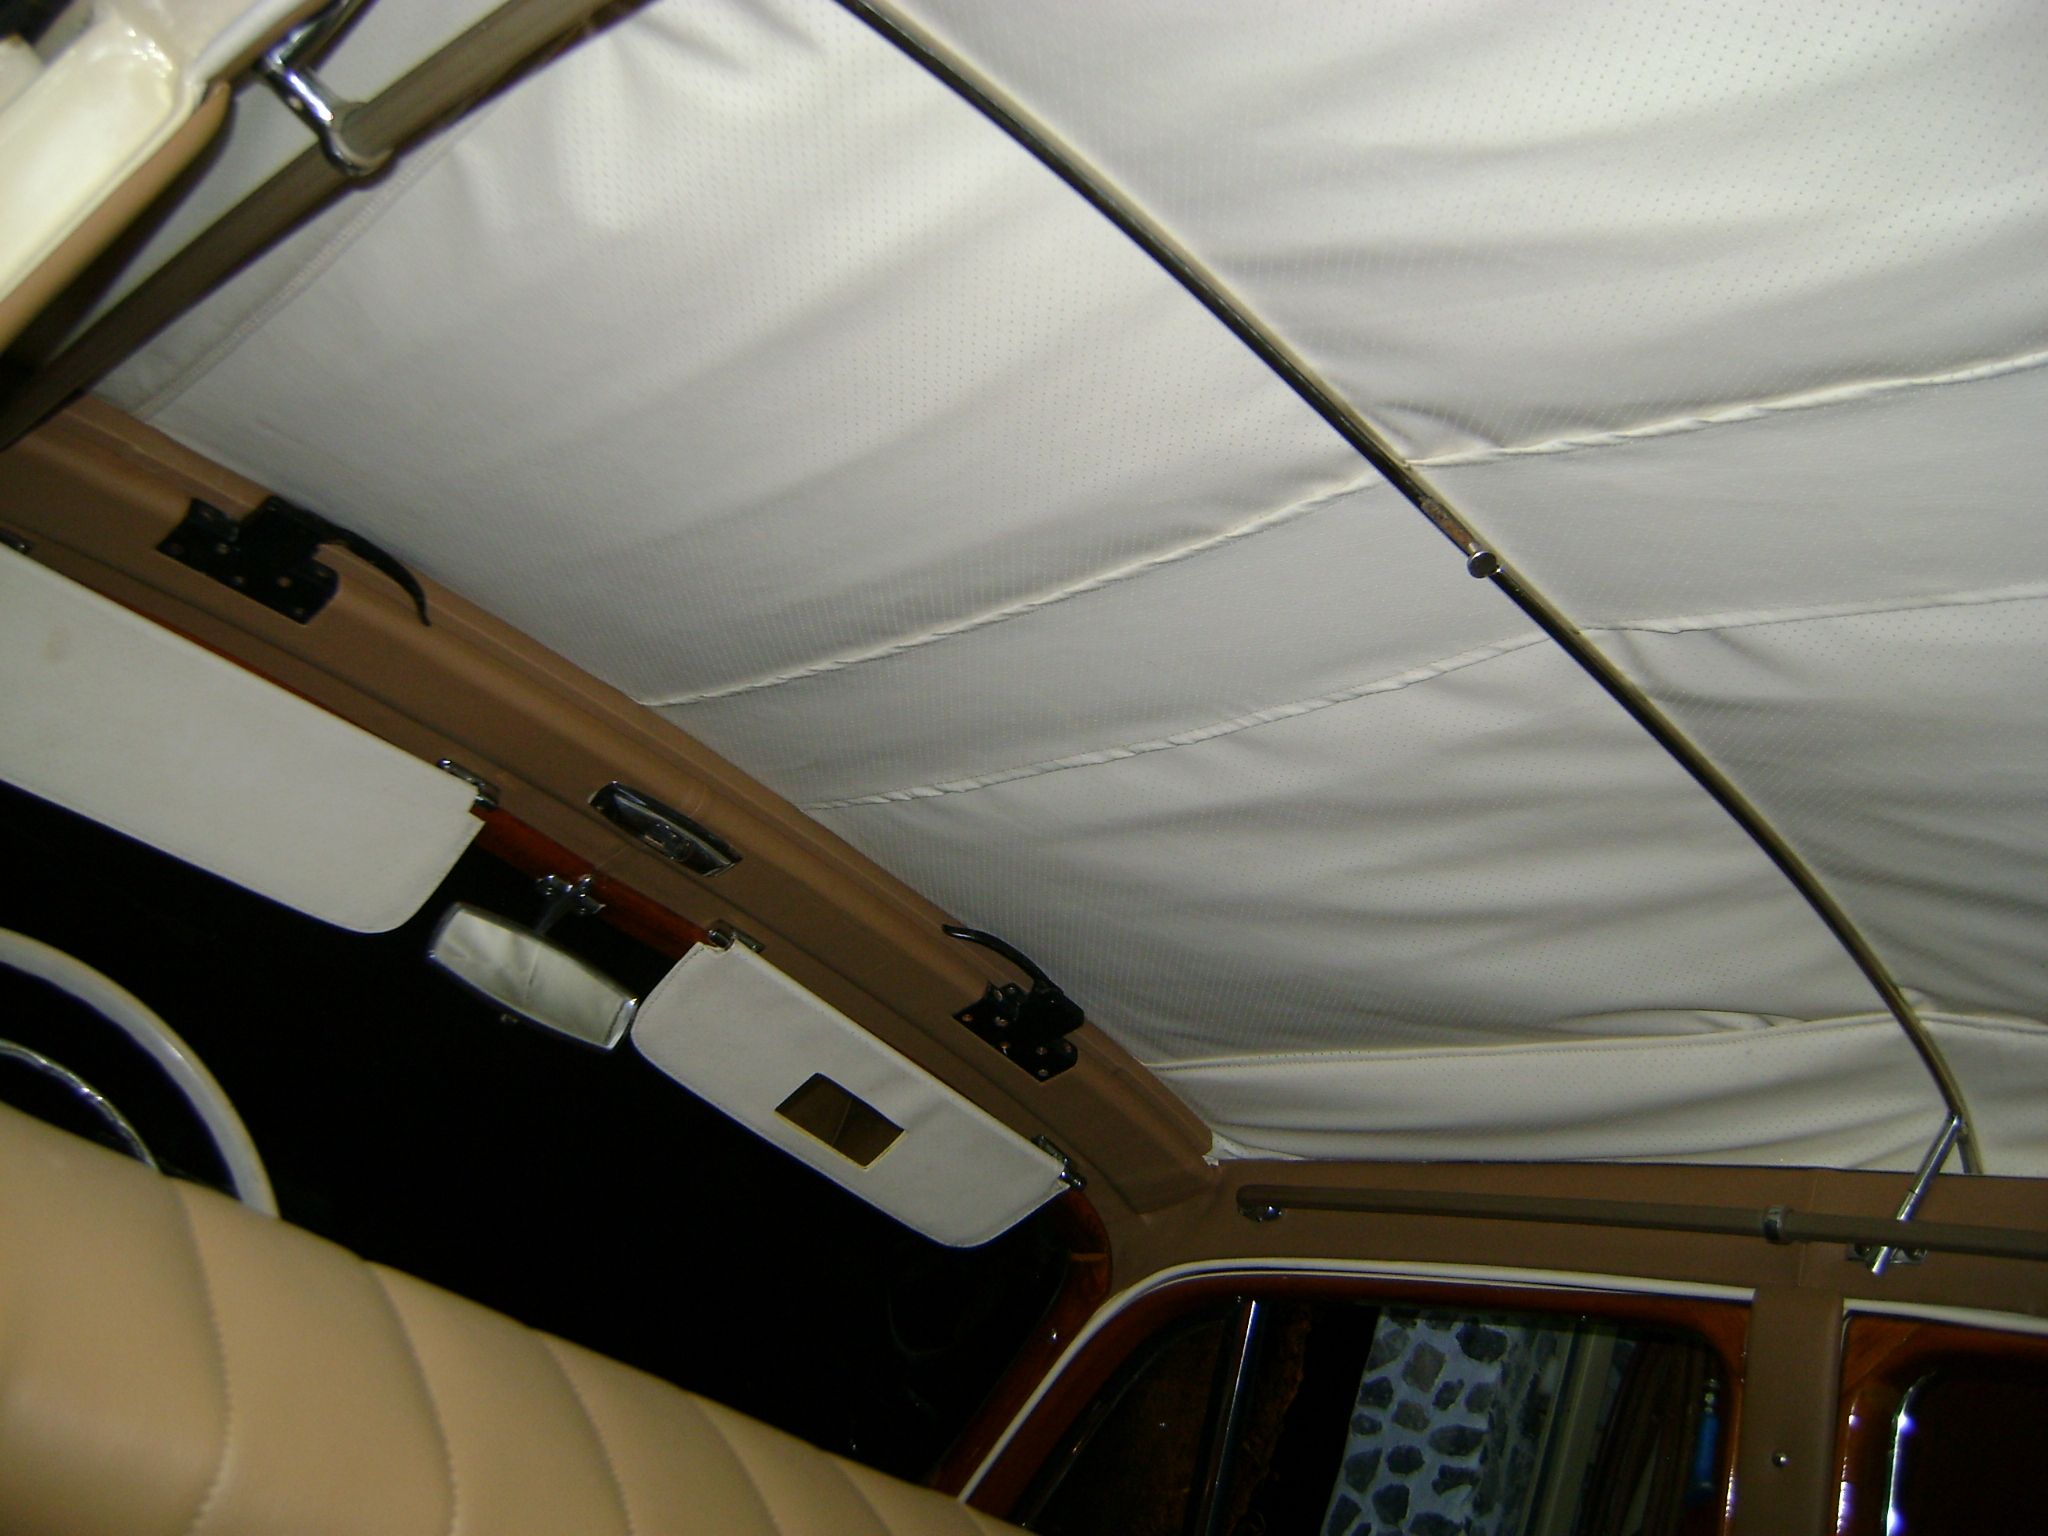
All put together with new upholstery.
Everything still fits together!
Progressing nicely
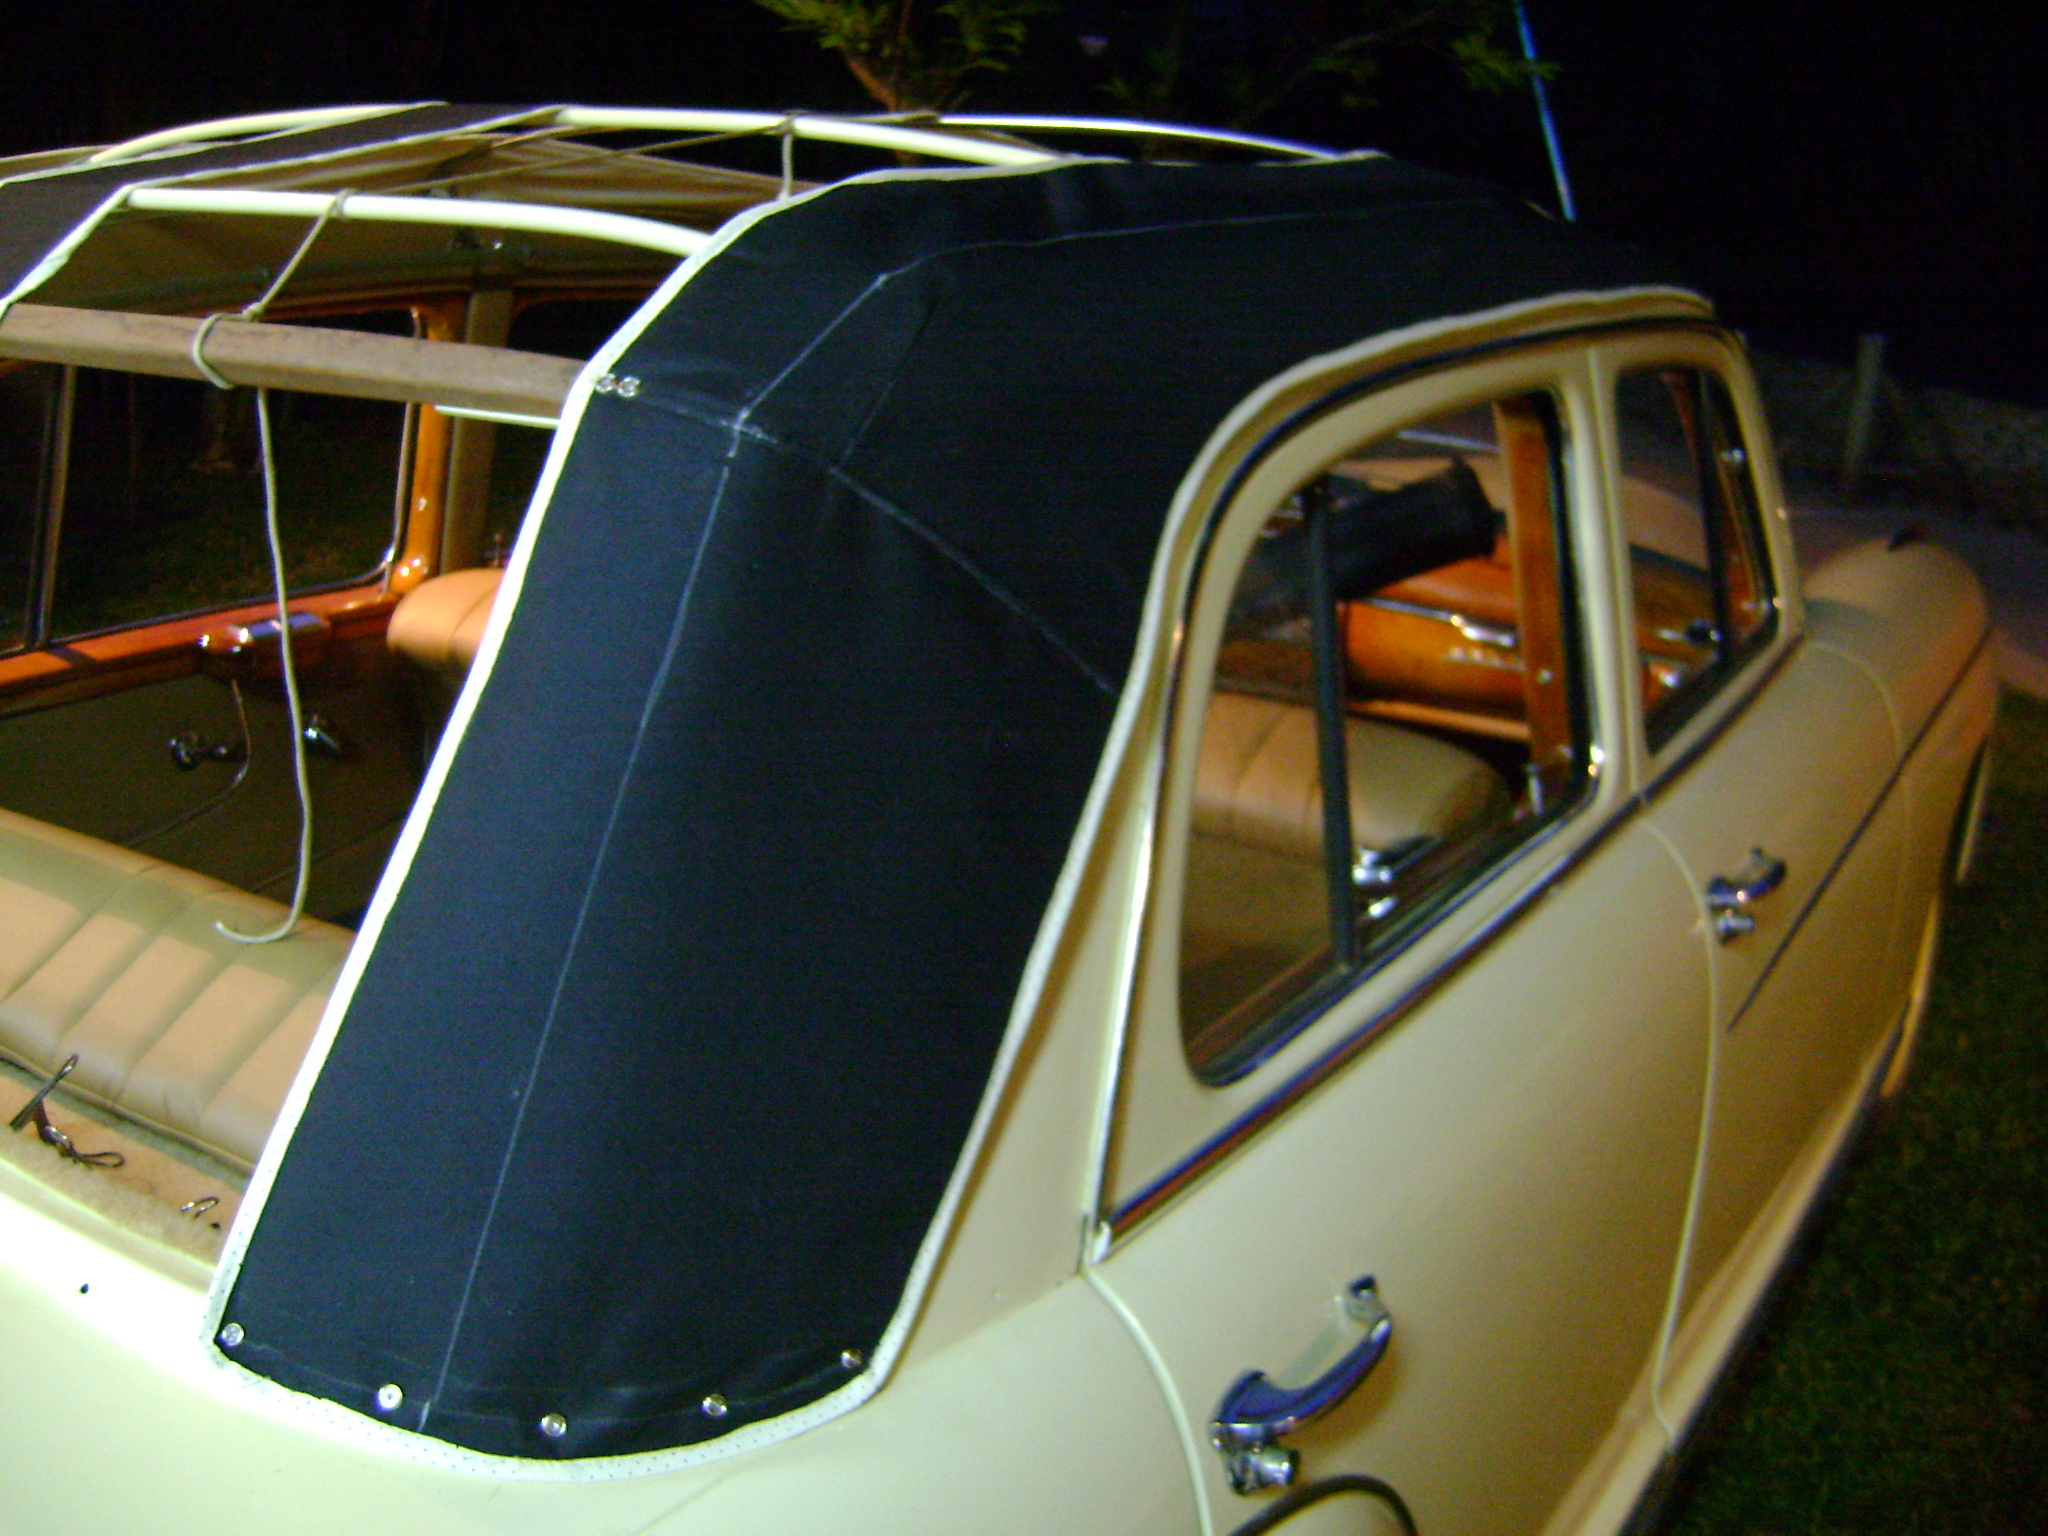
I just called my friend and we made cloth top like the original AEAT design.
Looking distinguished
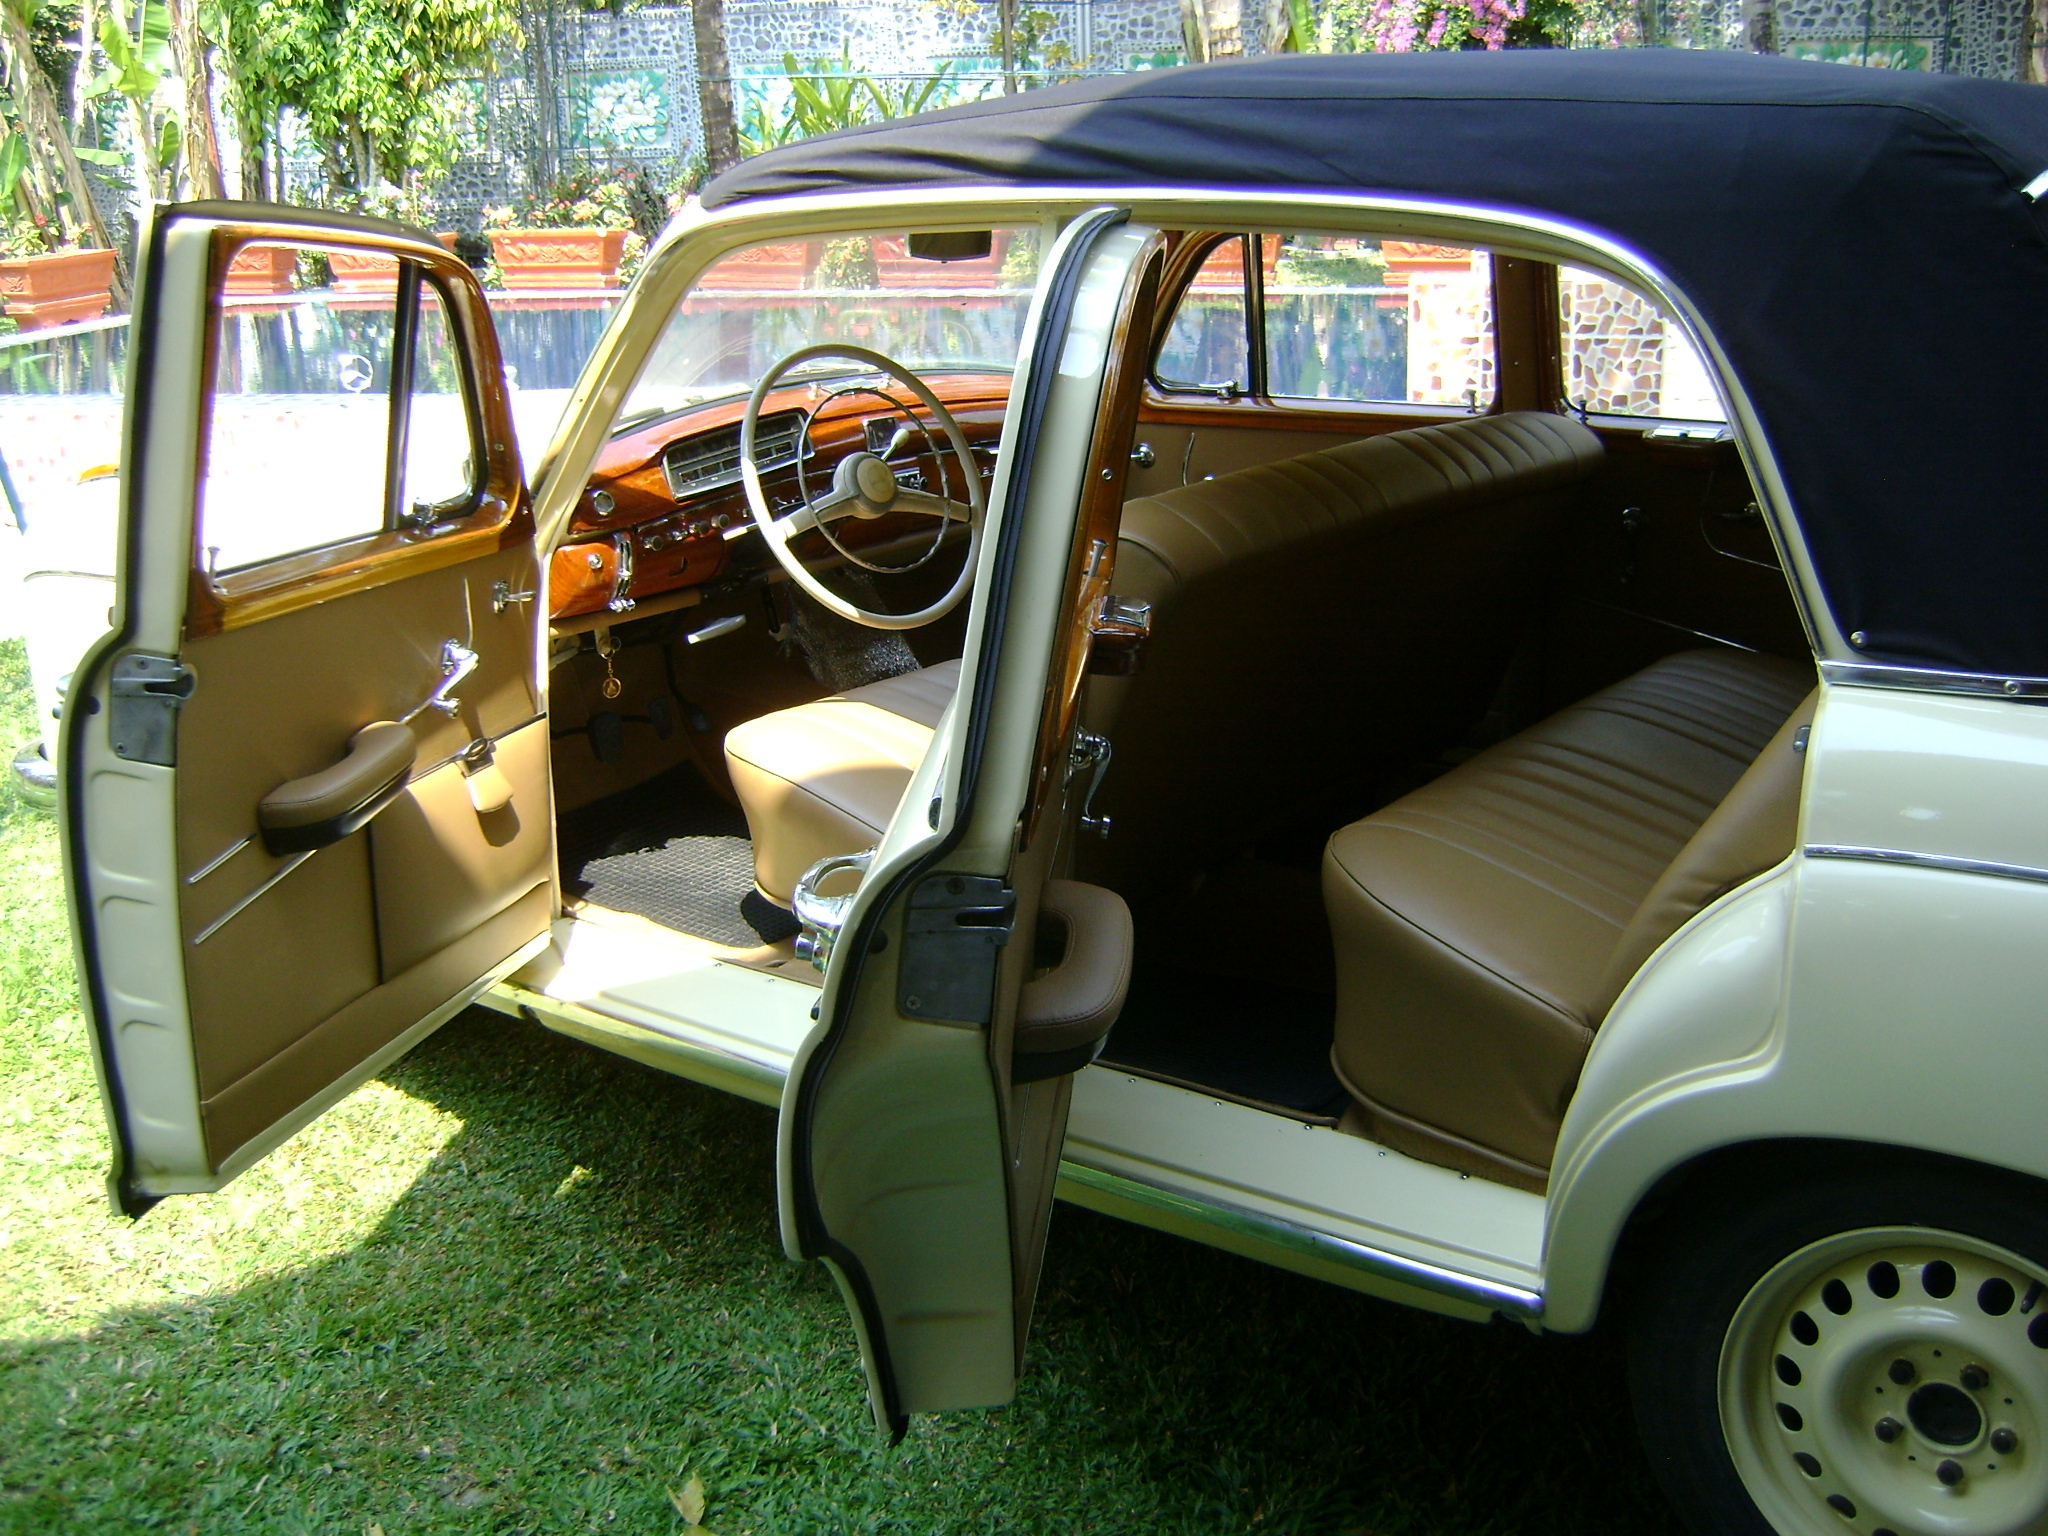
And it works to!
Need to find correct wheels and take it for the technical inspection so it can be licensed.
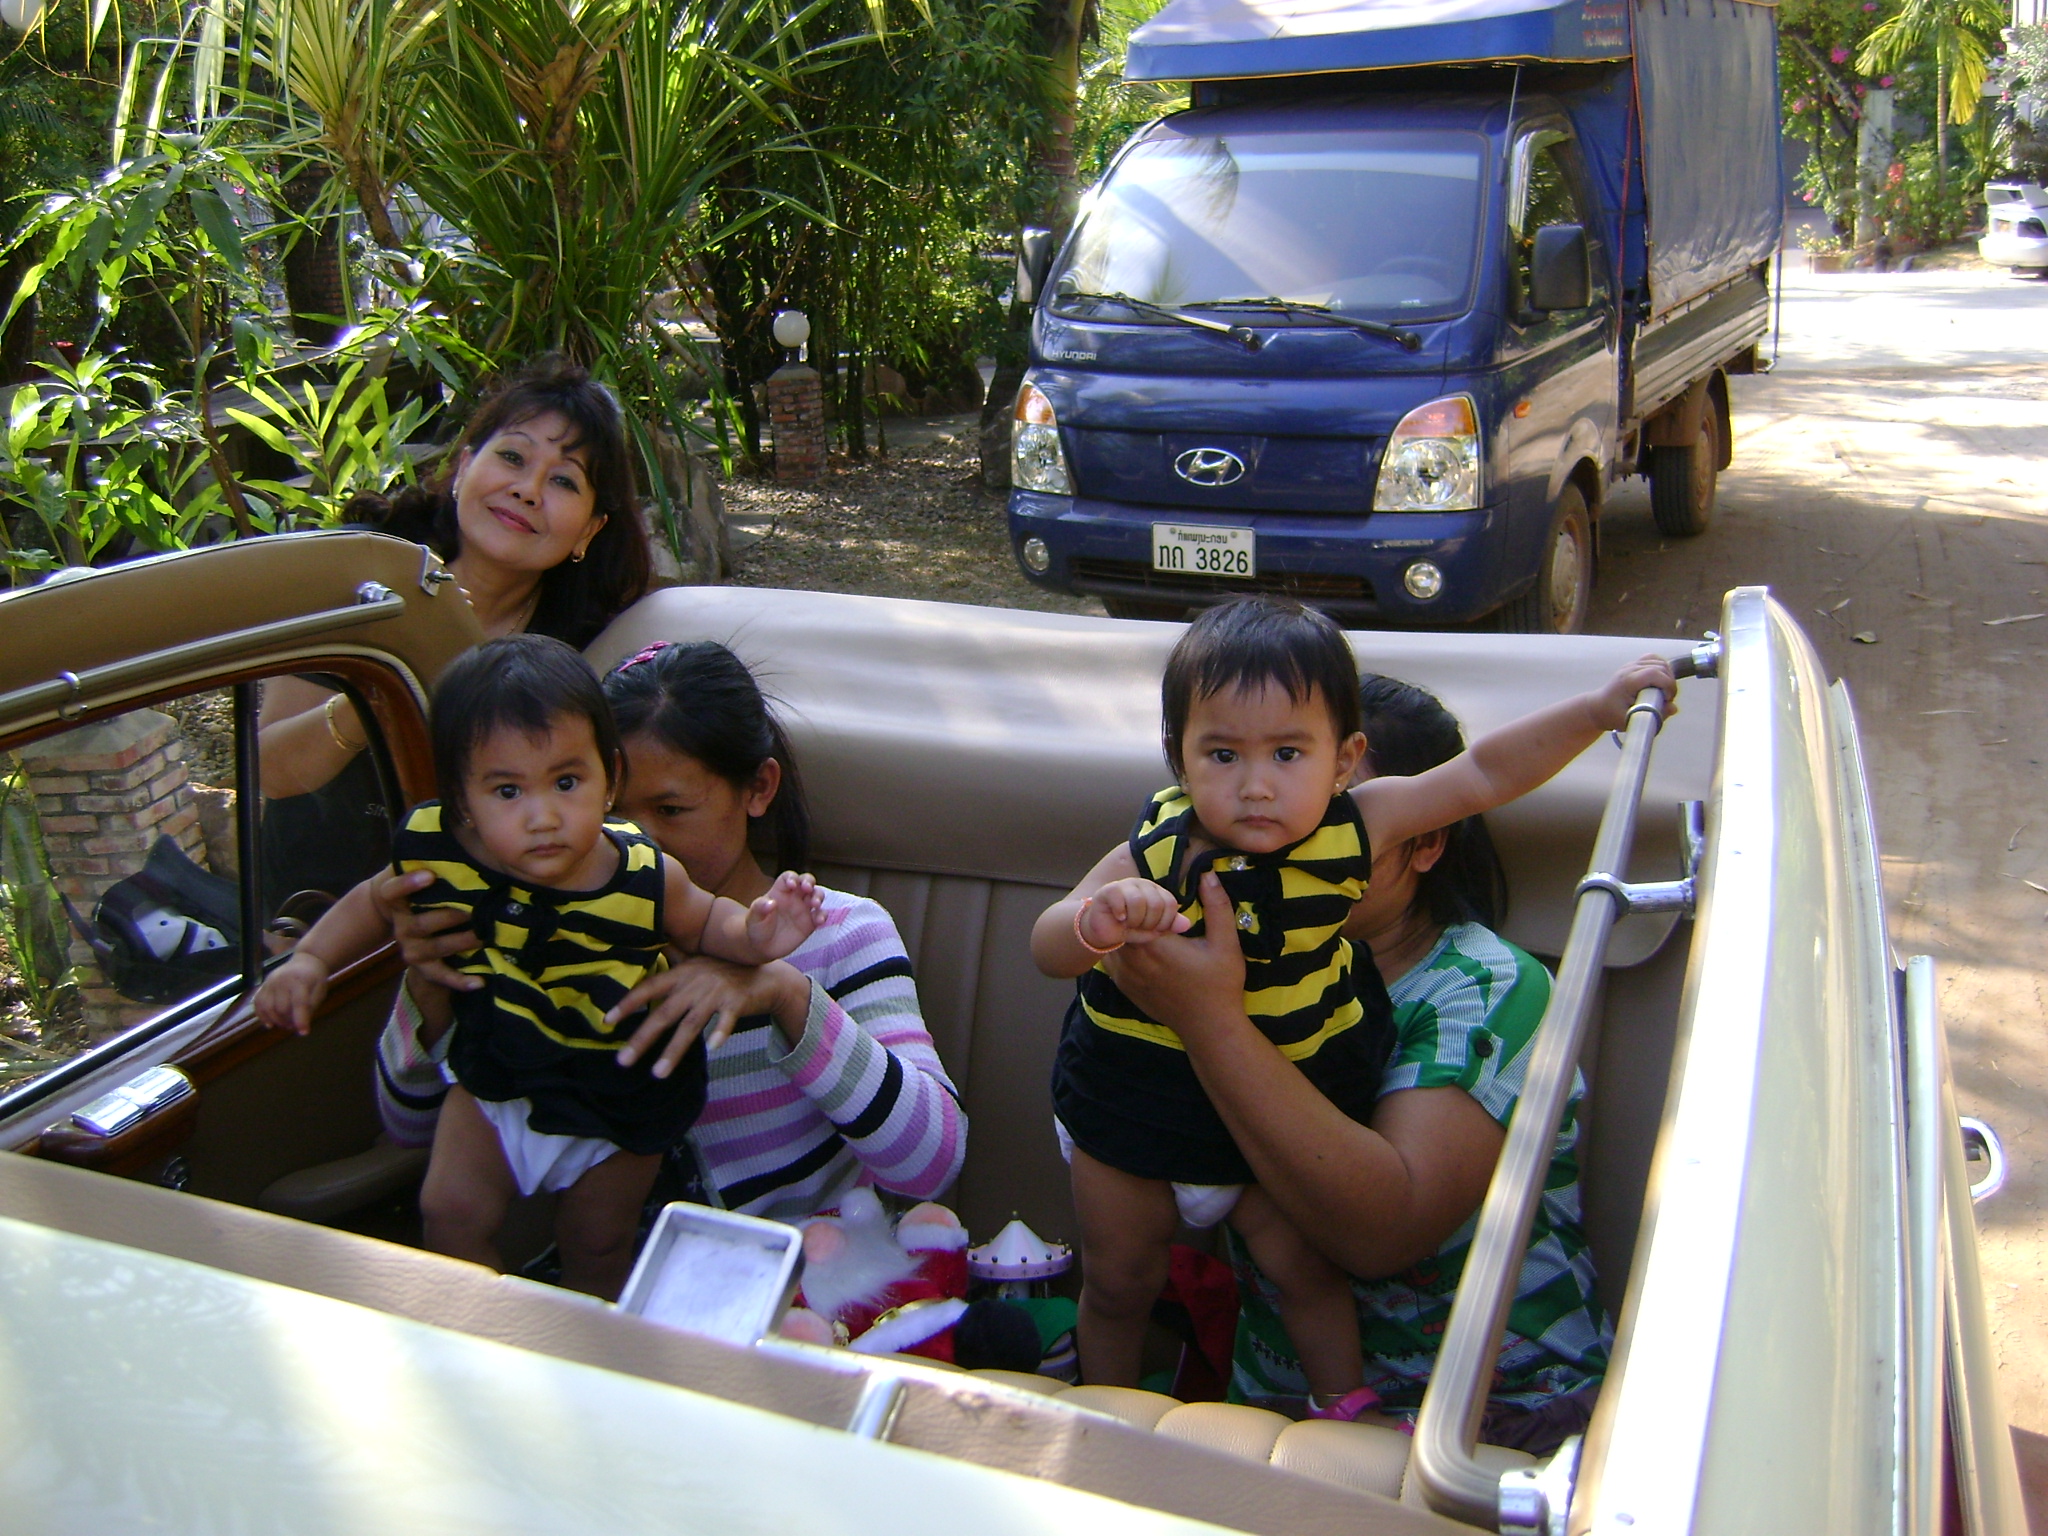
My wife, the twins and the nannies seem to like it too. Am I in a dream?!?!
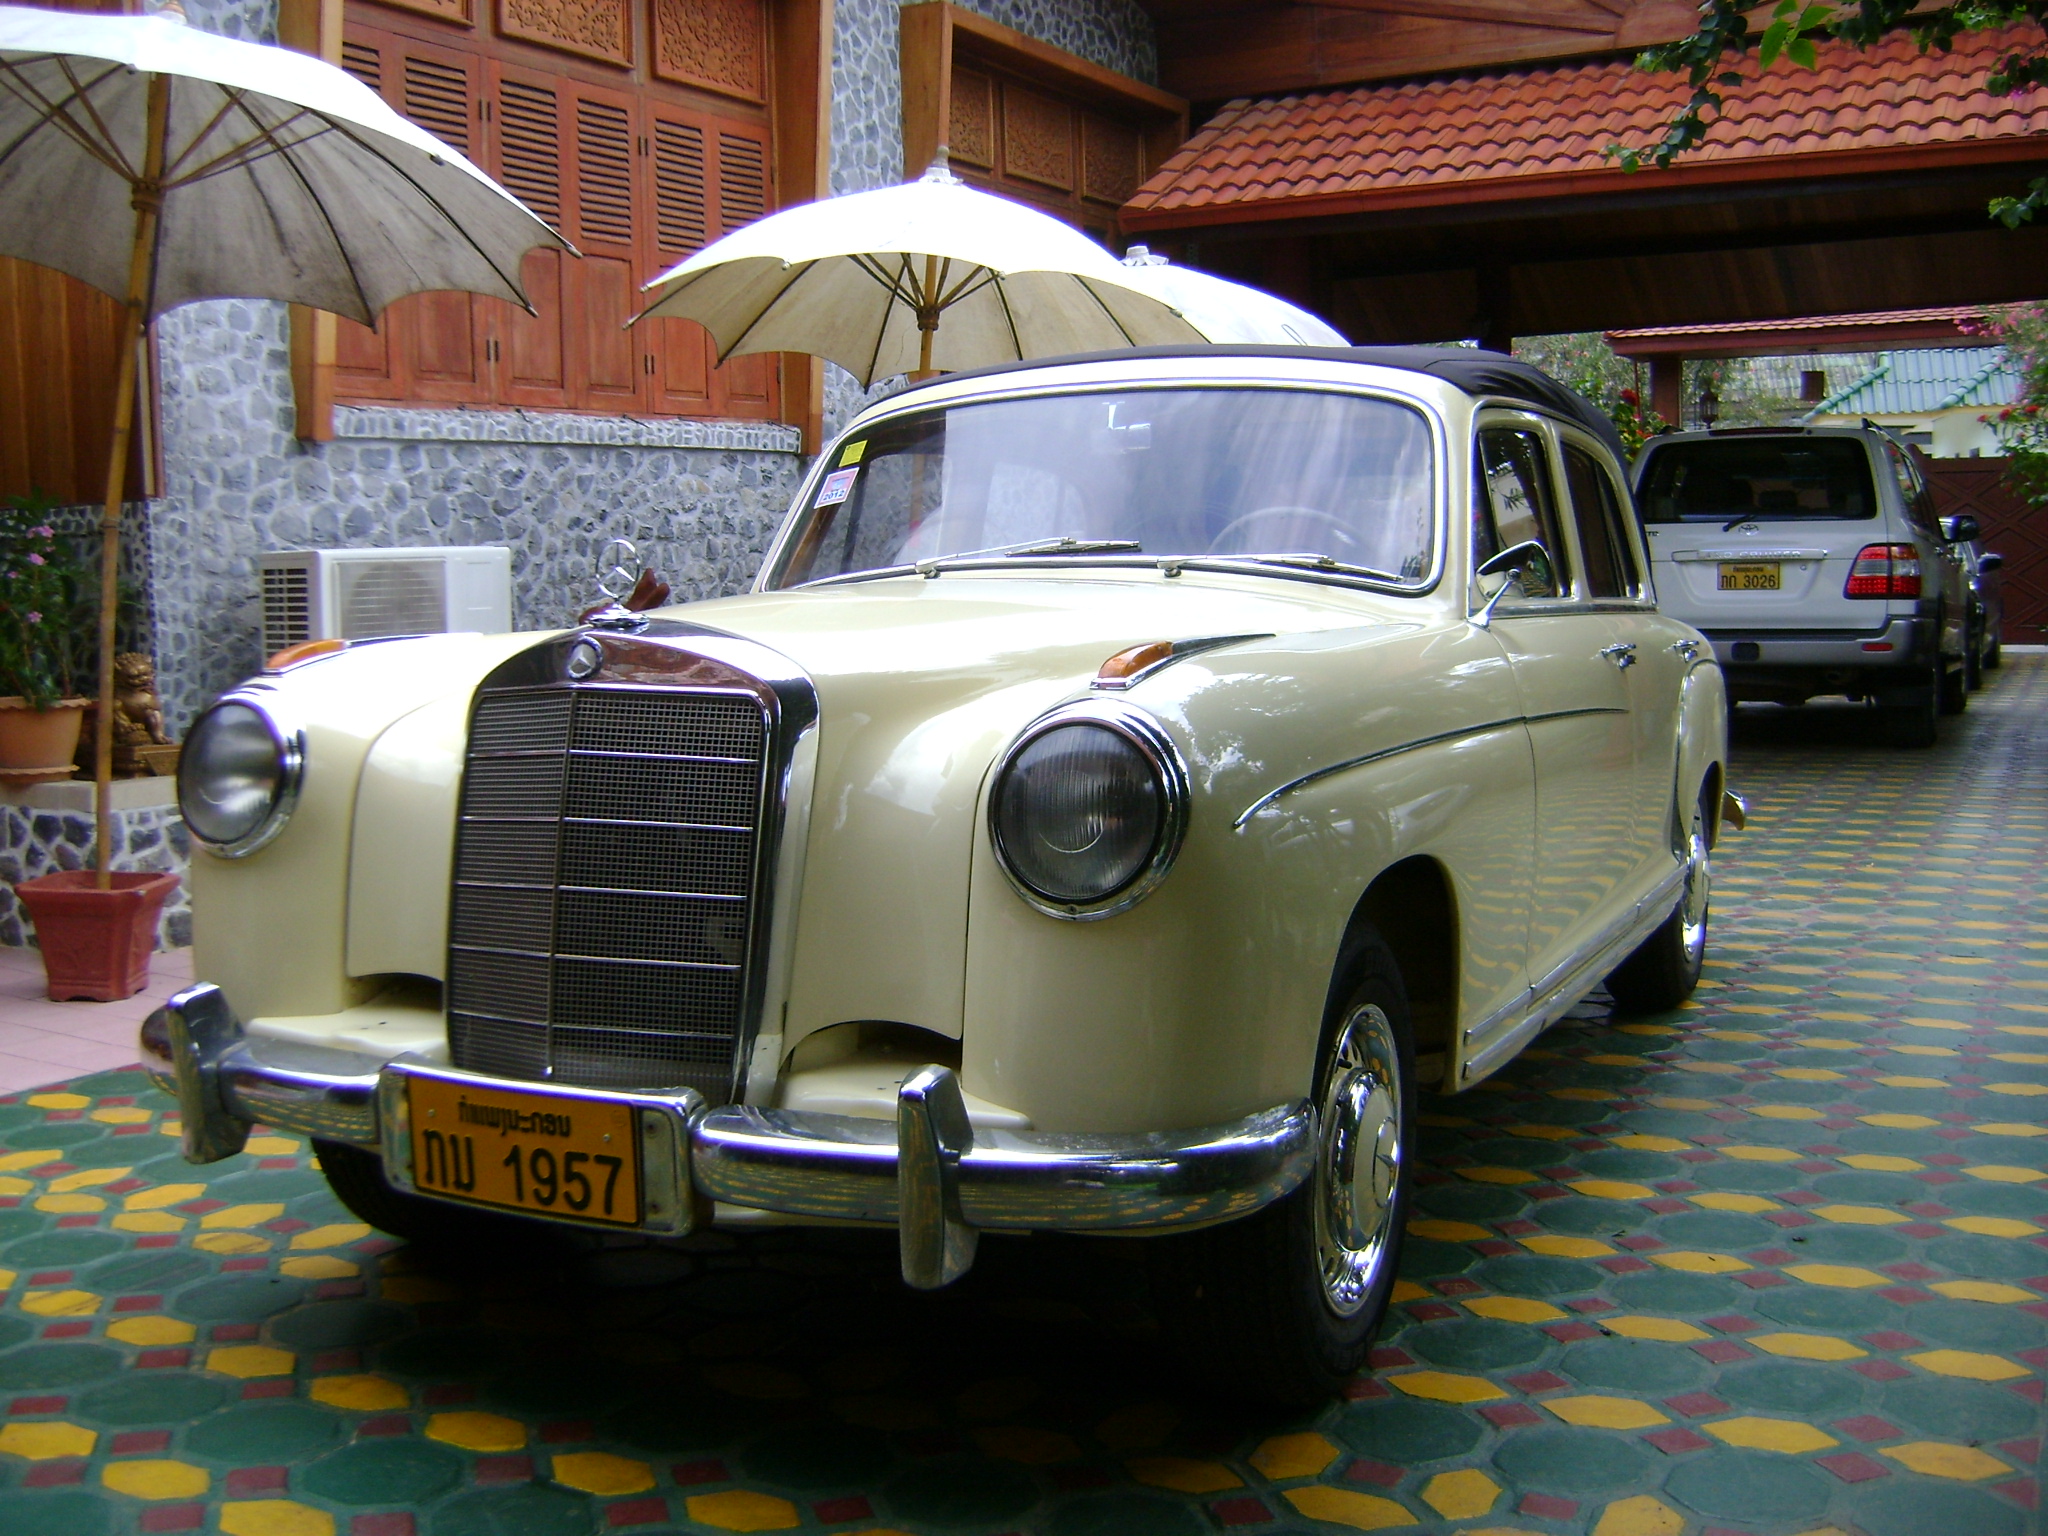
New tags with the car's birth year!
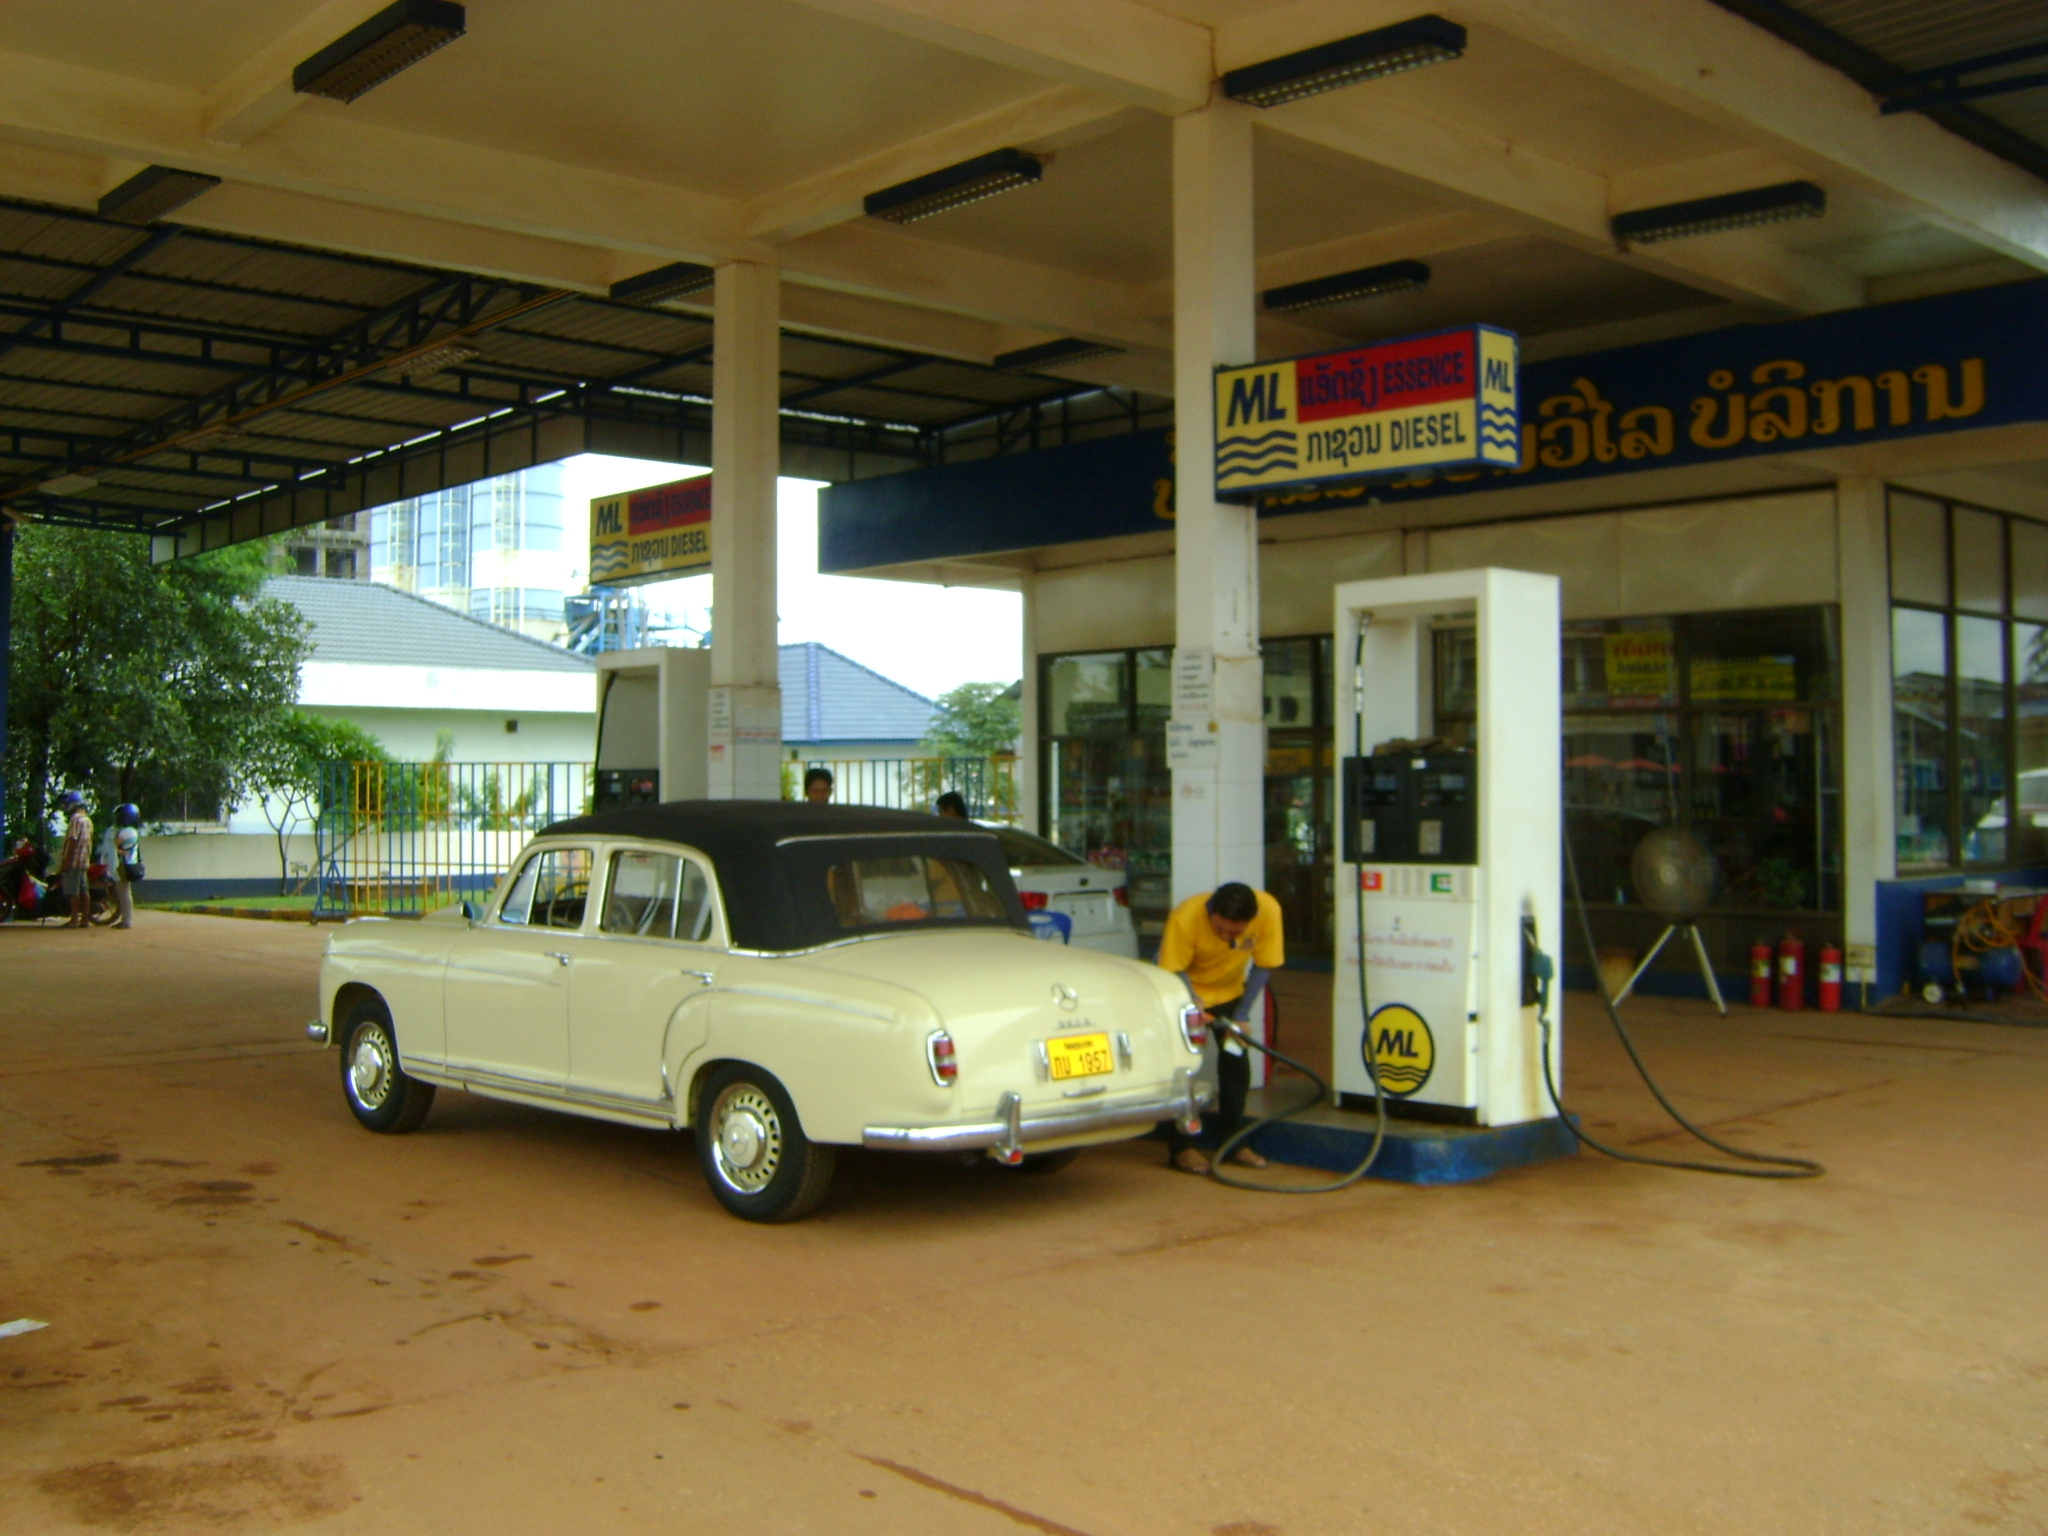
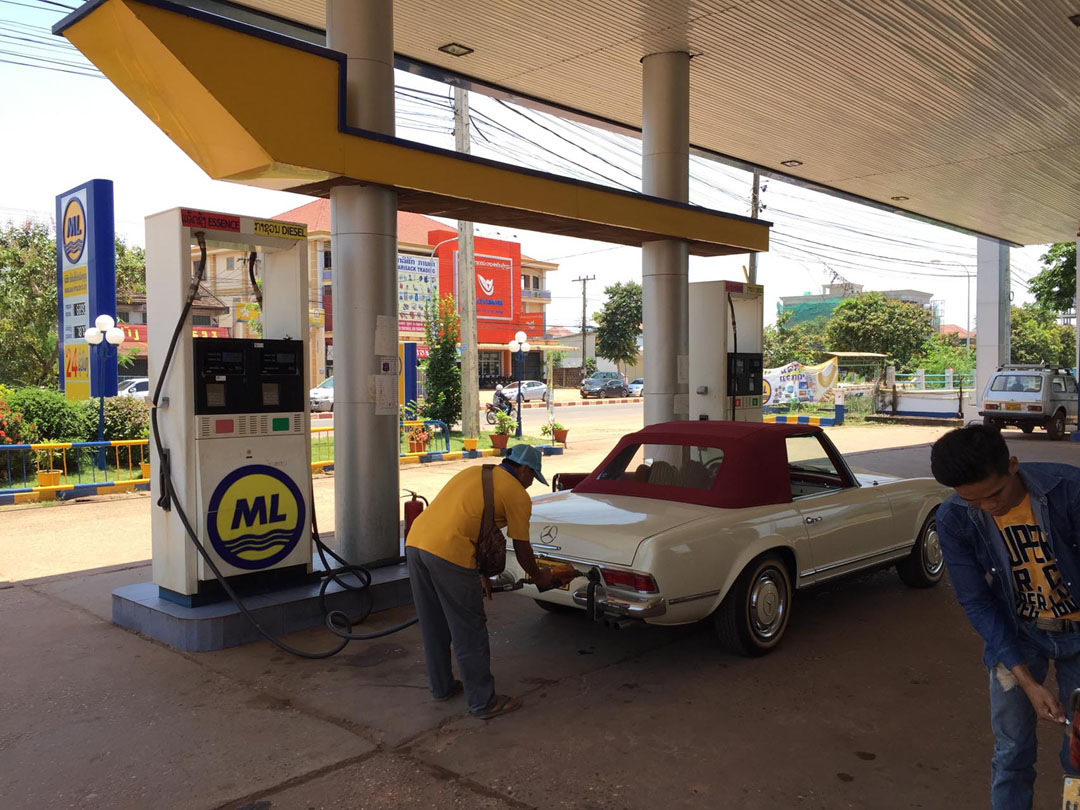
Refill carefully at my own station. At least that way I am sure it is the best gas!
Enjoying time with my friend who just bought a Mercedes-Benz Type 219 Ponton.
Another Ponton Découvrable!
Separate front seats – because this Ponton découvrable (there is more than one!) is owned by someone else.
Update / December 18, 2017
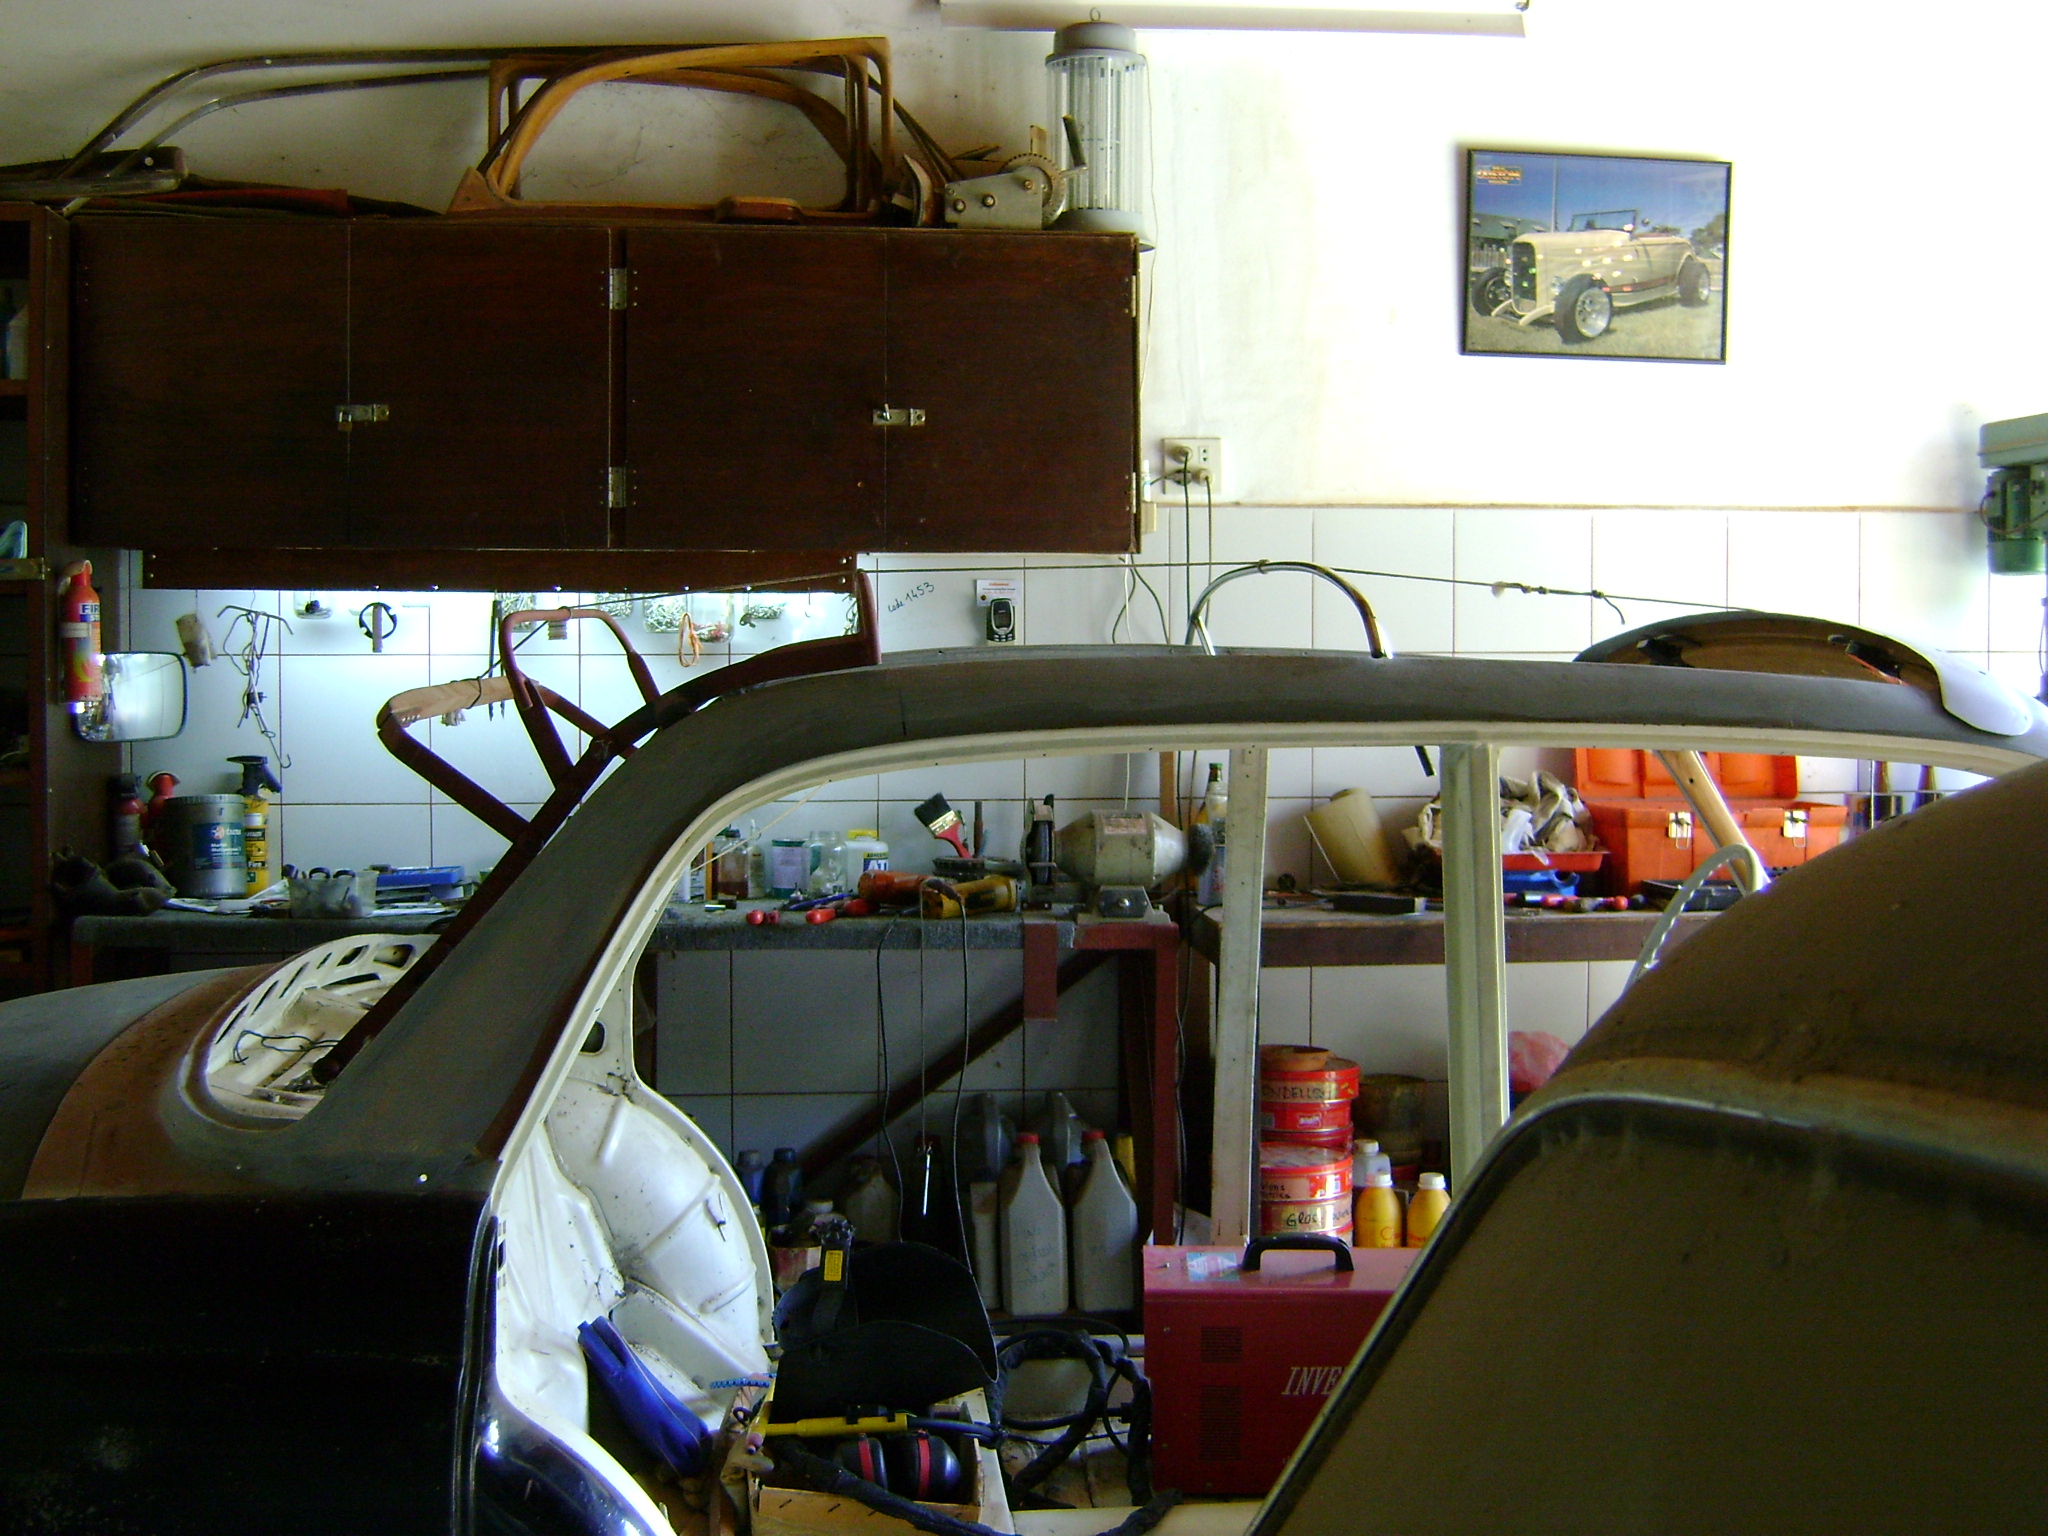
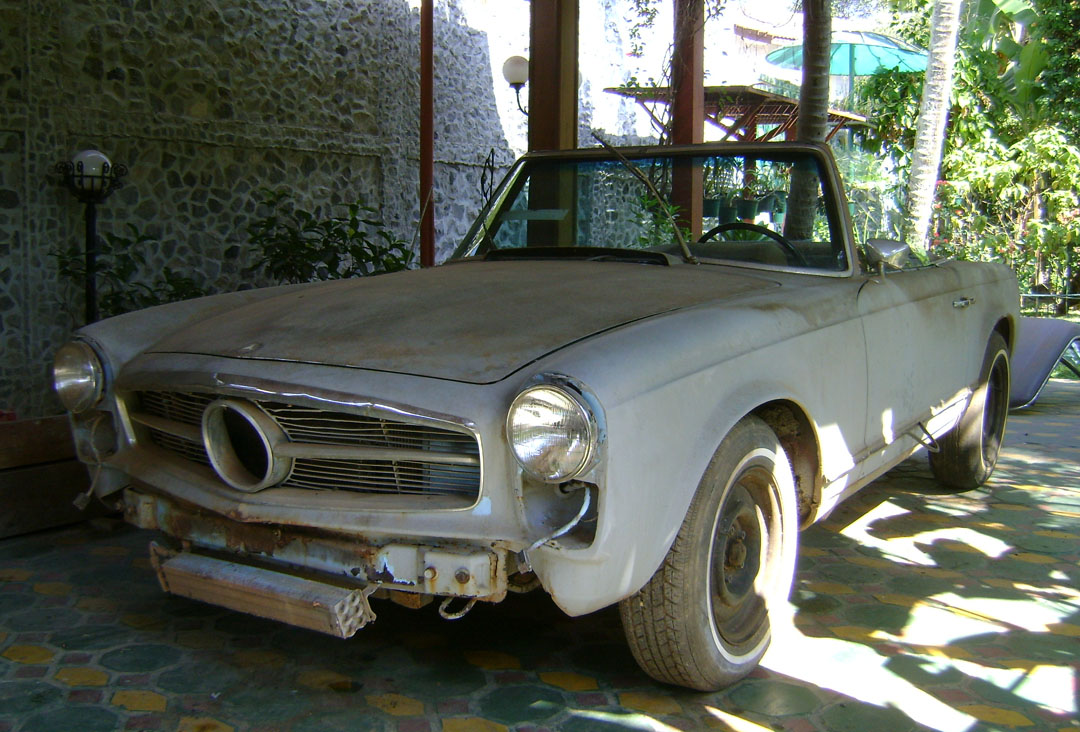
1968 Type W113 280SL Project
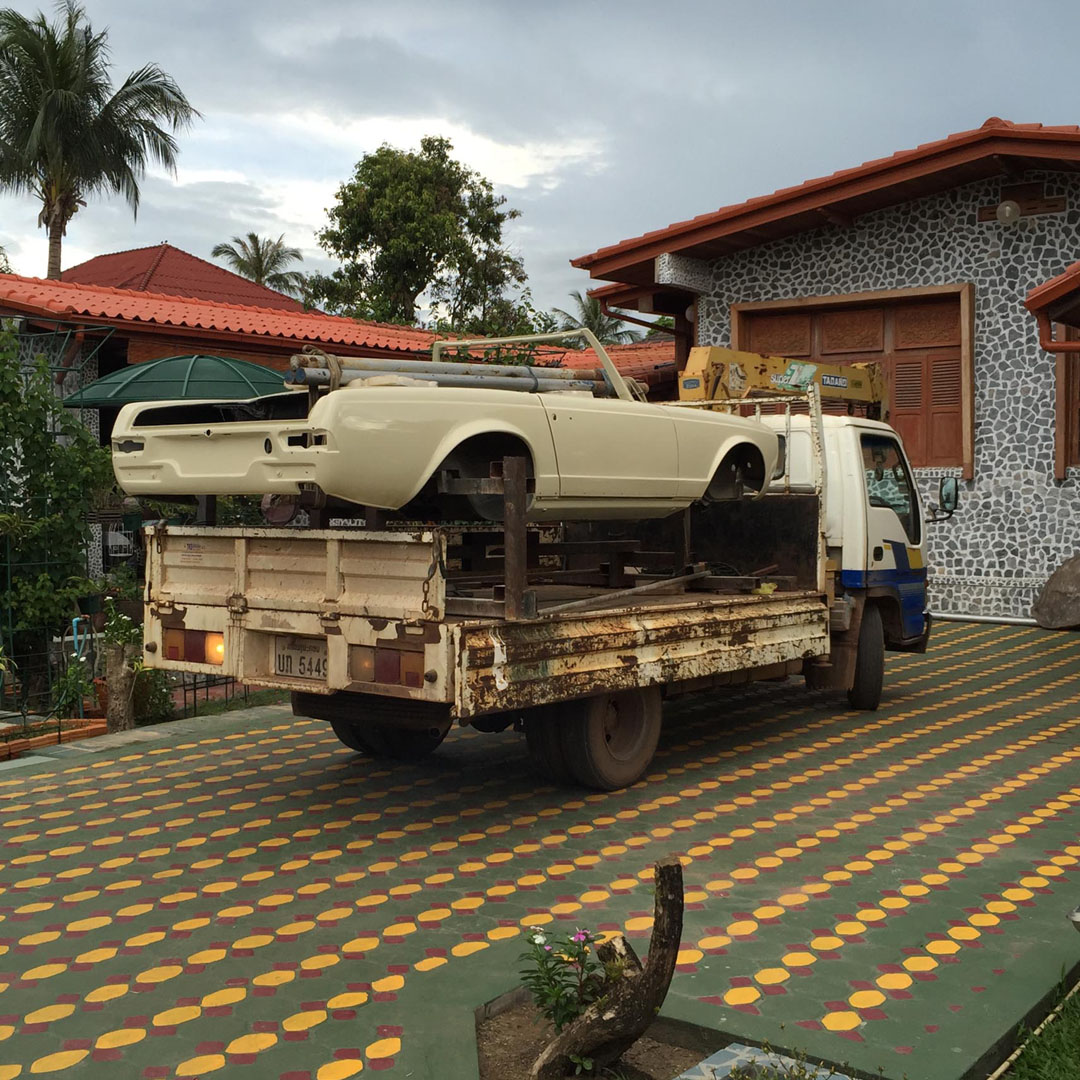
This is the story – in February 2011, I bought a 1968 280SL on the internet from New York. It was in running condition. Three months later, it arrived in Laos' customs just after a new prime minister was nominated, and the tax laws were changed.
So after long negotiations due to the dramatic increase, the car finally arrived at home in January 2013!
The dismantling began.
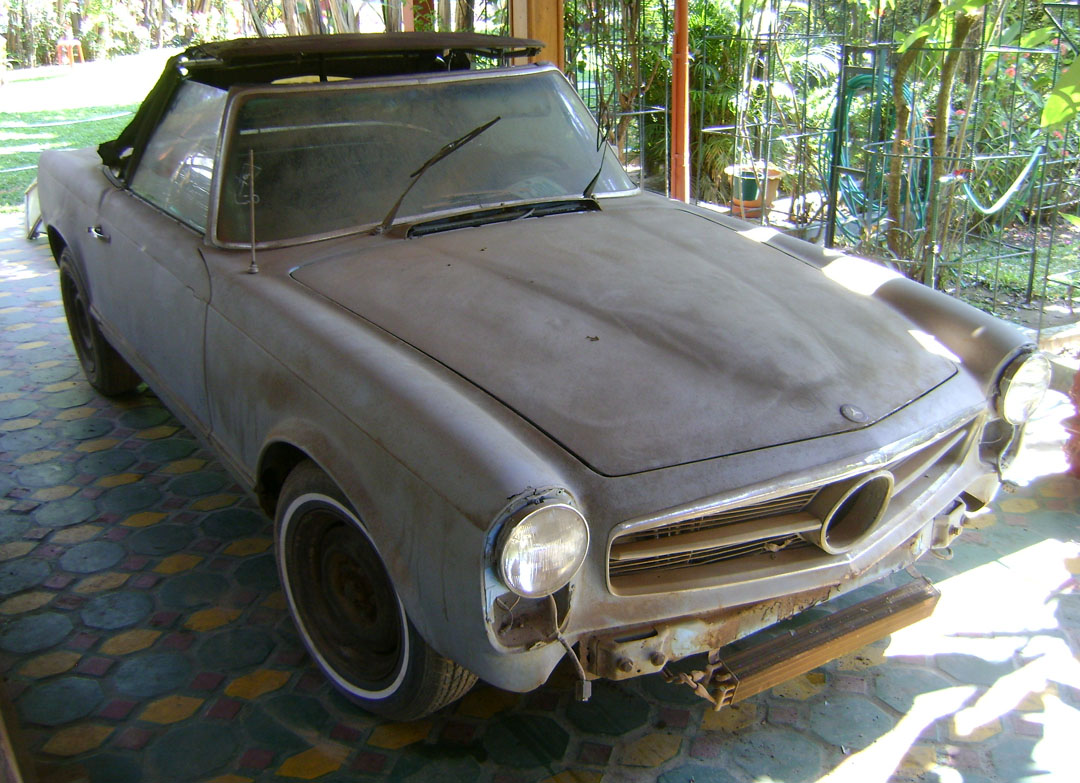
When everything was removed, I started making a rotisserie stand to gain access to the underside of the car.
First flip-over with my two cranes.
Better access allows the start of a long process.
Flip over again and again.
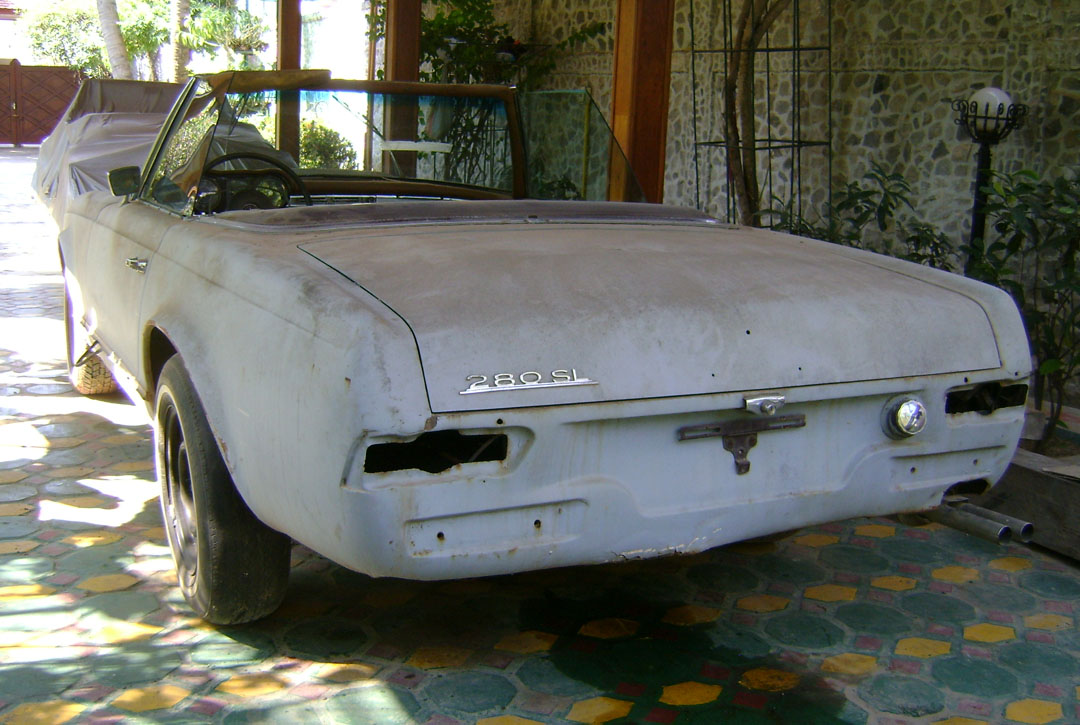
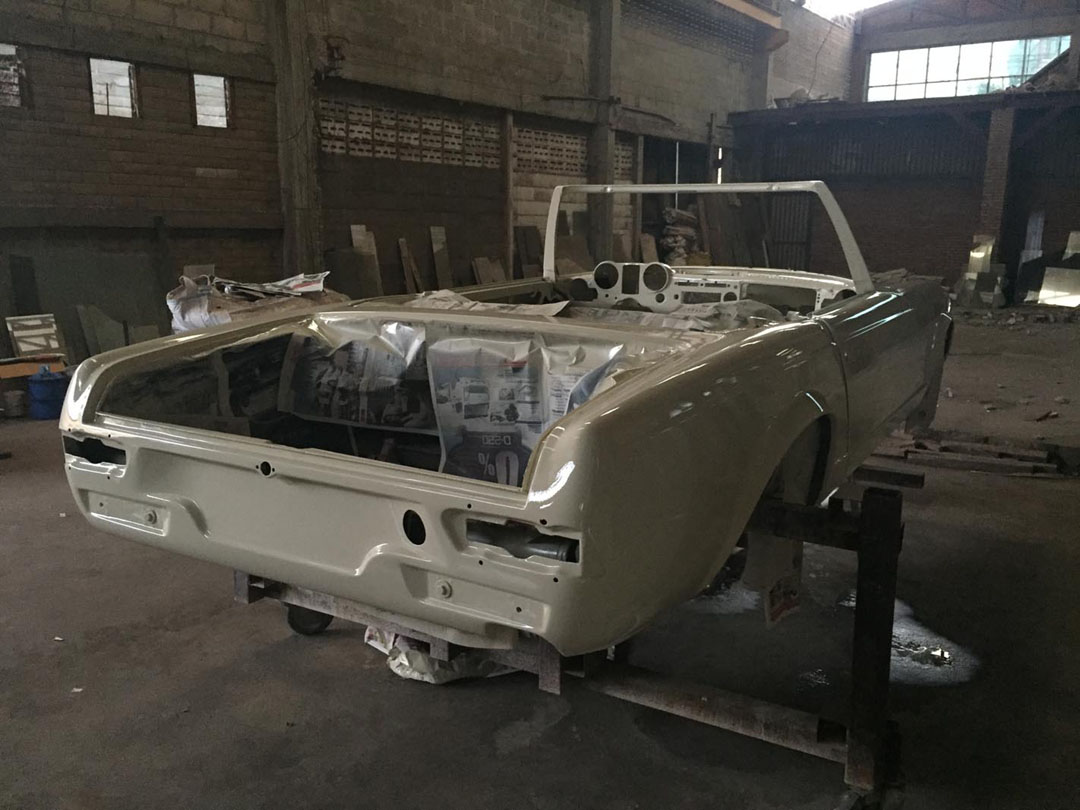
After long hours of cutting, forming, and welding, it looks better. Nearly like the factory original!
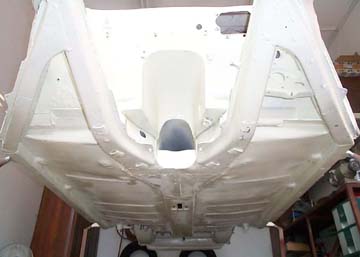
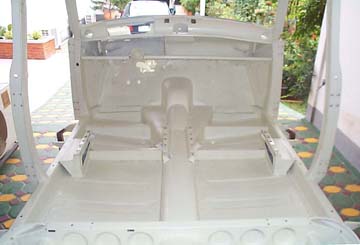
Inside too.
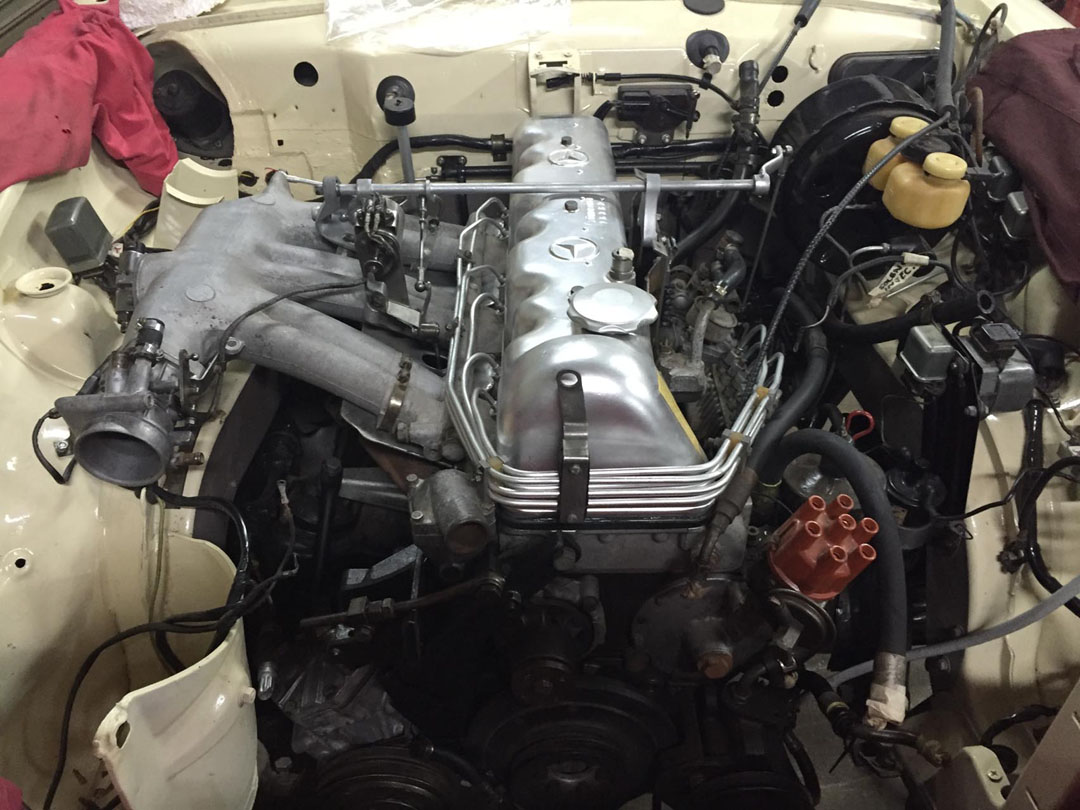
Many parts were cleaned and rebuilt to look new, and verified to function properly again.
Hard top was included.
The stand was modified for easier mobility on wheels.

Attached all the assemblies.
Off we go to the paint shop!
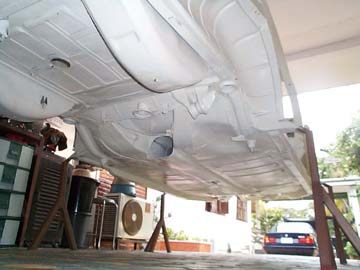
In the meantime, larger parts were refurbished.
The paint shop was making progress.
Nearly finished.
Back home with the same system.
Parts going back in.
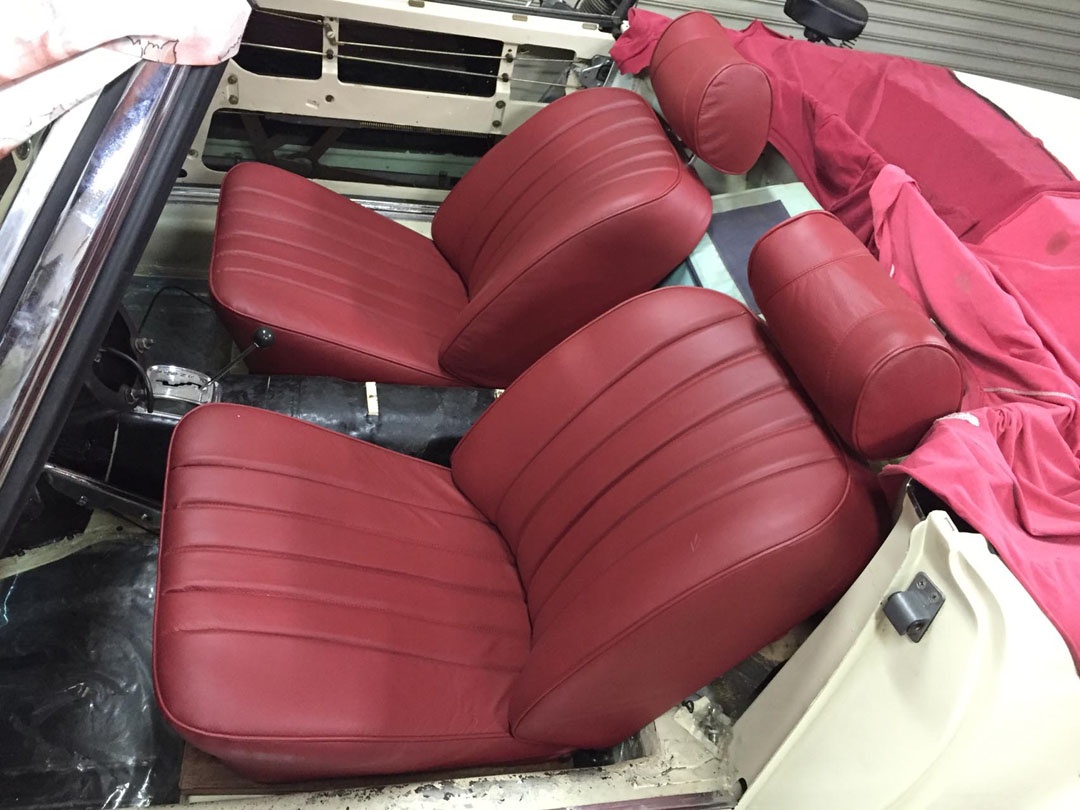
New upholstery.
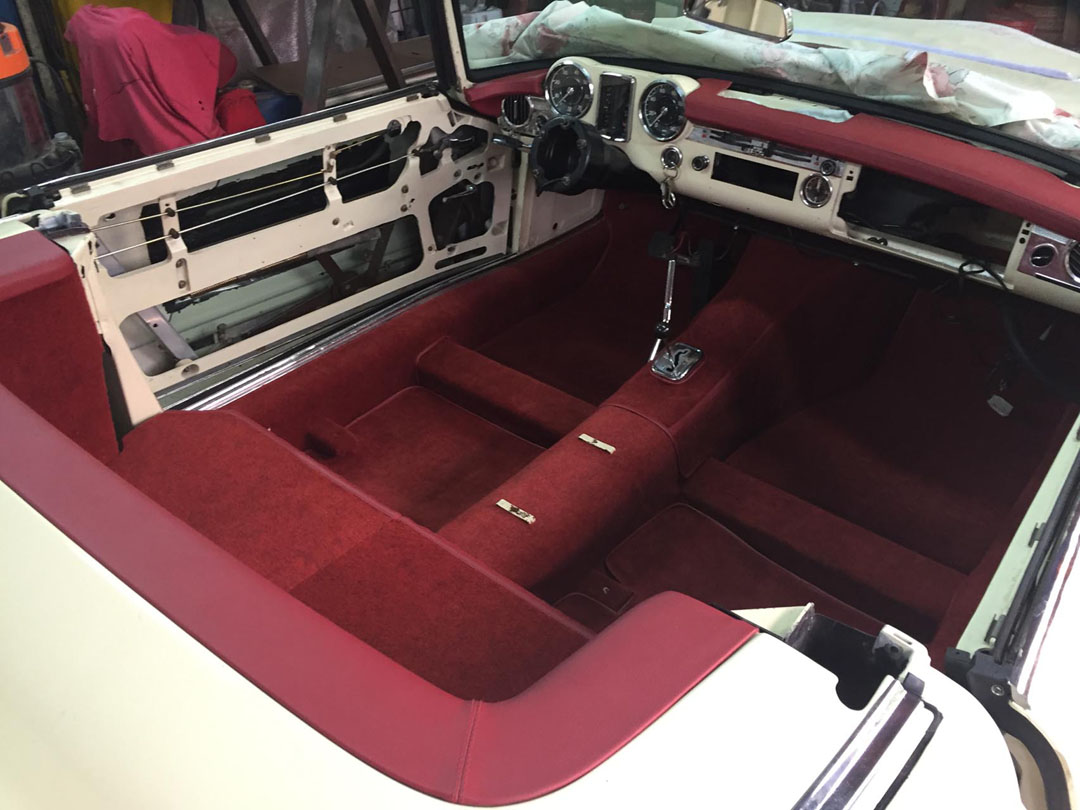
Carpets – all home-made.
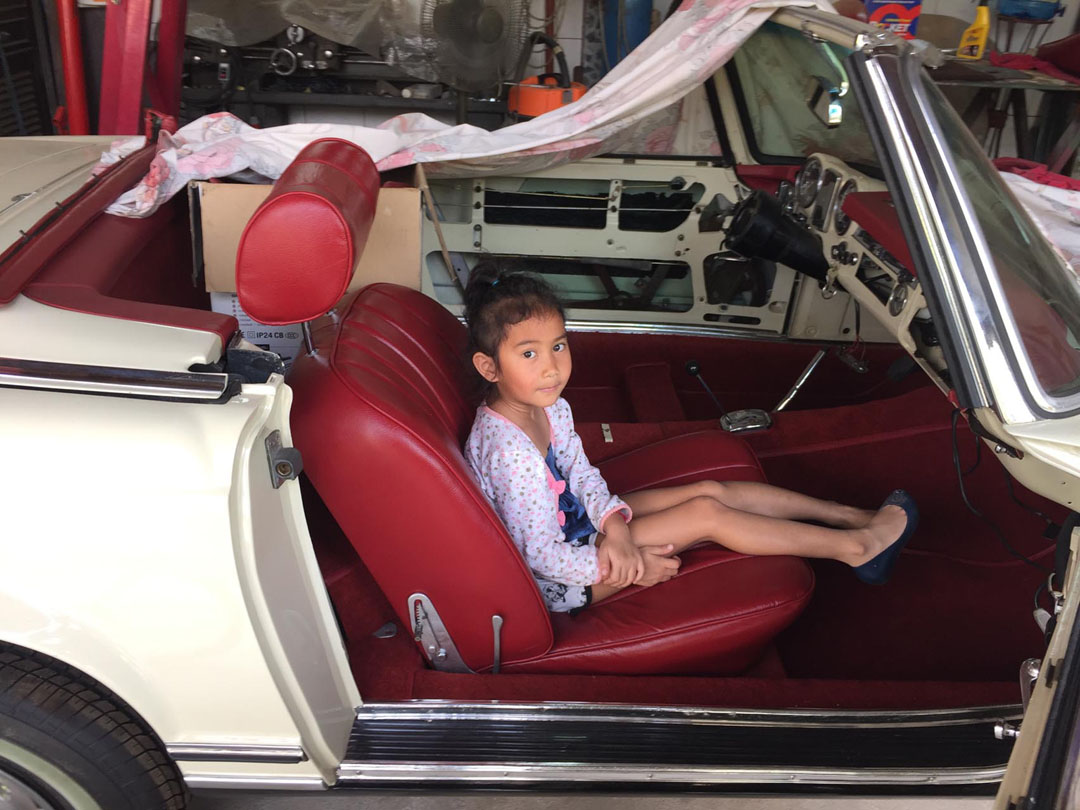
One of the quality controllers of the house – for final acceptance.
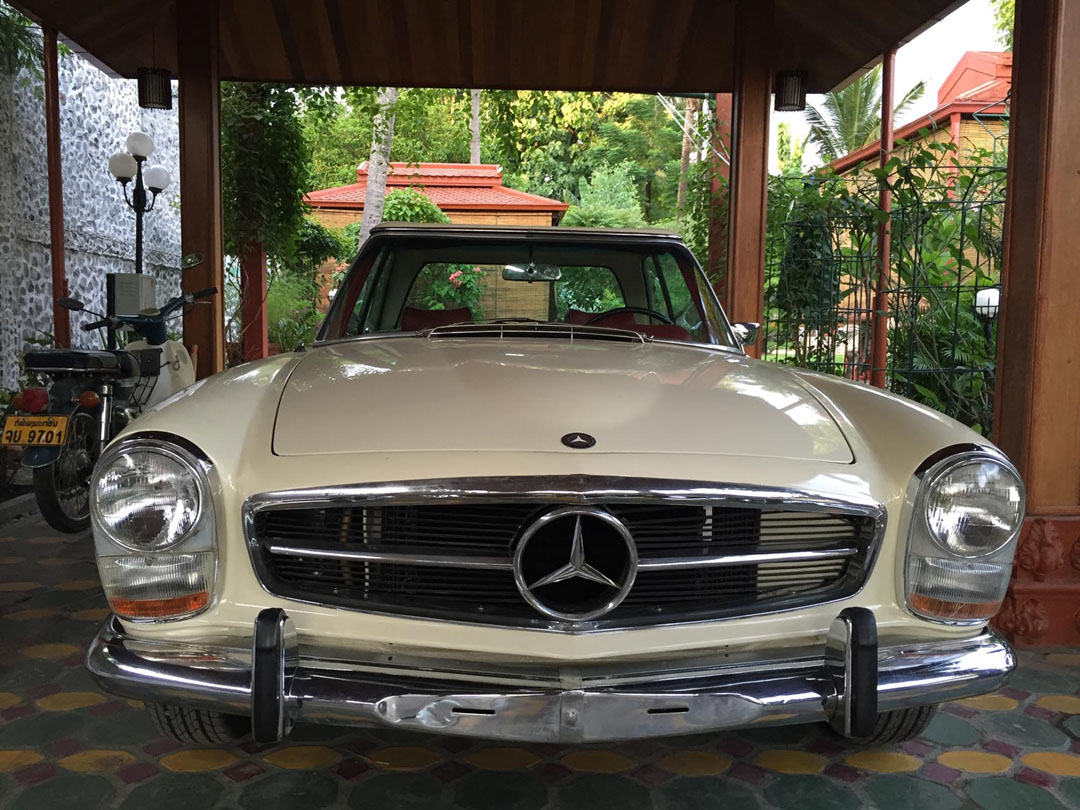
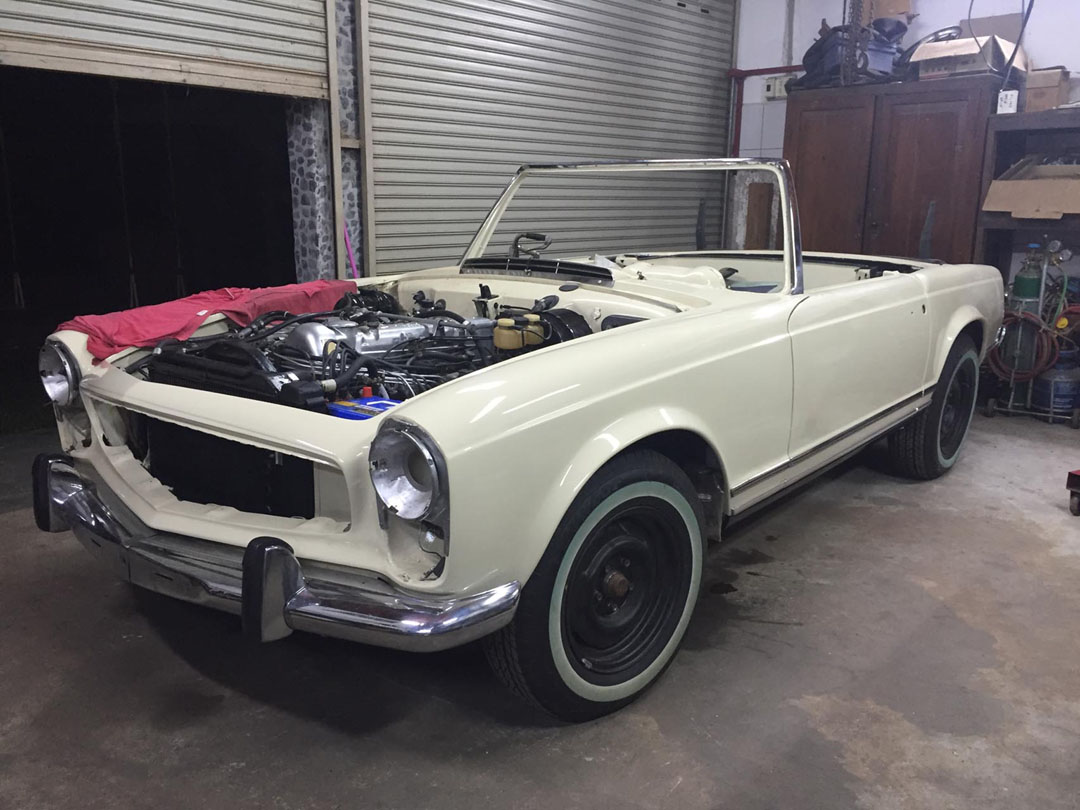
Roll out - August 2016.
First washing for a water leakage test – near the older sister.
Hard top out for drying - and photo!

Had problems adjusting the engine because of an air leak in the brake booster. Replaced two membranes. Later, also repaired the constant speed solenoid, which was completely rusted and inoperable.
Received the kit for the new soft top.

December 21, 2016 – registration completed in time for Christmas, and ready for the road.
Refilling at our ML gas station.
Today, I still need to change the two oil pressure switches of the automatic gear box to avoid stalling at gear changes. Then, need to go looking for a new Mercedes-Benz project in my mind, but that's for later.
To Be Continued...
Created: February 18, 2002 / Jeff Miller
Last Update: May 17, 2018
© www.mbzponton.org
Return to the Main Photo Gallery